Chocolate Hazelnut Layer Cake

So I copied this recipe down from a Woman’s Day magazine years ago while I was waiting forever at a doctor’s office.  The recipe sounded too tempting to just leave.  WELL, that was almost 3 yrs ago and I finally got myself to make it for my hubby’s birthday.

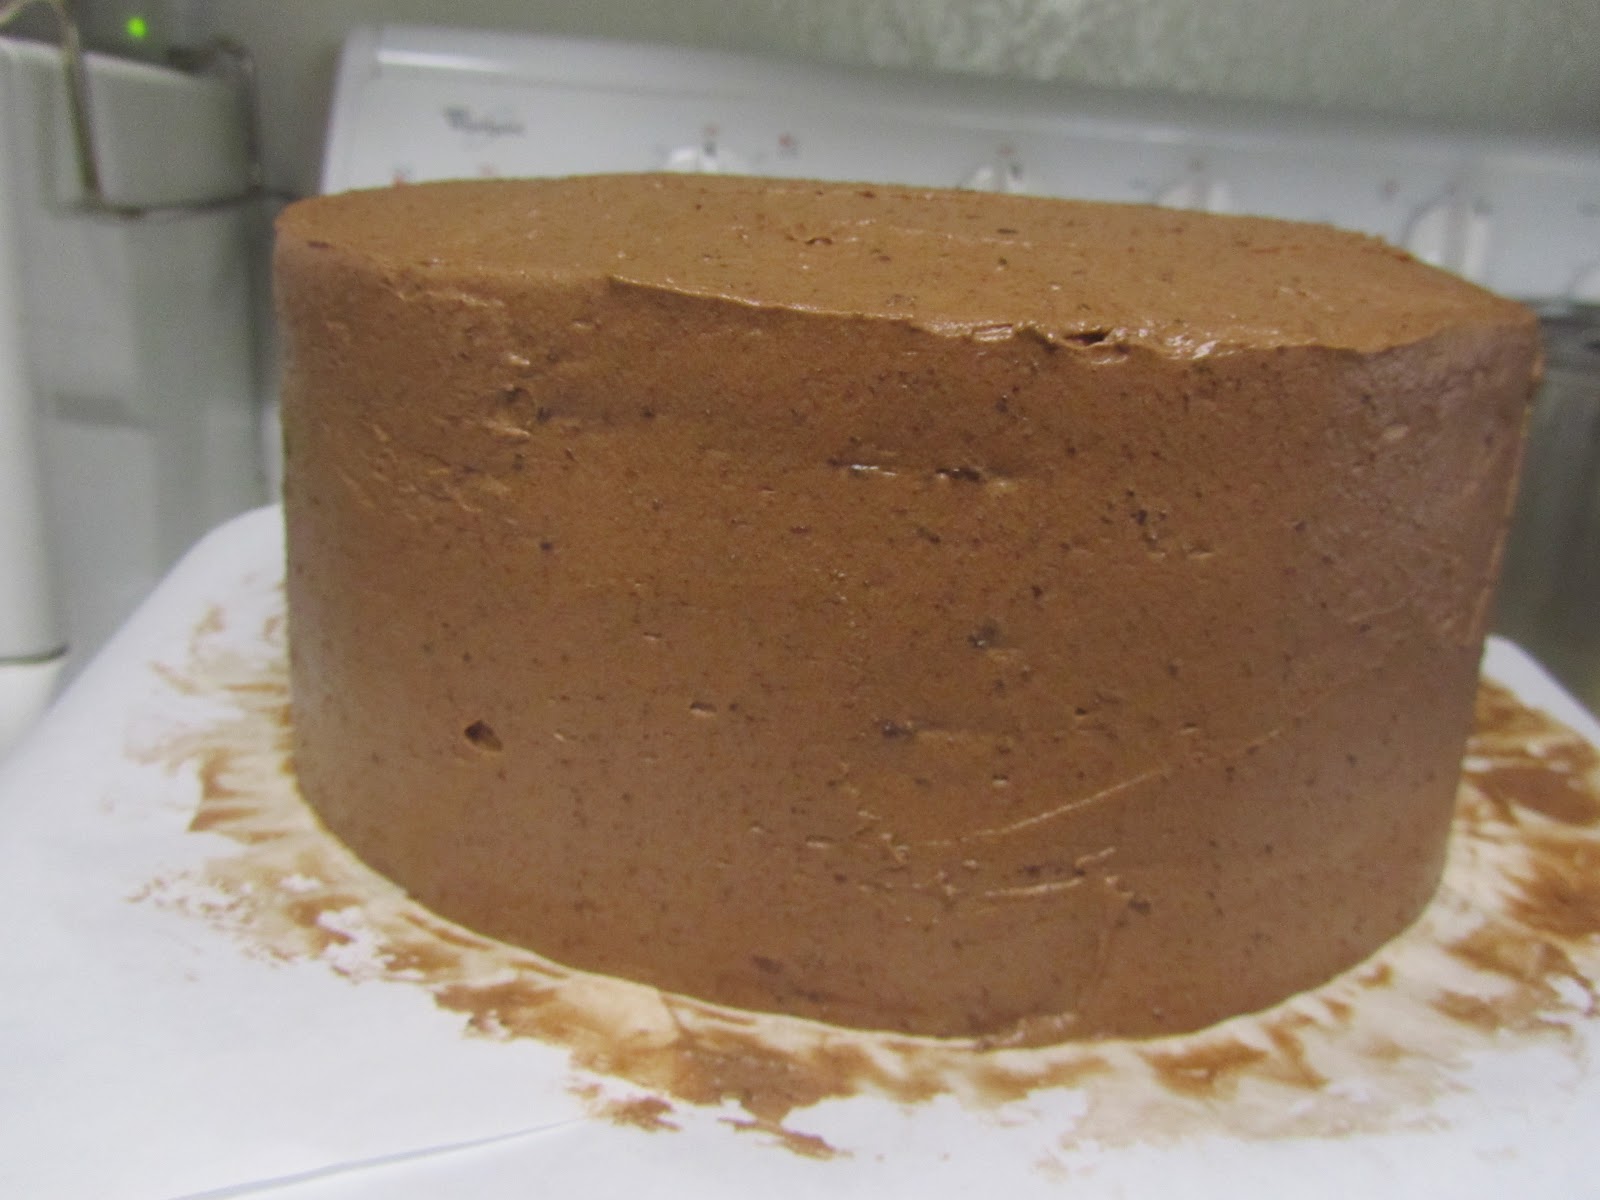
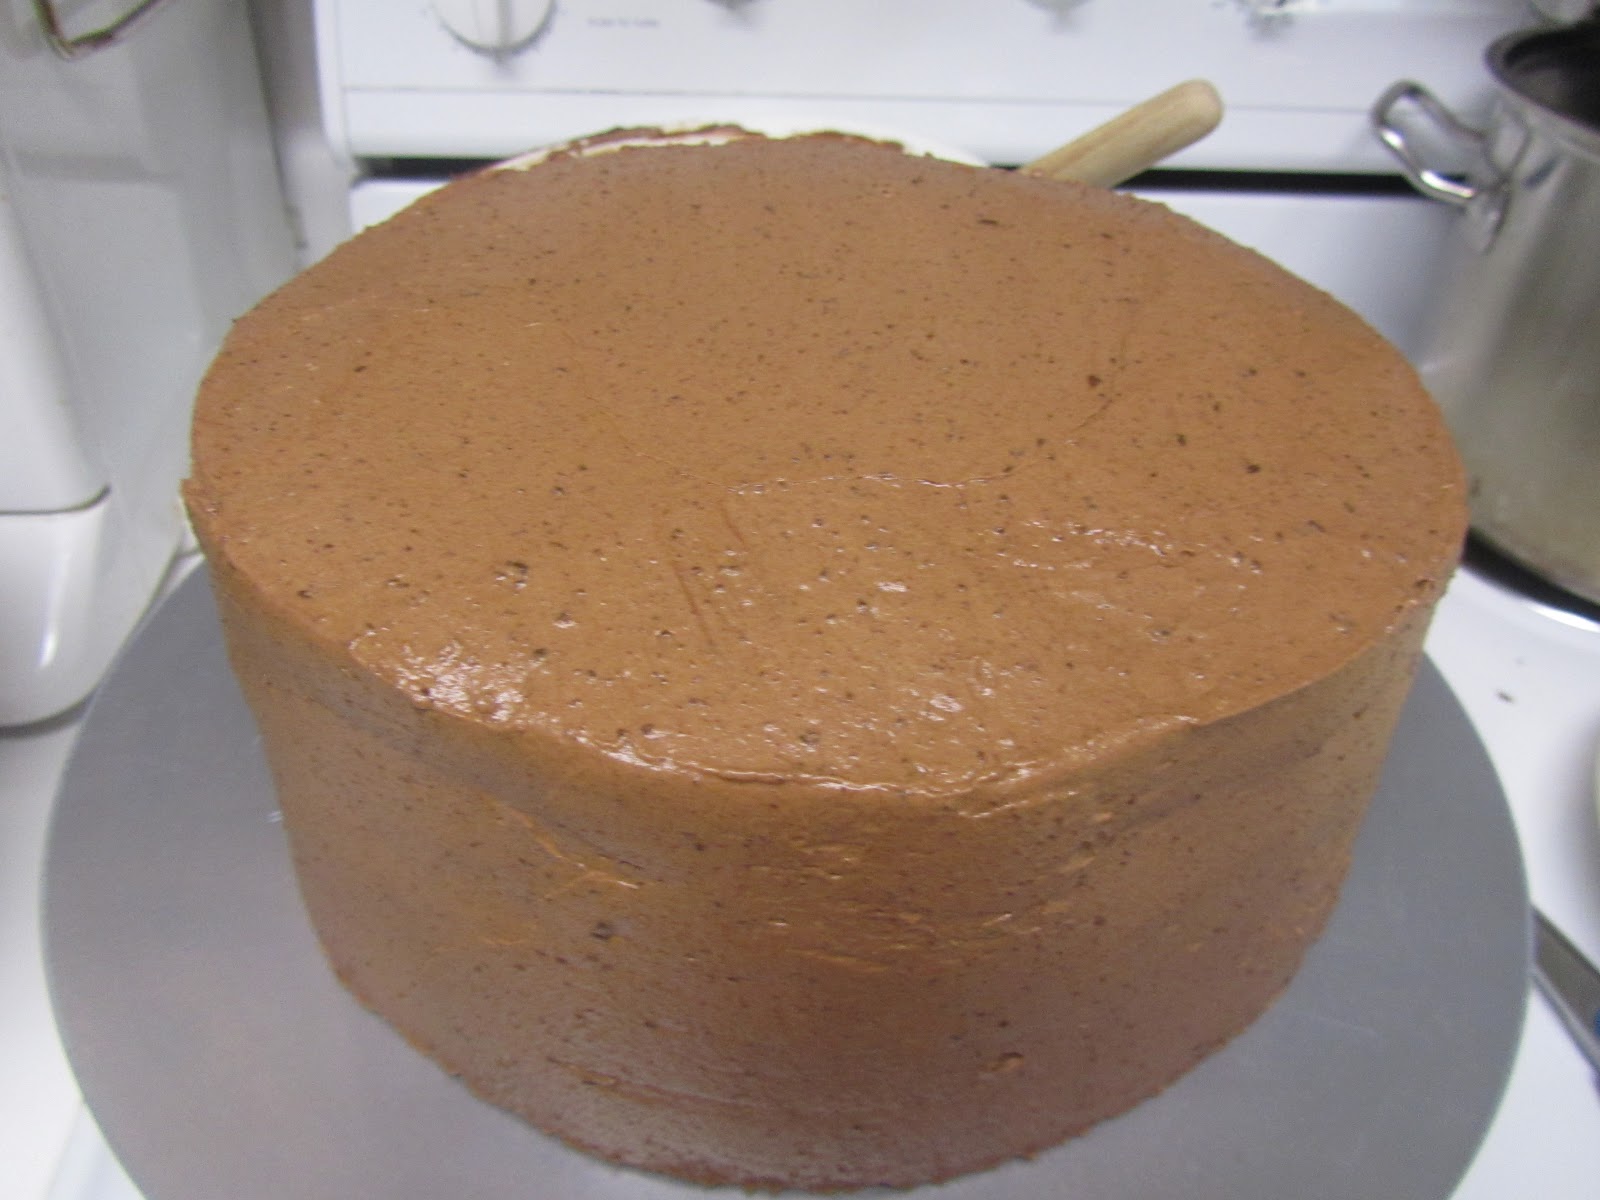
Next time, I think I’ll mix less Nutella into the frosting because it was a bit too rich for our liking, but oh man, this cake is SUCH CHOCOLATEy goodness.  It is so good!  Can I say that much?

The cake recipe is really good as well, I didn’t have Frangelico (hazelnut liqueur) but I used a had some hazelnut flavoring so added just 1 TBS of that and it seemed to be the perfect amount.  It’s a whipped cream based frosting so you need to refrigerate the cake but the cake is still moist and not hard, and the frosting actually tastes better when it’s more firm. 🙂

So here’s some pictures and I actually found the link to the recipe.  http://www.womansday.com/recipefinder/chocolate-hazelnut-layer-cake-recipe-121830

  • 3 cup(s) heavy (whipping) cream
  • 2 bar(s) (4 oz each) bittersweet chocolate, chopped
  • 1 cup(s) unsweetened cocoa powder
  • 2/3 cup(s) boiling water
  • 1/2 cup(s) Nutella (chocolate hazelnut spread; buy two 13-oz jars)
  • 1 cup(s) buttermilk
  • 2 tablespoon(s) Frangelico hazelnut liqueur (optional)
  • 1 1/2 teaspoon(s) vanilla extract
  • 1 1/2 cup(s) sugar
  • 1 stick(s) (1/2 cup) butter, softened
  • 1 1/2 teaspoon(s) baking soda
  • 3/4 teaspoon(s) baking powder
  • 1/2 teaspoon(s) salt
  • 4 large eggs
  • 1 3/4 cup(s) all-purpose flour
  • 1 1/2 cup(s) Nutella
  • 1 cup(s) hazelnuts, toasted and chopped
  •  Garnish: chopped toasted hazelnuts and chocolate curls
Directions
  1. Microwave cream in a large bowl on high until steaming. Add chocolate; let stand 5 minutes. Stir until chocolate melts and mixture is smooth. Cover surface directly with plastic wrap; refrigerate until cold, at least 4 hours.
  2. Cake: Heat oven to 350°F. You’ll need two 9 x 2-in. round cake pans, greased and floured.
  3. Whisk cocoa powder and water in a medium bowl, then Nutella and buttermilk, Frangelico and vanilla.
  4. Beat sugar, butter, baking soda, baking powder and salt in a large bowl with mixer on medium-high speed 3 minutes or until pale. Beat in eggs 1 at a time. On low speed beat in flour in 3 additions alternating with cocoa mixture in 2 additions, beating just until blended. Pour into prepared pans.
  5. Bake 30 to 35 minutes until a pick inserted in centers comes out clean. Cool in pans on rack 10 minutes. Run a knife around edge of each layer; turn out on rack and cool completely.
  6. Insert several toothpicks halfway up side around both cake layers. Using picks as a guide, cut layers in half with a long serrated knife.
  7. Filling & frosting: Beat cold chocolate mixture on medium speed until soft peaks form when beaters are lifted. Put Nutella into a bowl; stir in 1 1/2 cups chocolate mixture until smooth. Fold into remaining chocolate mixture until combined. Remove 2 1/2 cups to a bowl; stir in hazelnuts for filling. Reserve remainder for frosting.
  8. To assemble: Place 1 cake layer on serving plate; spread with 1/3 the filling (1 scant cup). Top with second layer and 1/2 the remaining filling; repeat with third layer and remaining filling. Top with last cake layer. Spread a thin layer of frosting over top and sides; refrigerate 15 minutes to firm. Spread top and sides with remaining frosting. Refrigerate until ready to serve. Garnish just before serving.
  9. Wrap cooled cake layers and make frosting (through Step 1) up to two days ahead. Cover the frosted cake and refrigerate up to three days.


I had already baked the cake layers three days in advance and froze them in the freezer so I could quickly just make the frosting and decorate it on Sunday without having to slave all day over a cake.  It tastes just as good as when it came out of the oven.  I used two 9-inch cake pans like it called for and then split both cakes so I got a total of 4 layers.

Then I beat the whipped cream (that had already been melted w/ choc and chilled) and filled and frosted the cake.  

cut out strips of parchment paper and put it under the cake before you start frosting it and it’ll catch all the frosting mess.

Here’s a neat trick, after you cover the cake generously w/ the frosting, and roughly even it out w/ your offset spatula, use a pastry scraper and smooth out the edges.  It helps if you have a cake decorating turntable thing, but I’m sure a lazy susan would work as well.

nice and smooth

use your offset spatula to smooth out the top as well and remove the strips of parchment paper so it’s all nice and clean and no frosting all over the plate.

Then I decorated the cake by dusting cocoa powder just on top, throwing (literally) choc sprinkles onto the sides, and then topped w/ Ferrara Rocher chocolates.  OH, forgot to mention that I also crushed some Ferrara Rocher chocolates into just the cake filling mixture and it added a nice touch, especially since I didn’t get hazelnuts to add to it.


Ina Garten’s Honey Vanilla Pound Cake

I LOVE Ina Garten’s recipes!  They always turn out great.  So I needed to bake something quick to take w/ me to my in-law’s and came across this recipe as I was leafing through my cookbooks.  Had all the ingredients so started measuring and pouring and baking.  
The results:  WONDERFUL~  tastes soooo good, and not dry.  Especially yummy when you toast it in the toaster oven for a few mins to get it warm, or not and still tastes great.
The only thing is… I don’t know if it’s my oven, but it browned a lot on the outside so had to cut off a little bit of the crust that touched the pans… maybe since I didn’t line the bottom w/ parchment paper since I was out.
Here’s the link to the recipe

Knitting Craze… obsessed w/ booties

Knit these blue Mary Jane booties from the Zoe Mellor book “Adorable Knits for Tots” http://www.amazon.com/Adorable-Knits-Tots-Stylish-Toddlers/dp/0873498526
But I wasn’t too happy with how they fit and not too crazy about how it looks. 
SO… I searched online and found these really cute Mary Jane baby booties and tried out two almost identical patterns, but they are different sizes.  AND the best part is that the patterns were free!!!
Aren’t they so much cuter???  The blue and green ones are from this pattern http://tlc.howstuffworks.com/home/free-baby-bootie-knitting-patterns2.htm which is sized for 0-6months, and the coral colored one is from this other pattern http://www.redheart.com/free-patterns/baby-janes which is sized for 6-12 month olds.  I’m a pretty tight knitter so I think they turned out more like newborn and 6 month old sizes.
Also, I like the pattern from Red Heart (the 6-12m) one because the top back is stitched together so it looks seamless.  So I just used that technique of stitching the two back sides together for the pattern from TLC as well.  Probably doesn’t make sense, but you’ll see for yourself after you try both patterns.  They’re really quick.

Then I also knit this lacy beanie.  I LOVE this beanie!!!  SOOOo cute.  I made it in the 3-6 month old size, but I think I’m going to make another one in the 0-3 m size so my newborn can be stylin’ as soon as she’s born.  🙂  I mean, come on, these are much cuter than the ones they give you at the hospital, AND I used organic cotton… can they beat that?
(the pattern is from the book “Natural Nursery Knits” by Erika Knight. http://www.amazon.com/dp/0312592973/ref=rdr_ext_sb_ti_sims_2)
It goes perfectly with the little Mary Jane booties since they are both garter stitch