
Finally, something for my only boy! If you haven’t noticed, my sewing projects usually consist of cute dresses or tops for my two beauties and the last time I sewed something for my son was… … … I’m ashamed. My boy’s go-to wardrobe consists of two pairs of jeans (that he NEVER wears), sweatpants, a few “dress” pants (more like chinos and khakis), “comfortable” shorts (that he ALWAYS wears), graphic T-shirts, long-sleeved graphic shirts, some sweaters, a jacket, and a coat. Throw in some baseball pants, caps, and jerseys and he’s all set for the year. I’ve been wanting to add some handmade items to his wardrobe but when given the choice of making basketball shorts vs. a cute dress… well… the dress would call my name.

When my friend’s hubby fell off his bike and ripped his pants (no one was hurt in the process of acquiring these pants), she gave them to me and challenged me to give it new life. I guess it’s happened more than once 😉 since she gave me 3 pants with holes in them. I’ve never made pants with a zipper and fly and I wasn’t going to attempt to try just yet, so I used a shorts pattern from My Child’s Closet and made pants with a flat front and gathered, elastic-back waistband. The back of the pants don’t look very sleek and tailored, but it’s acceptable for a 6 yr old boy to wear to church. For those of you who don’t speak Korean, that sewing pattern book may be a challenge (to say the least), but I remember Dana from MADE has shorts patterns like the one I used, just make them longer to make pants. You could also make your own pattern by using a pair of pants your child fits, trace it on freezer paper, and add a seam allowance. Here’s a good tutorial on how to make your own pants pattern.
With the remaining two pairs of holey pants, I plan to make summer-dress-pants (aka: church shorts). I know my boy will be thrilled to be able to wear “shorts” to church.
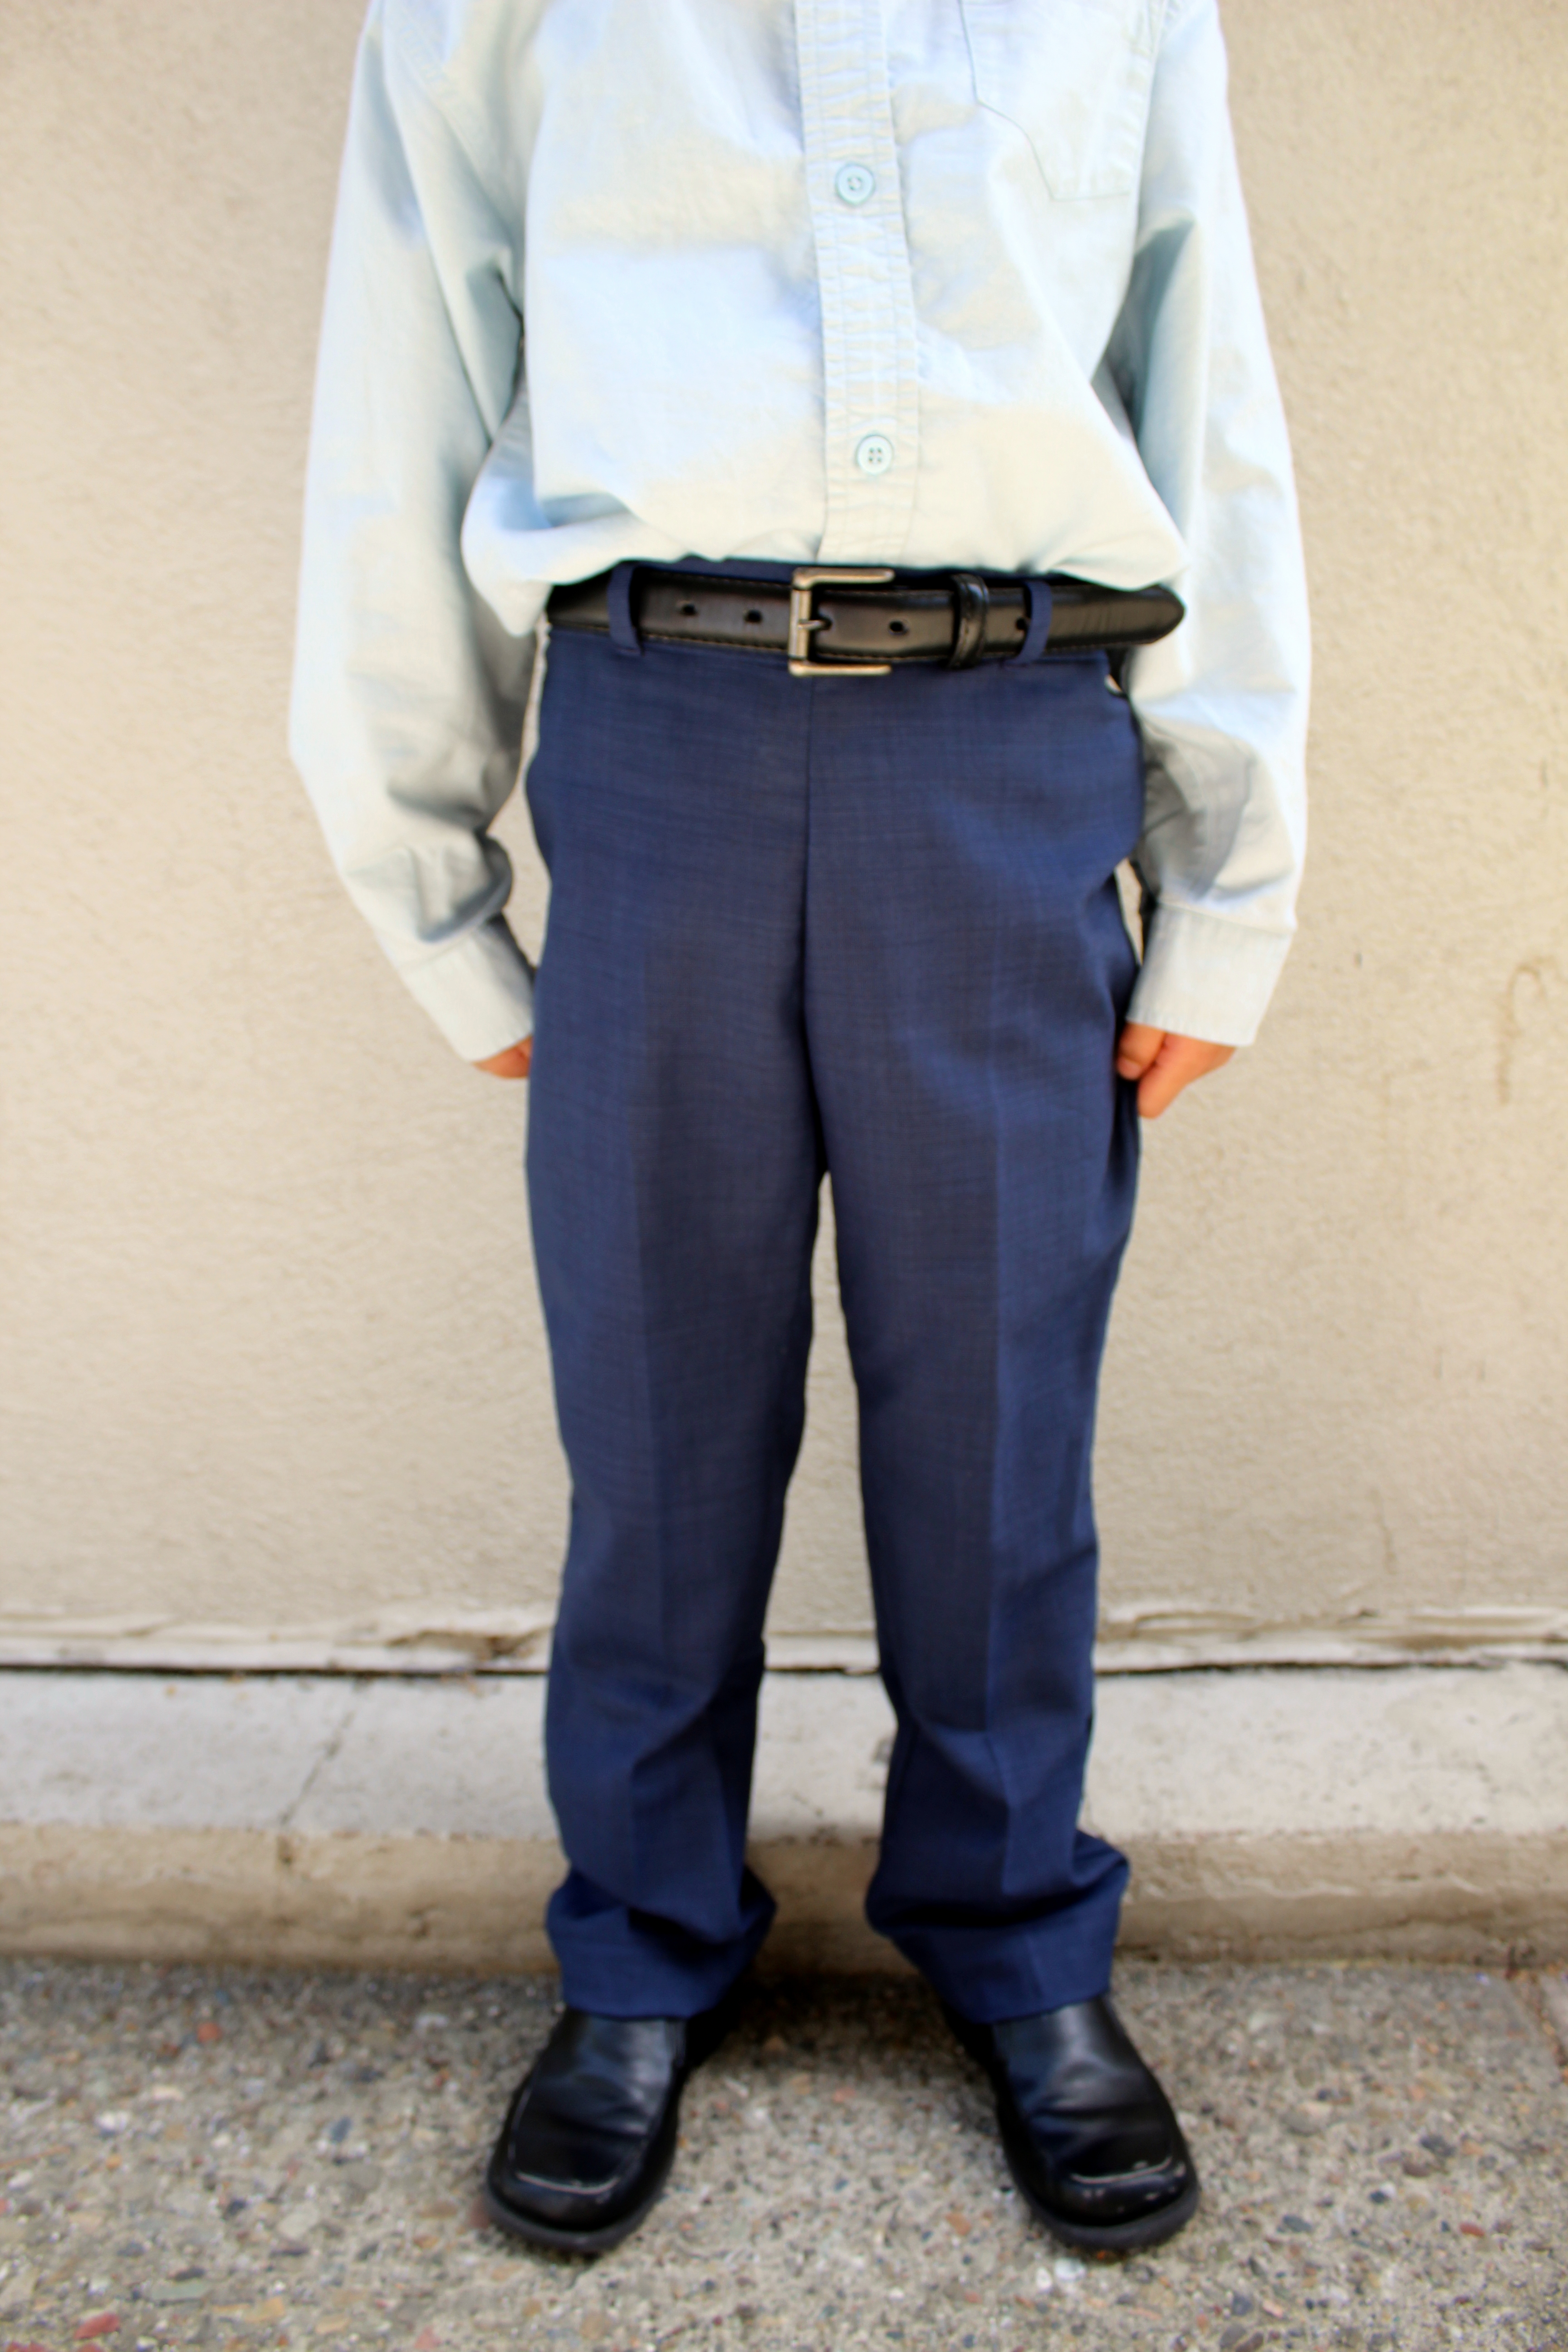
Flat FRONT gives it a nice tailored look.
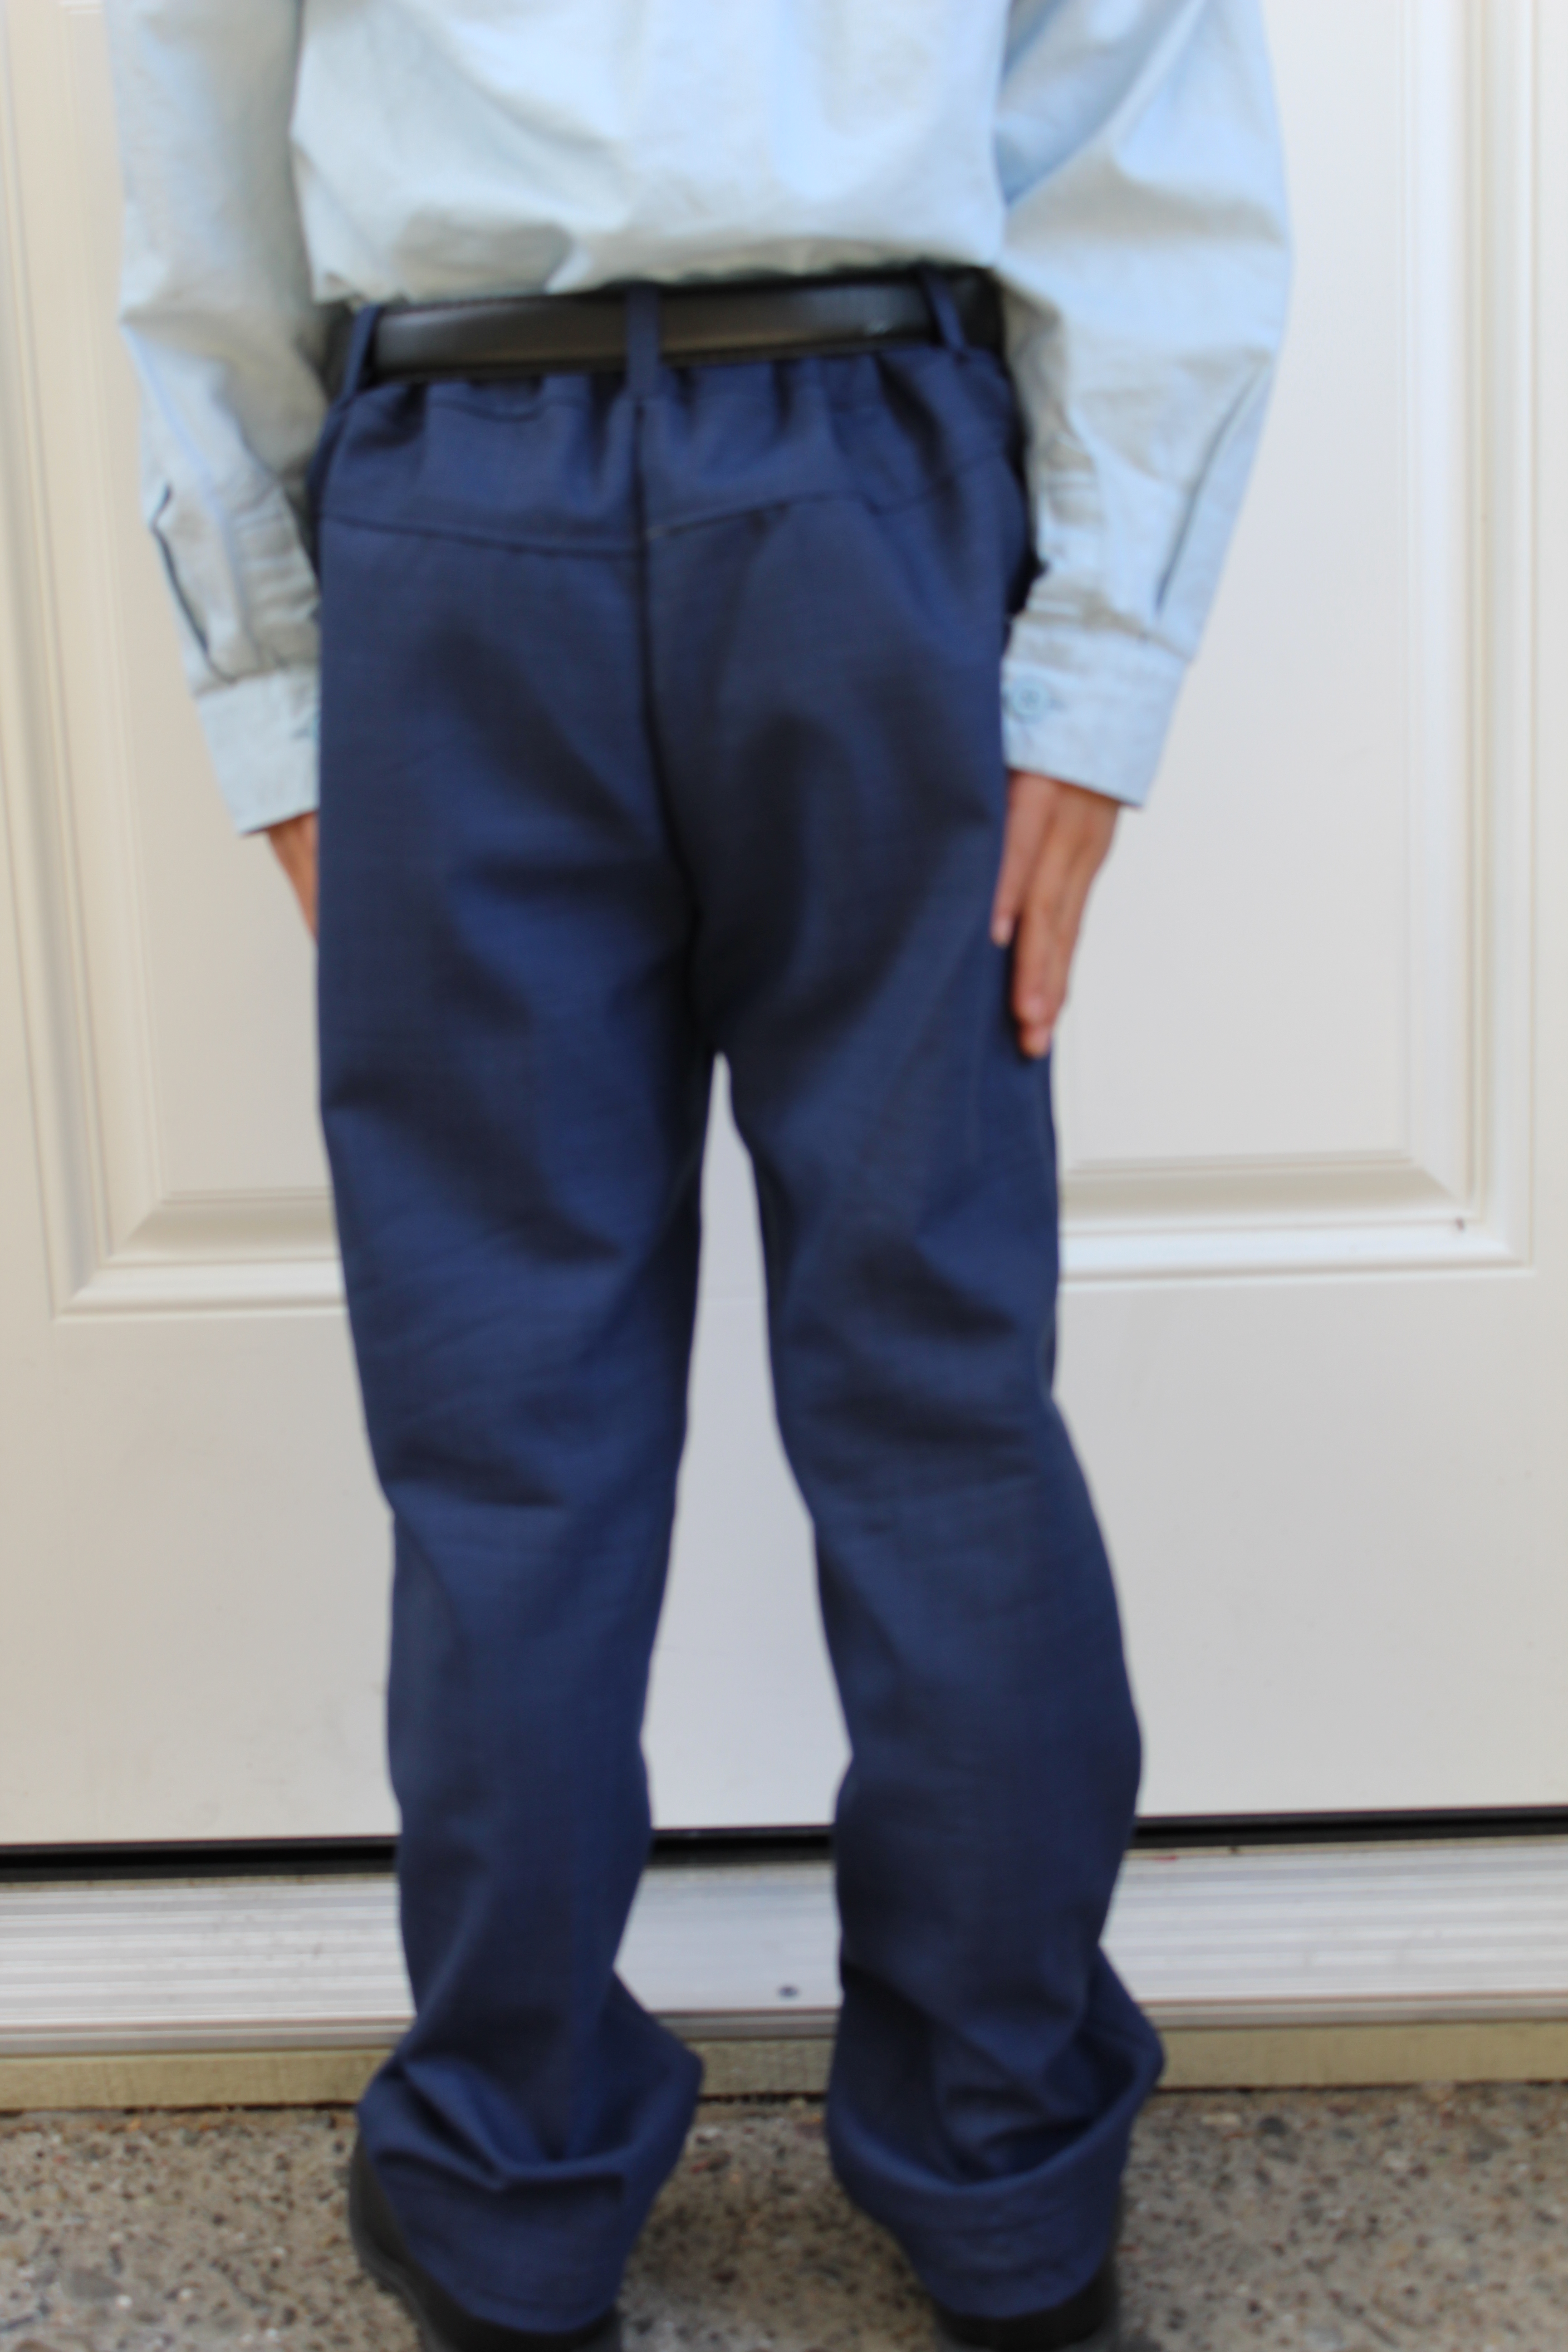
The gathered BACK portion with elastic. See what I mean? Doesn’t look super sleek, but I pass it.
This pants/shorts pattern added a yoke to the back of the pants right under the waistband and I like the little detail that it adds. The original pants had a lining halfway down the leg, which I kept and cut together with my pieces. I zig-zag stitched the lining to the front leg pieces only and also zig-zag stitched all my pieces to keep the fabric from continuing to fray. The pattern didn’t include belt loops around the waistband, but I just took a seam ripper to the belt loops on the original pants and snipped a little bit to fit a 6 yr. old’s 1-inch wide belt.

Click picture to see larger
- Use your pattern and cut out your pieces. Remember to add seam allowance if it is not included in your pattern or if you are making your own pattern.
- Trace your pattern onto your fabric. Don’t forget to cut mirror images of your pattern pieces so you don’t have two front pieces for your left leg.
- My pattern added a little yoke to the back pieces which added a nice detail. Iron seam towards yoke then top-stitch the yoke.
- With ride sides together, pin your front and back piece together and sew along the non-curved, outside edge of the piece. Iron seam open. Repeat for the other leg.
- With ride sides together, pin the curved, inside edge of the pieces and sew. Iron open seams.
- Turn one leg piece right-side out and tuck it into the other leg piece so right sides are together and the curved edges are matching. Double-check to make sure your fronts and backs are matching.
- Pin the curved edges of the pieces together and sew only along the curved edge, not the waist!
- Turn right-side out and admire what’s starting to look like pants!
- Add a strip of interfacing to the waistband (looking back, I may not add it next time to the gathered back portion of the waistband). Fold and press in half then fold and press the raw, long edges, about 1 cm, for seam.
- Pin the waistband, right sides together, to the waist of the pants with interfacing portion of the waistband closer to the pants.
- Sew along the seam fold right below the interfacing of the waistband.
- Measure your child’s waist and add elastic accordingly. (I used about 9 inches of elastic for my 6 yr old). The elastic only goes in the back half of the waist.
- Sew the elastic on one end of the back half, then stretch it across and sew the other end of the elastic to the opposite back, half of the waistband.
- Fold 1 cm seam under to conceal the elastic and make a casing then carefully sew across the back and front of the waistband without catching the elastic.
- You will have to pull the elastic while you sew the back half of the waistband.
- Hem the pants by pressing in onto the wrong side about 1 cm
- Fold and press again to get desired length of pants.
- Machine stitch hem or to get a more tailored look, hem by hand.
- I think it looks fine with machine stitching.
- You are done, unless you want to add belt loops, which I decided to do as an afterthought.
- I salvaged the belt loops from the original pants then snipped it to the right size and used fray check to prevent fraying.
- Pin it to the waistband with right sides together and spacing (5 loops) around the waistband. Two in the front, three in the back with one centered in back. Sew.
- Fold the other edge of the belt loop under and pin
- Carefully sew as close to the edge with a machine or hand stitch.

He’s a natural model. 🙂 I love my B and I plan to make more handmade items for this little boy. They grow so fast…
Thank you for reading,
-Flora
