Now that school is out and I have all three of my sweet, wonderful, perfect children at home (always playing nicely, sharing their toys, never whining or pushing my buttons), I can’t imagine why I have no time to sew or blog. I never realized this end of school year period would be so busy, even with a Kindergartener. You would think it would be wind down time, but nope. Just the opposite. Plus, we had my father-in-law in town visiting from Hong Kong and we got to take a family trip together to Yosemite as soon as my son got out of school on Friday. It was the perfect place to finally relax after the end of school year fiasco was over; surrounded by nature and no cell phone reception! I don’t know about you, but I get nervous when I don’t have reception and that’s probably a sign that I am relying too much on this “smartphone” contraption and dumbing myself down… Ode to the days when we could remember all our family and friends’ phone numbers and could actually read a map. Speaking of maps, I was the designated navigator once we got into Yosemite Park and I panicked (secretly) when I realized I couldn’t use Googlemaps and I actually had to look around at signs and terrain to figure out where we were and where to go. Imagine my joy when I found our location on the little loops and squiggly roads drawn on the map after confirming we had actually passed the two tunnels that the map said we should be passing through! I had to give myself a pat on the back for navigating us through the park 🙂

Now this red and white knit fabric is from my past Knitfix purchase from Girl Charlee and I must admit, I had the hardest time trying to decide what to make with it. I finally found an inspiration for this dress after I saw this “Beachcomber” dress by Shabby Apple, which unfortunately, is no longer available. I loved the look of the dress and how the stripes on the skirt was cut on a bias to create a unique look. Their dress has pockets, but I didn’t do the pockets because their fabric is a lot more “drapey” and soft, while my fabric is a cotton jersey knit, therefore, thicker and has more structure. So the feel of the dress is a bit different from the loose, soft, flow of the inspiration dress, but I still like my dress.
I drafted a rough pattern for this dress using a loose top I have for the bodice of the dress then did some math (I know, crazy) to figure out how to split my waist measurement into four pieces for the skirt while adding enough room for seam allowances. Then I measured the length of the skirt and when cutting out my skirt pieces, I cut it carefully so I could get the right look with the stripes. When I finished piecing all the parts together, I realized it was too big, so I had to go back, cut, rip seams, and sew it again to get it just right.
I used a straight stretch stitch on my (very basic) babylock and used about a 3/8″ to 1/2″ seam throughout. I ironed my hems when folding it and pinning to get clean, straight hemlines.

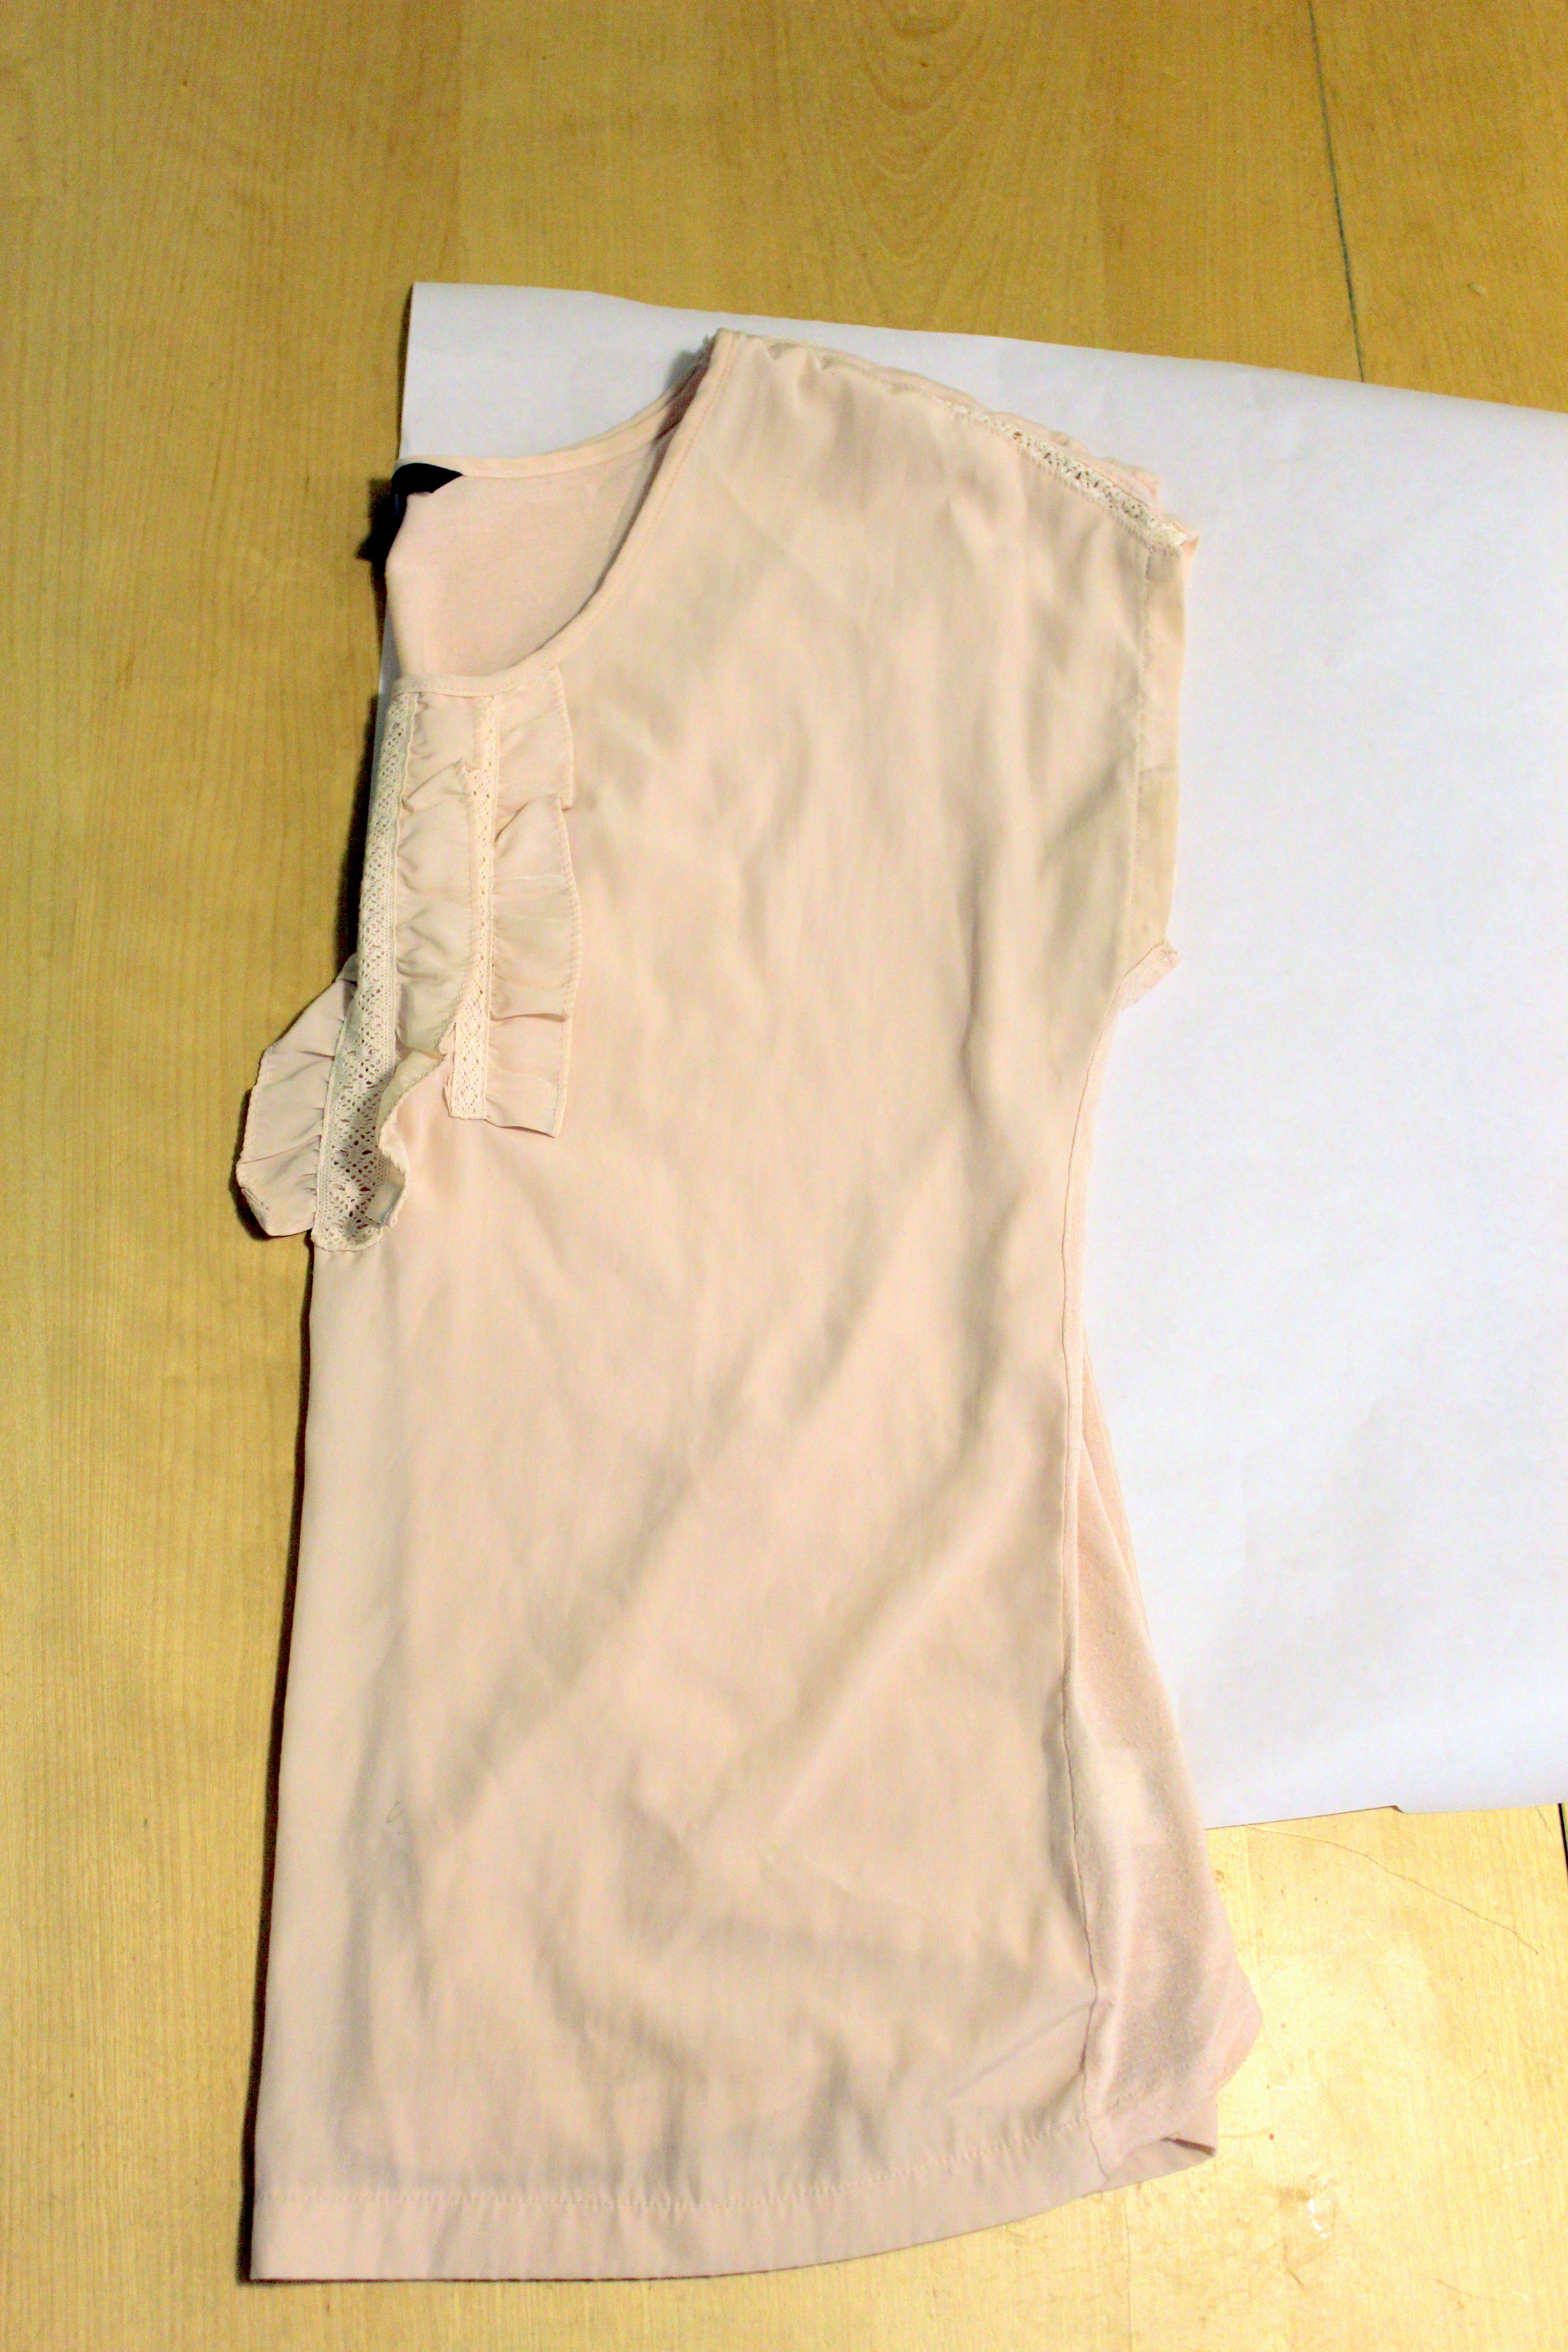
This top works perfectly since it doesn’t have separate sleeves, which is the look I was going for.

Trace the shirt and add seam allowances, then cut out your piece for the front and the back. I tried to make somewhat of a v-neck for the front.

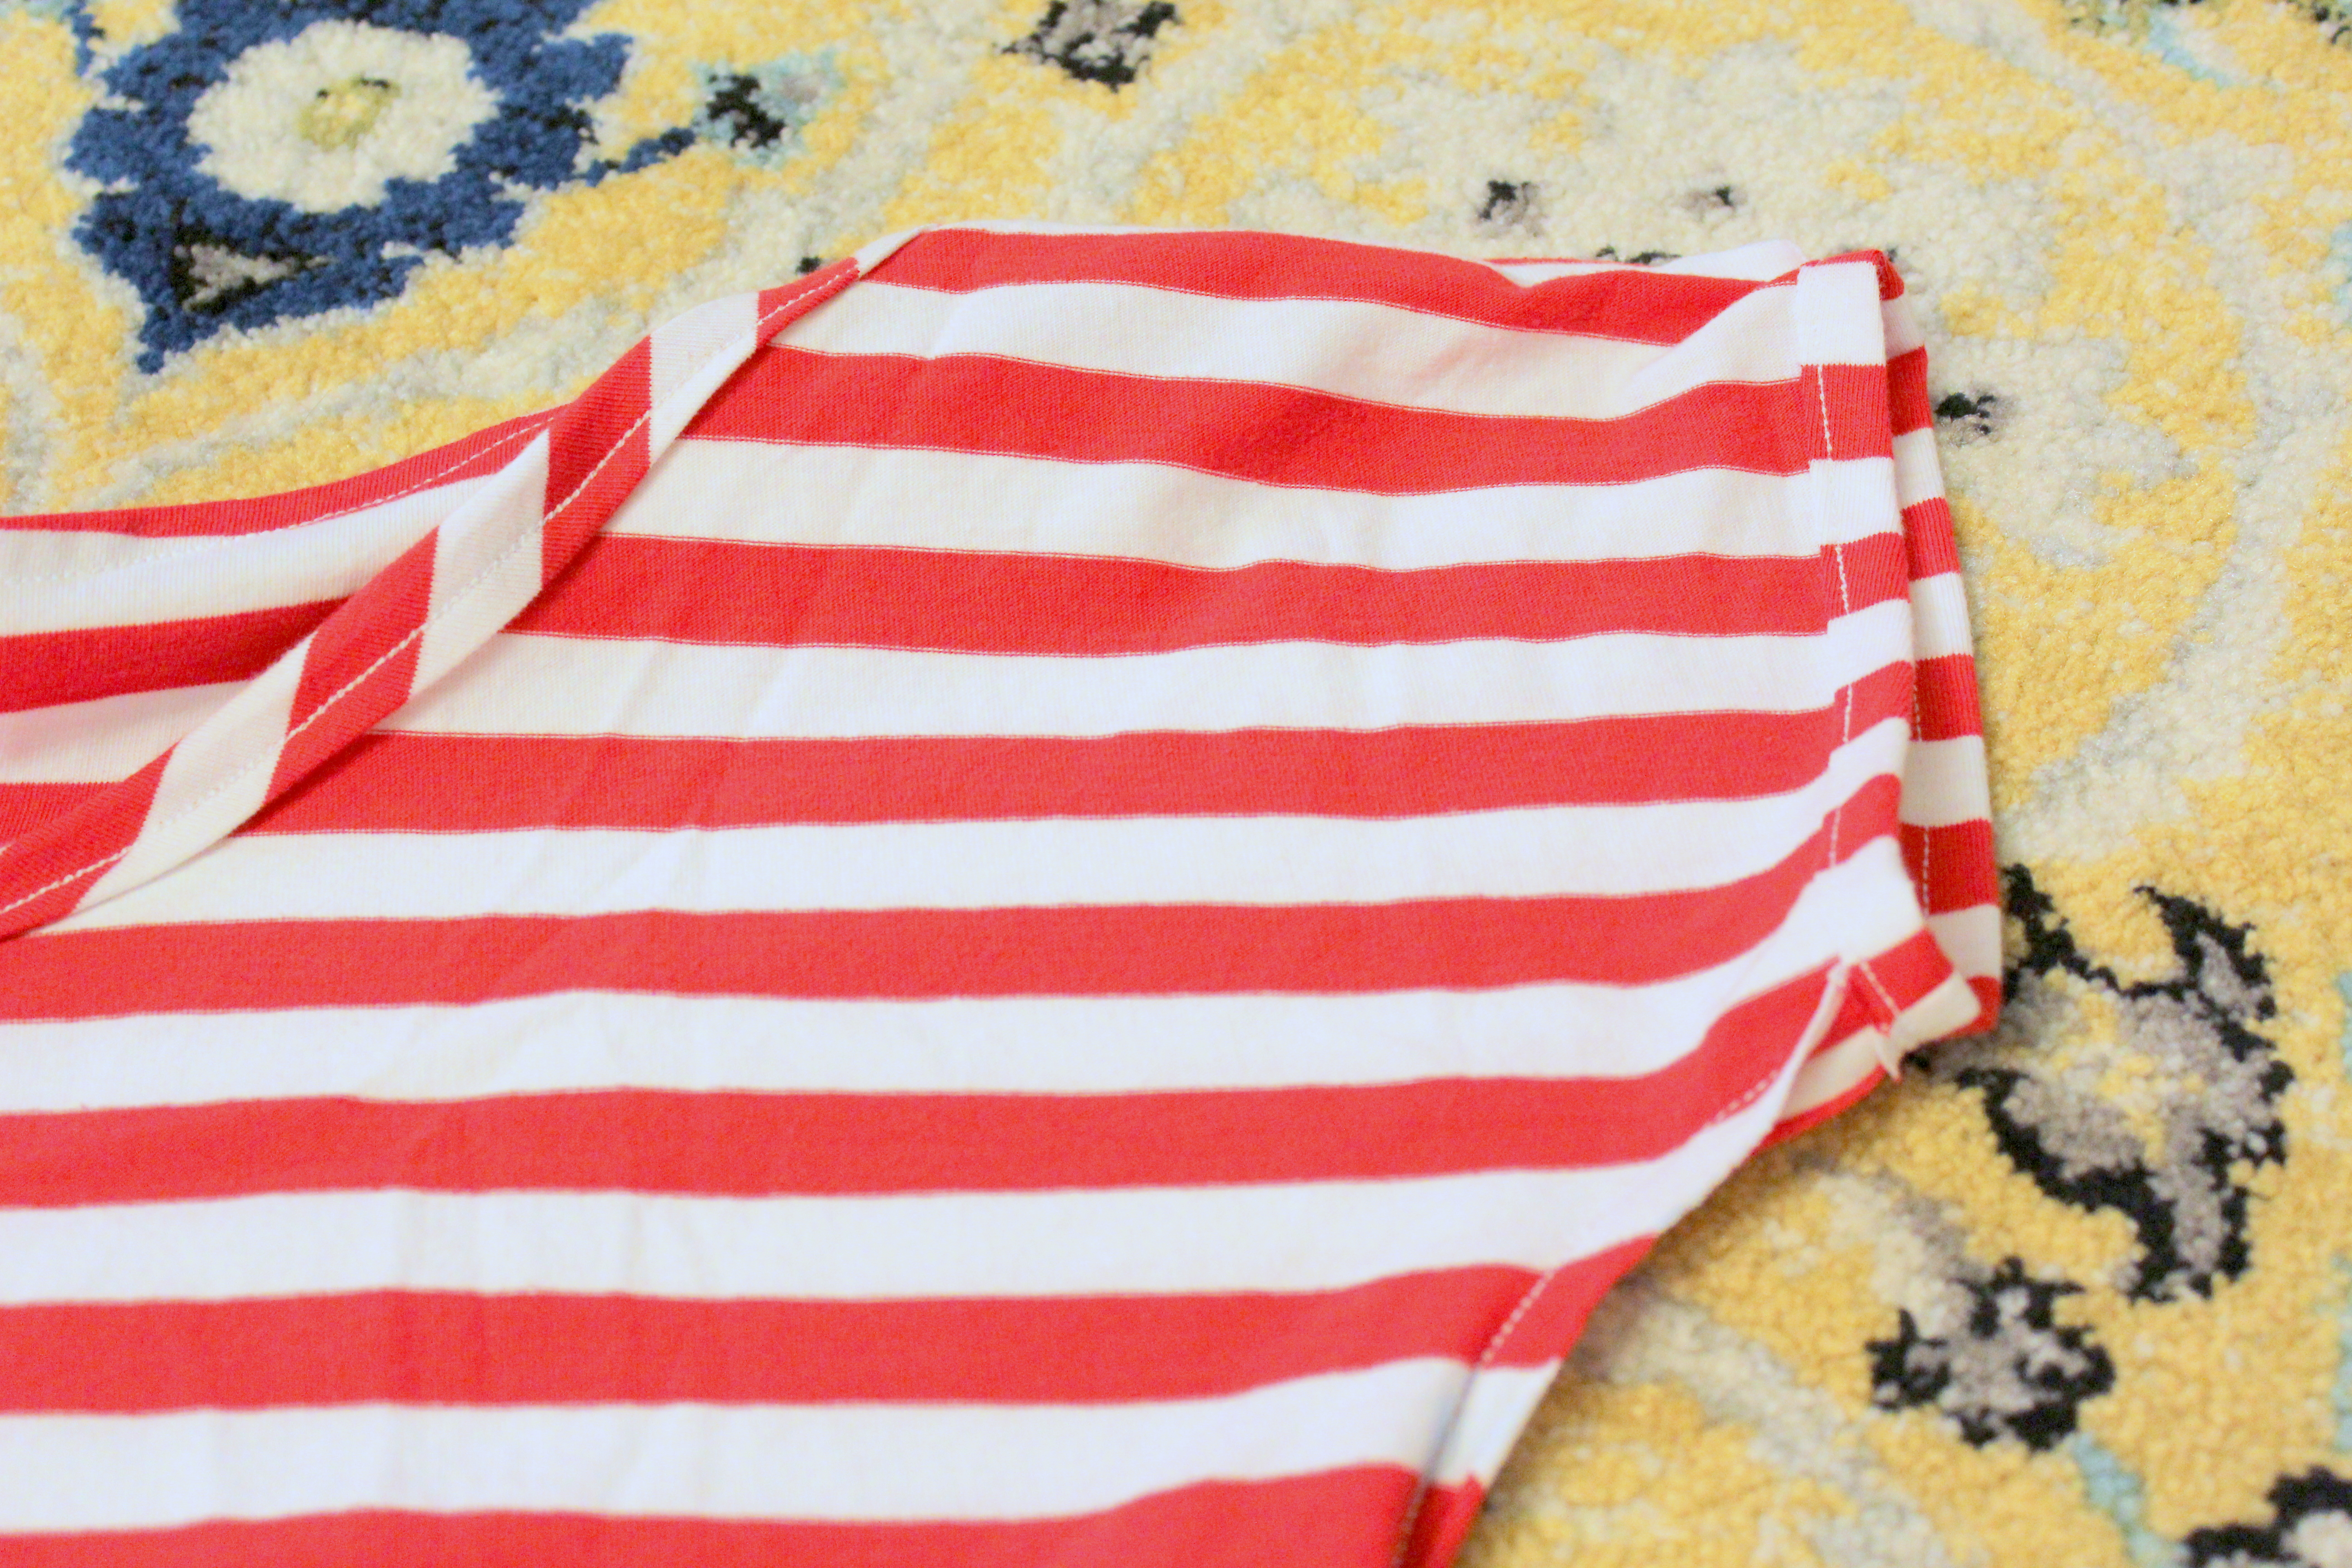
Pin and sew the sides up to the bottom of the sleeve.

PIn and sew the shoulder and upper sleeve part with right sides together

Divide your waist measurement by 4 then add 1/2″ seam to each side of your 4 pieces and cut. I tapered each of the skirt pieces so it gets gradually wider as it goes down.

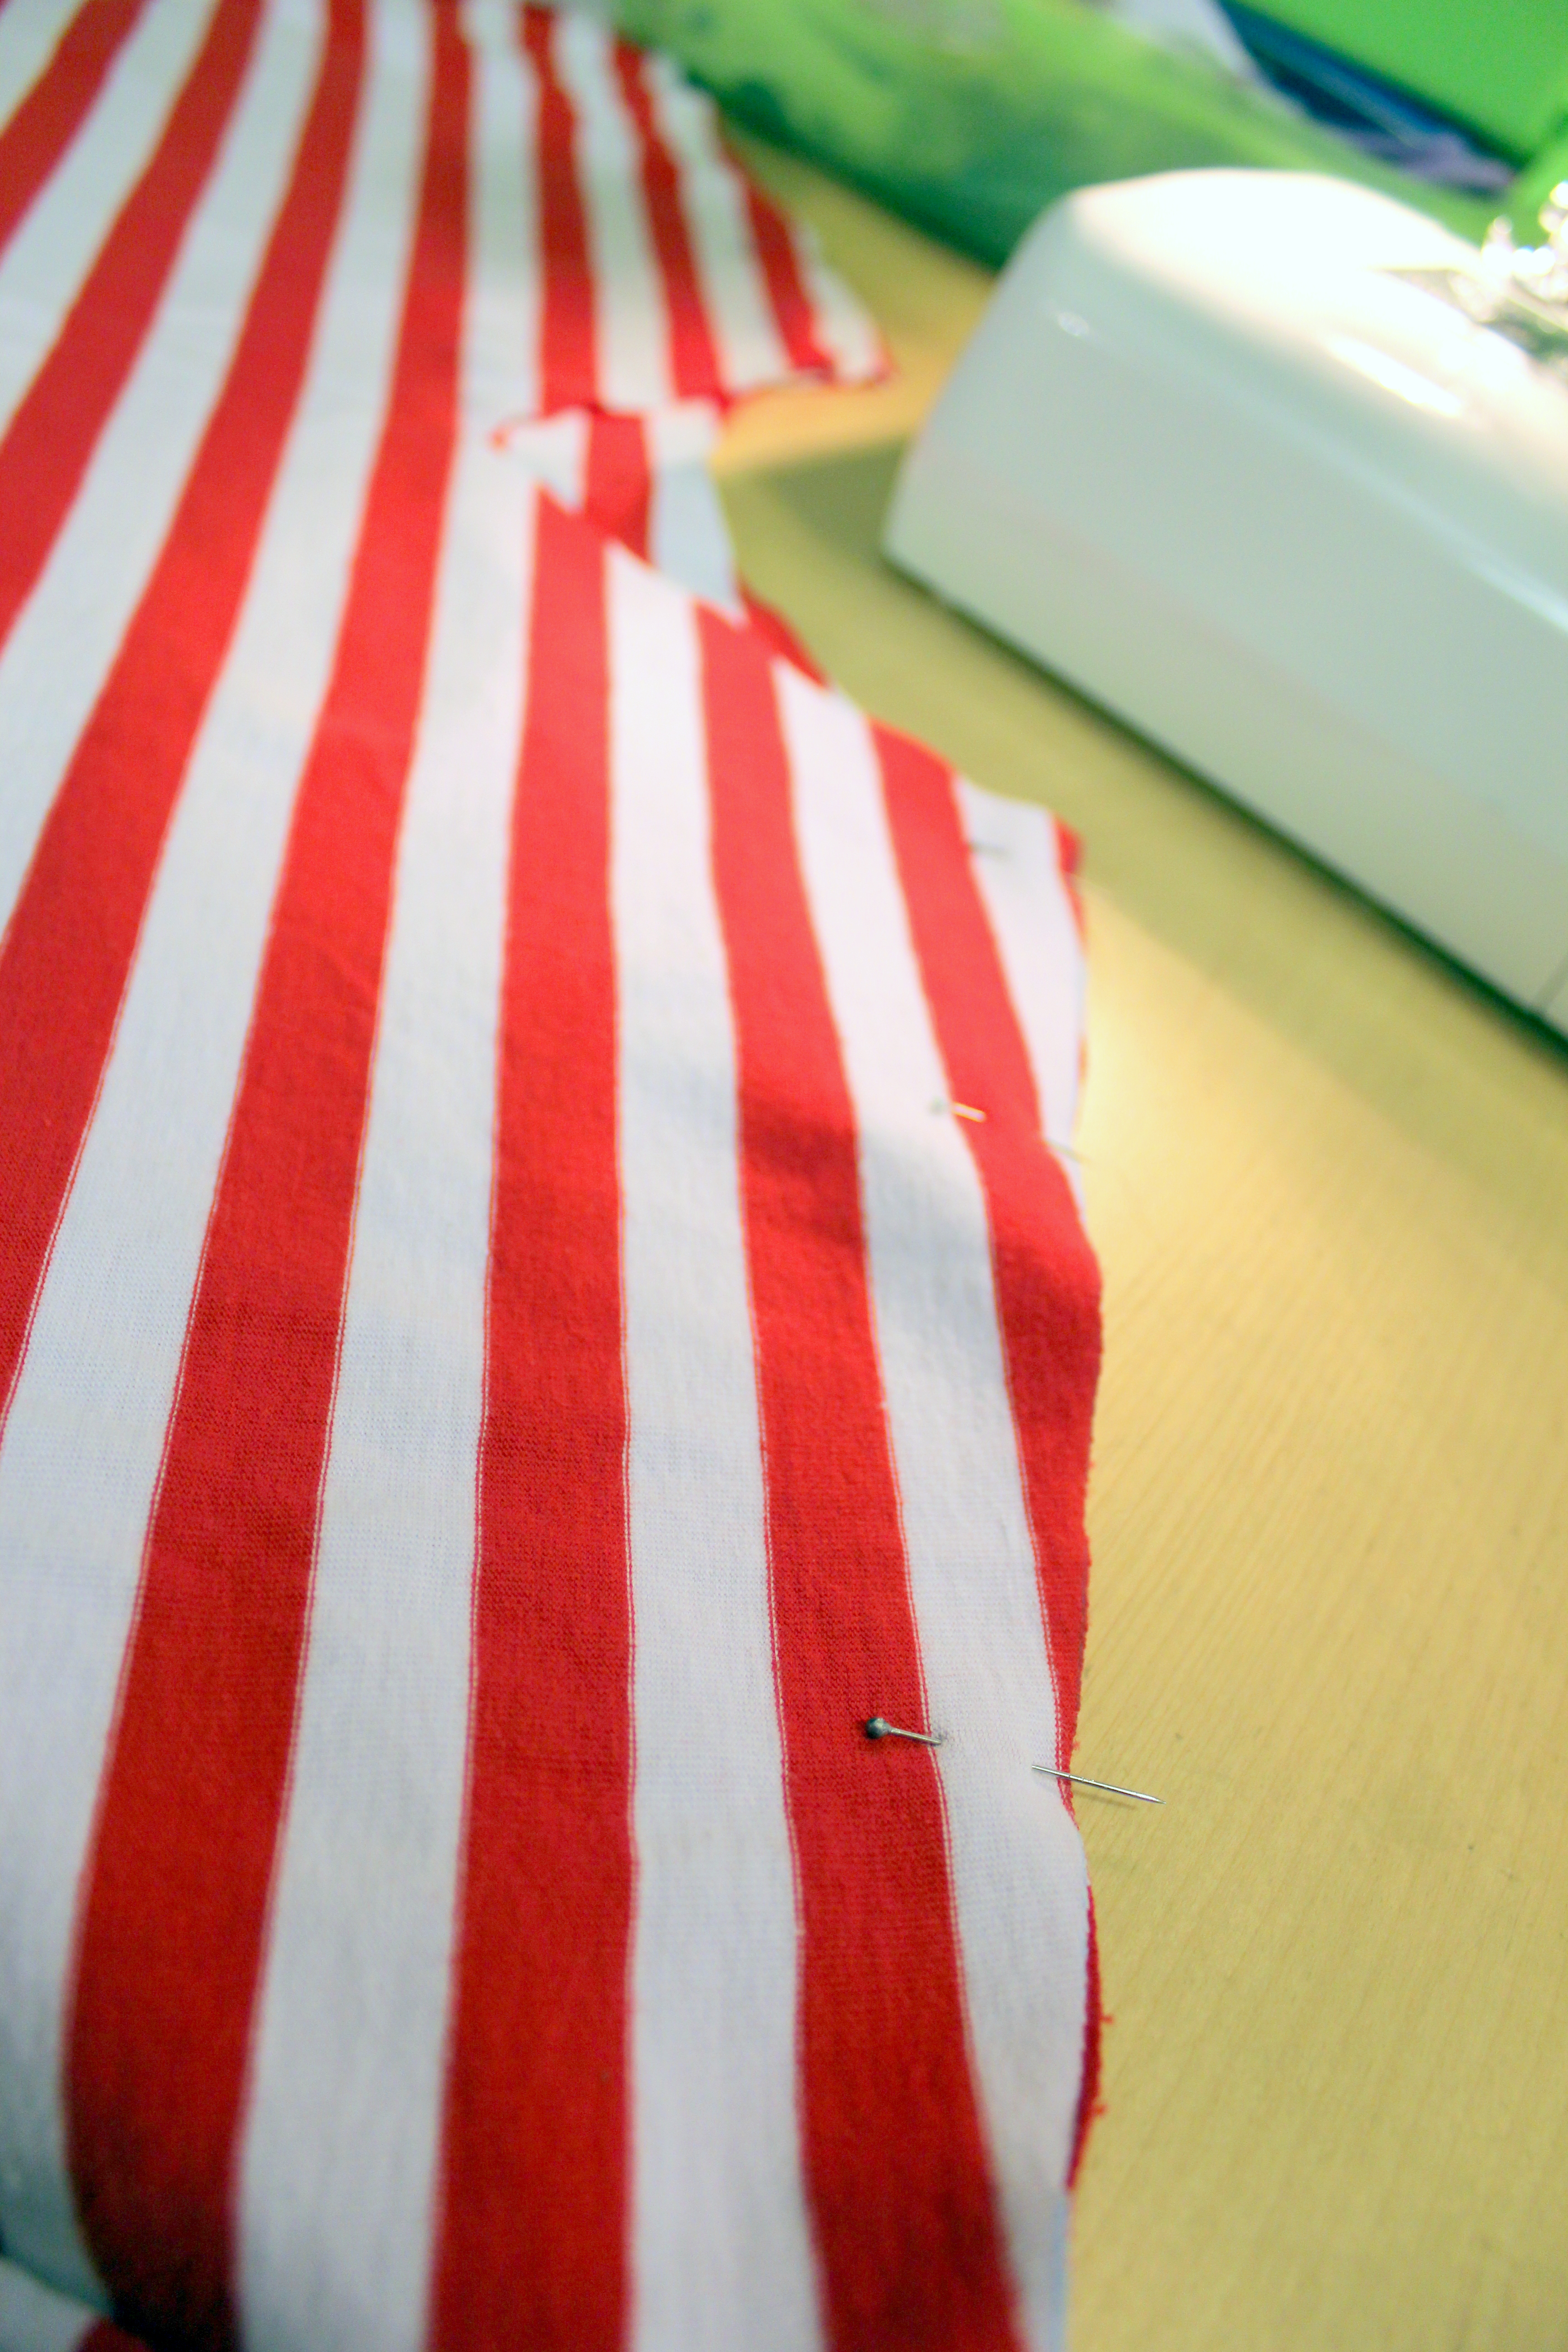
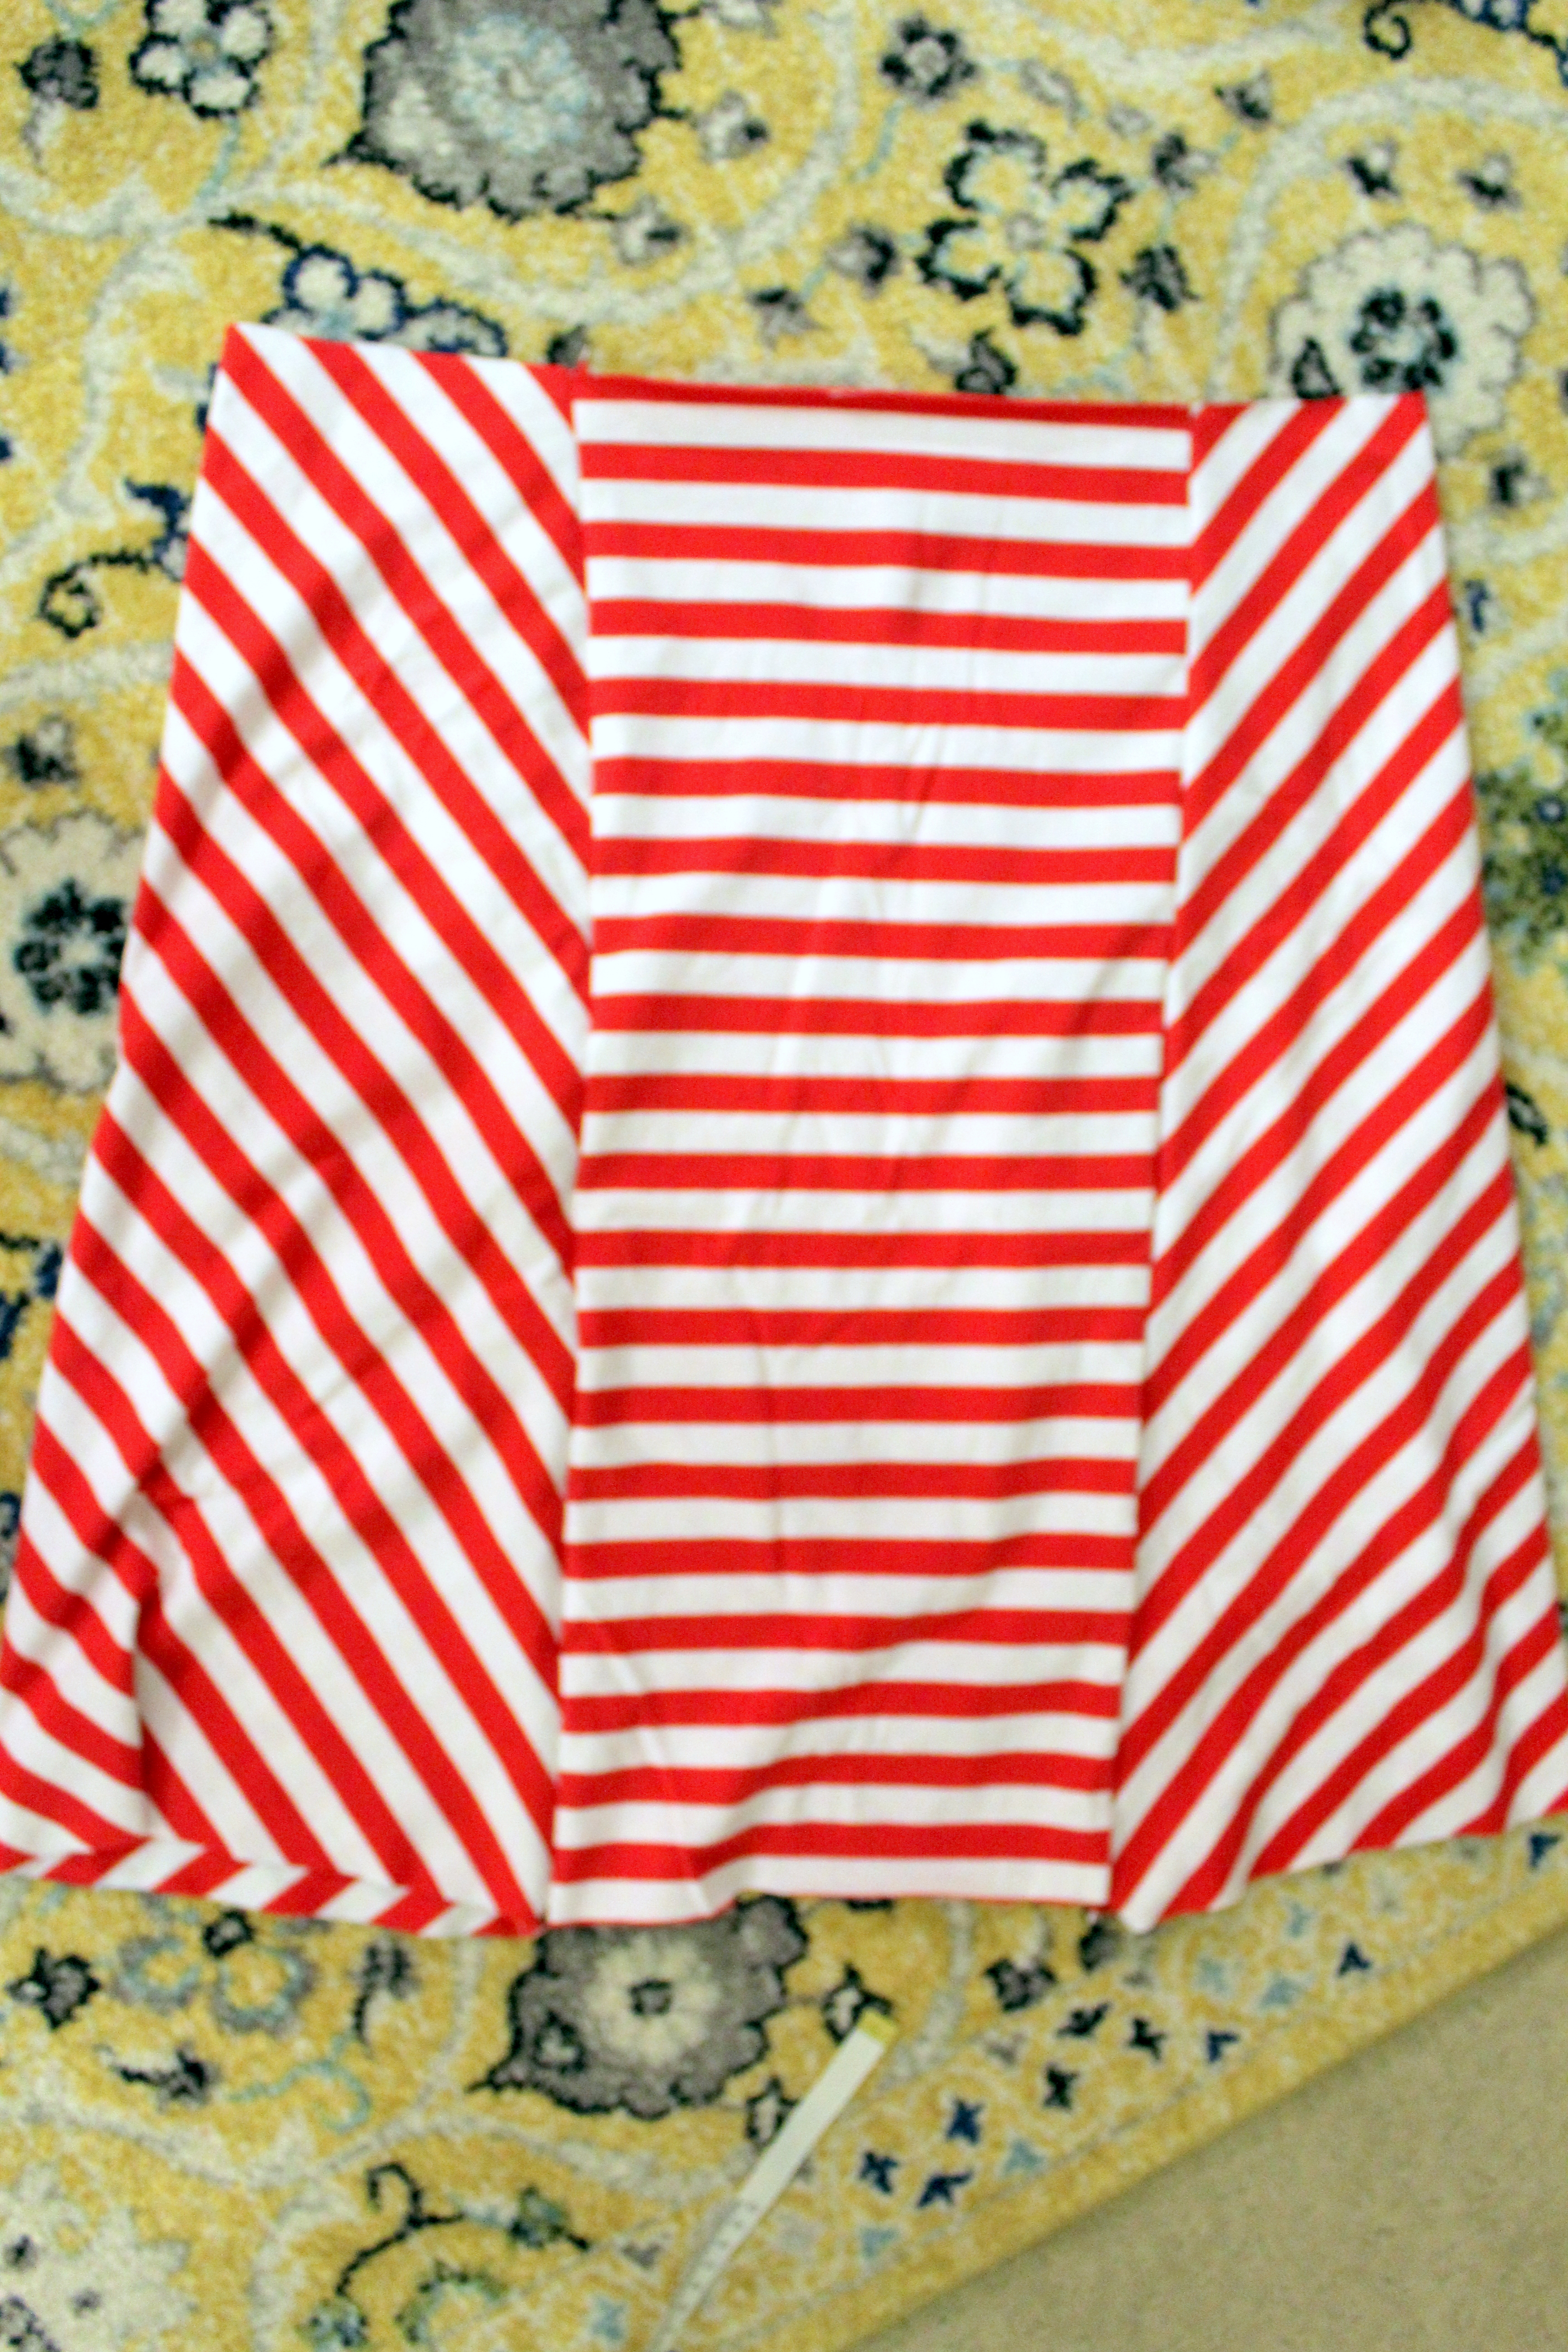
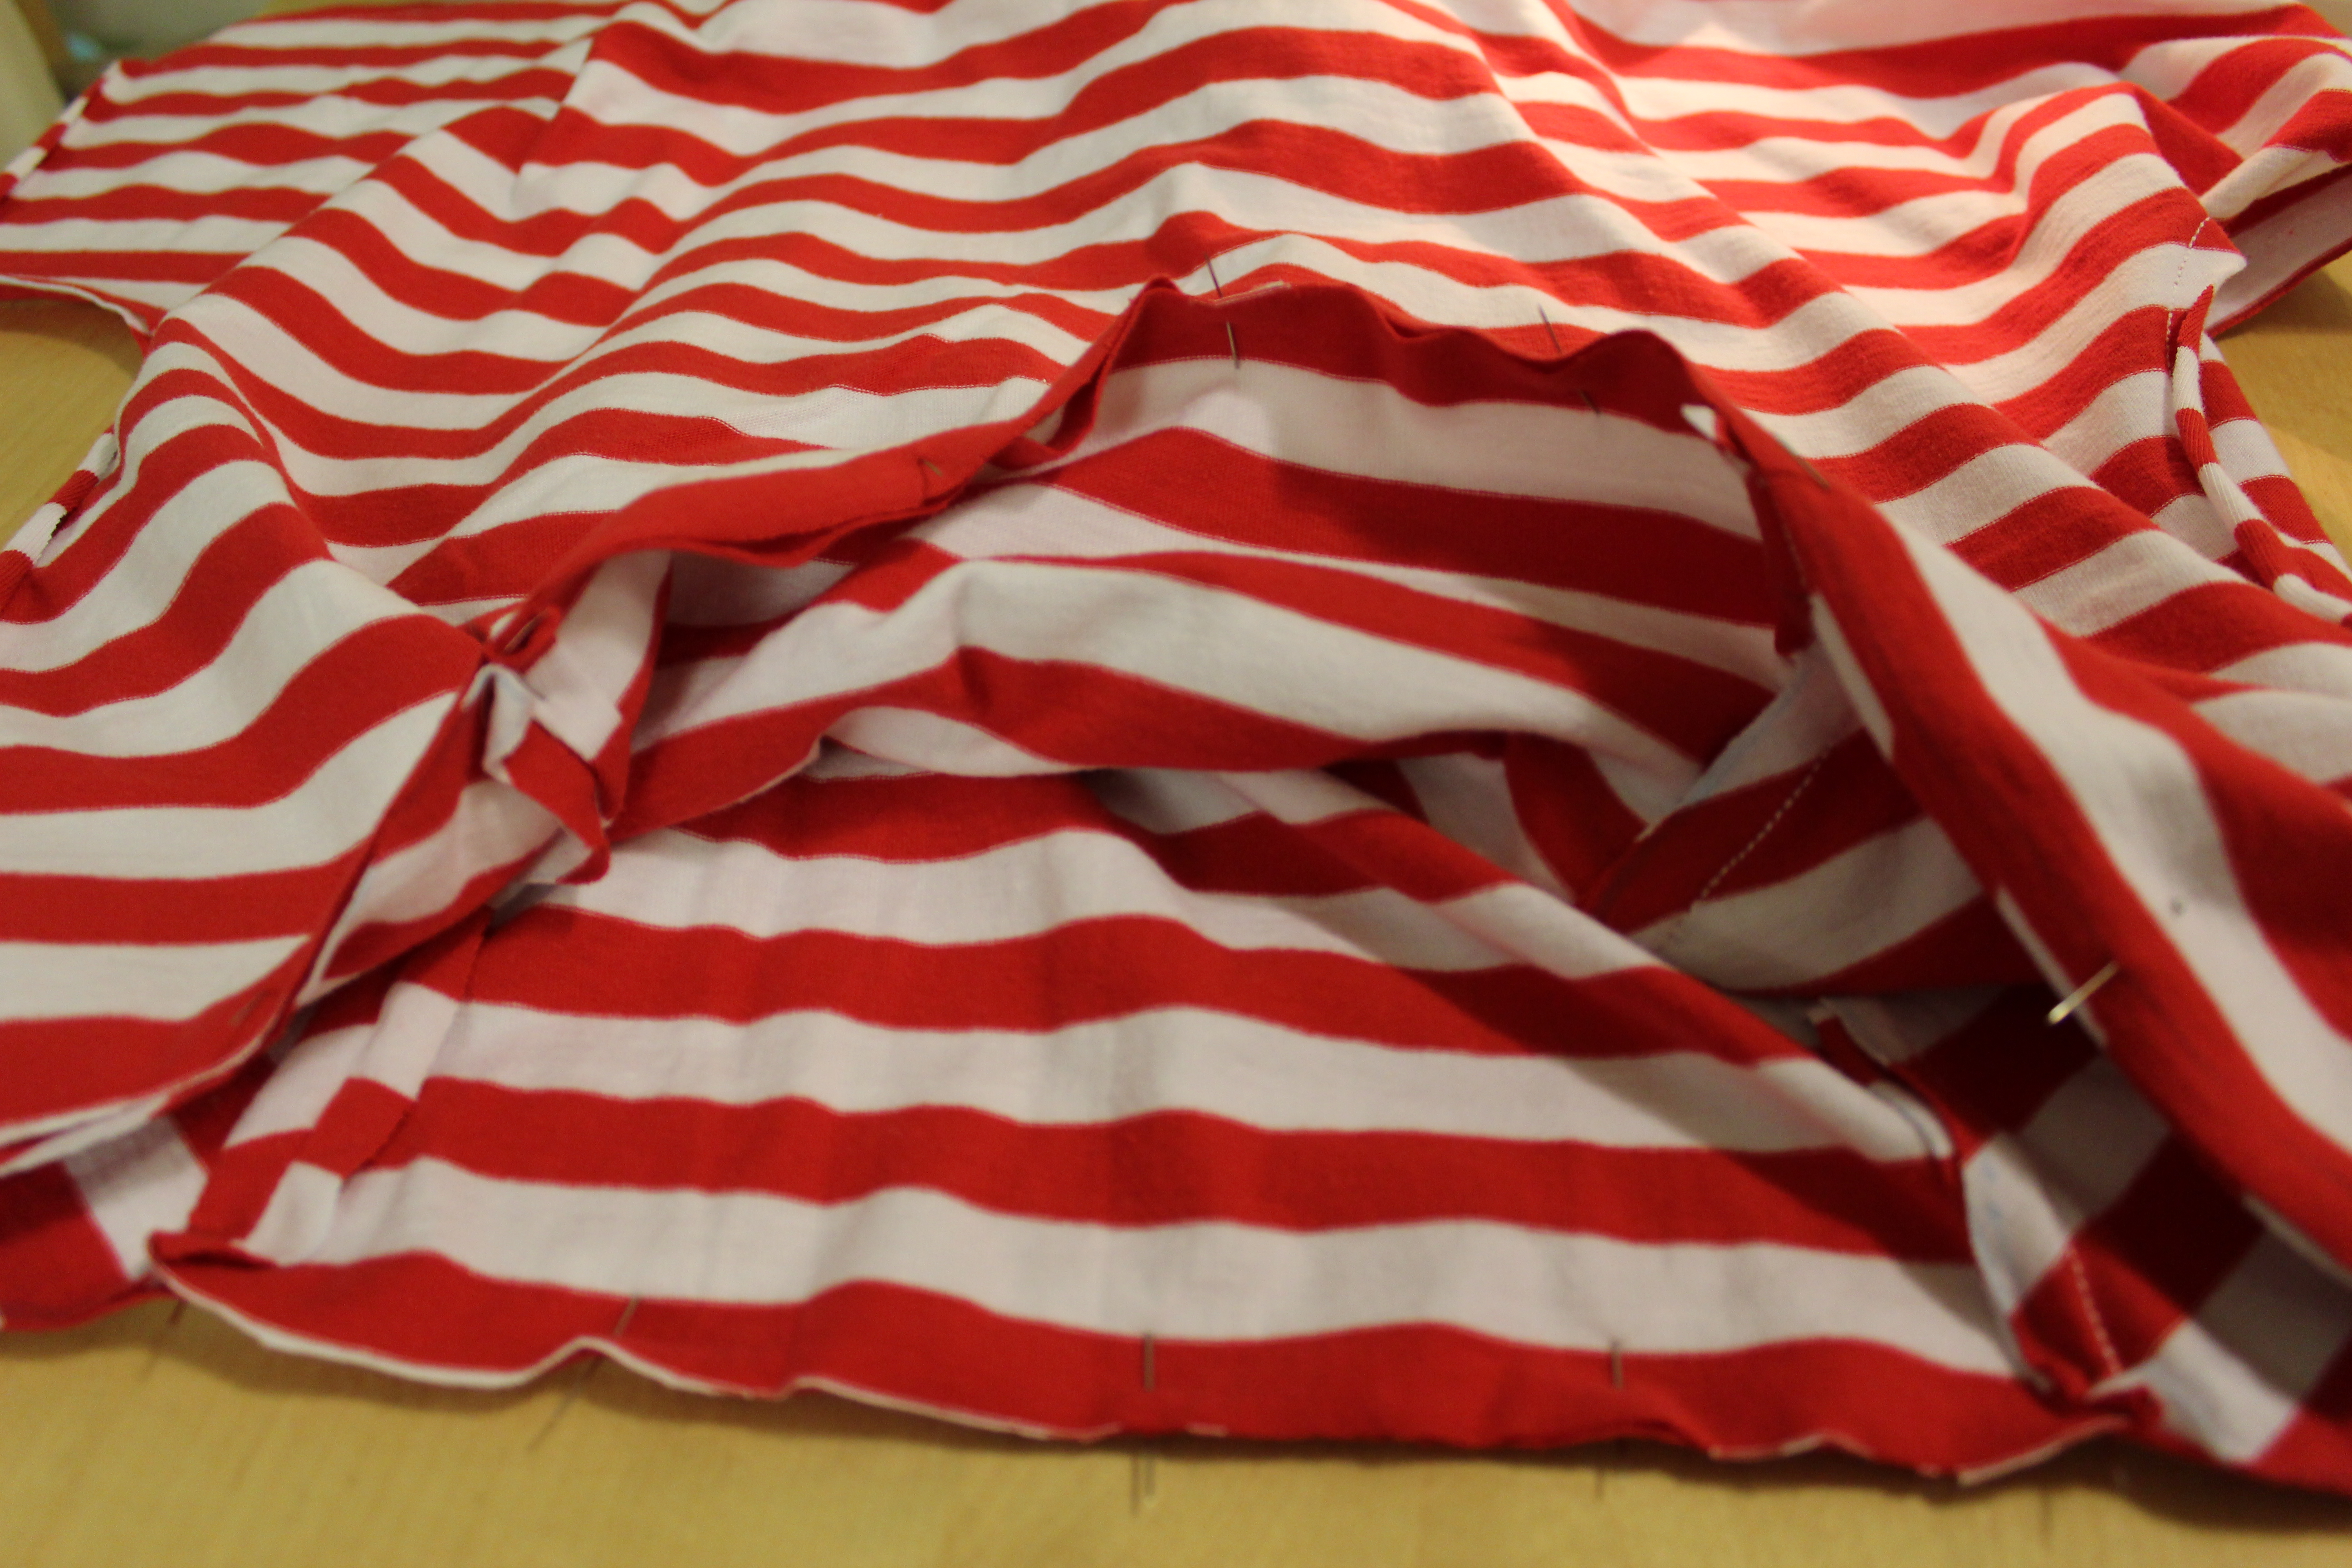
Carefully eyeball the stripes so you get the right diagonal design for the skirt. I did horizontal lines for the middle front and middle back of the skirt. Then cut on a bias for the two side pieces of the skirt.

Pin and sew all four pieces of the skirt together with a 1/2″ seam with right sides together.

The skirt portion should look something like this.

With the top wrong side out and the skirt right side out, tuck the skirt (bottom hem first) into the top then pin and sew. It helps to make center and side marks on the bottom hem of the top and the top hem of the skirt to match you evenly when you pin.

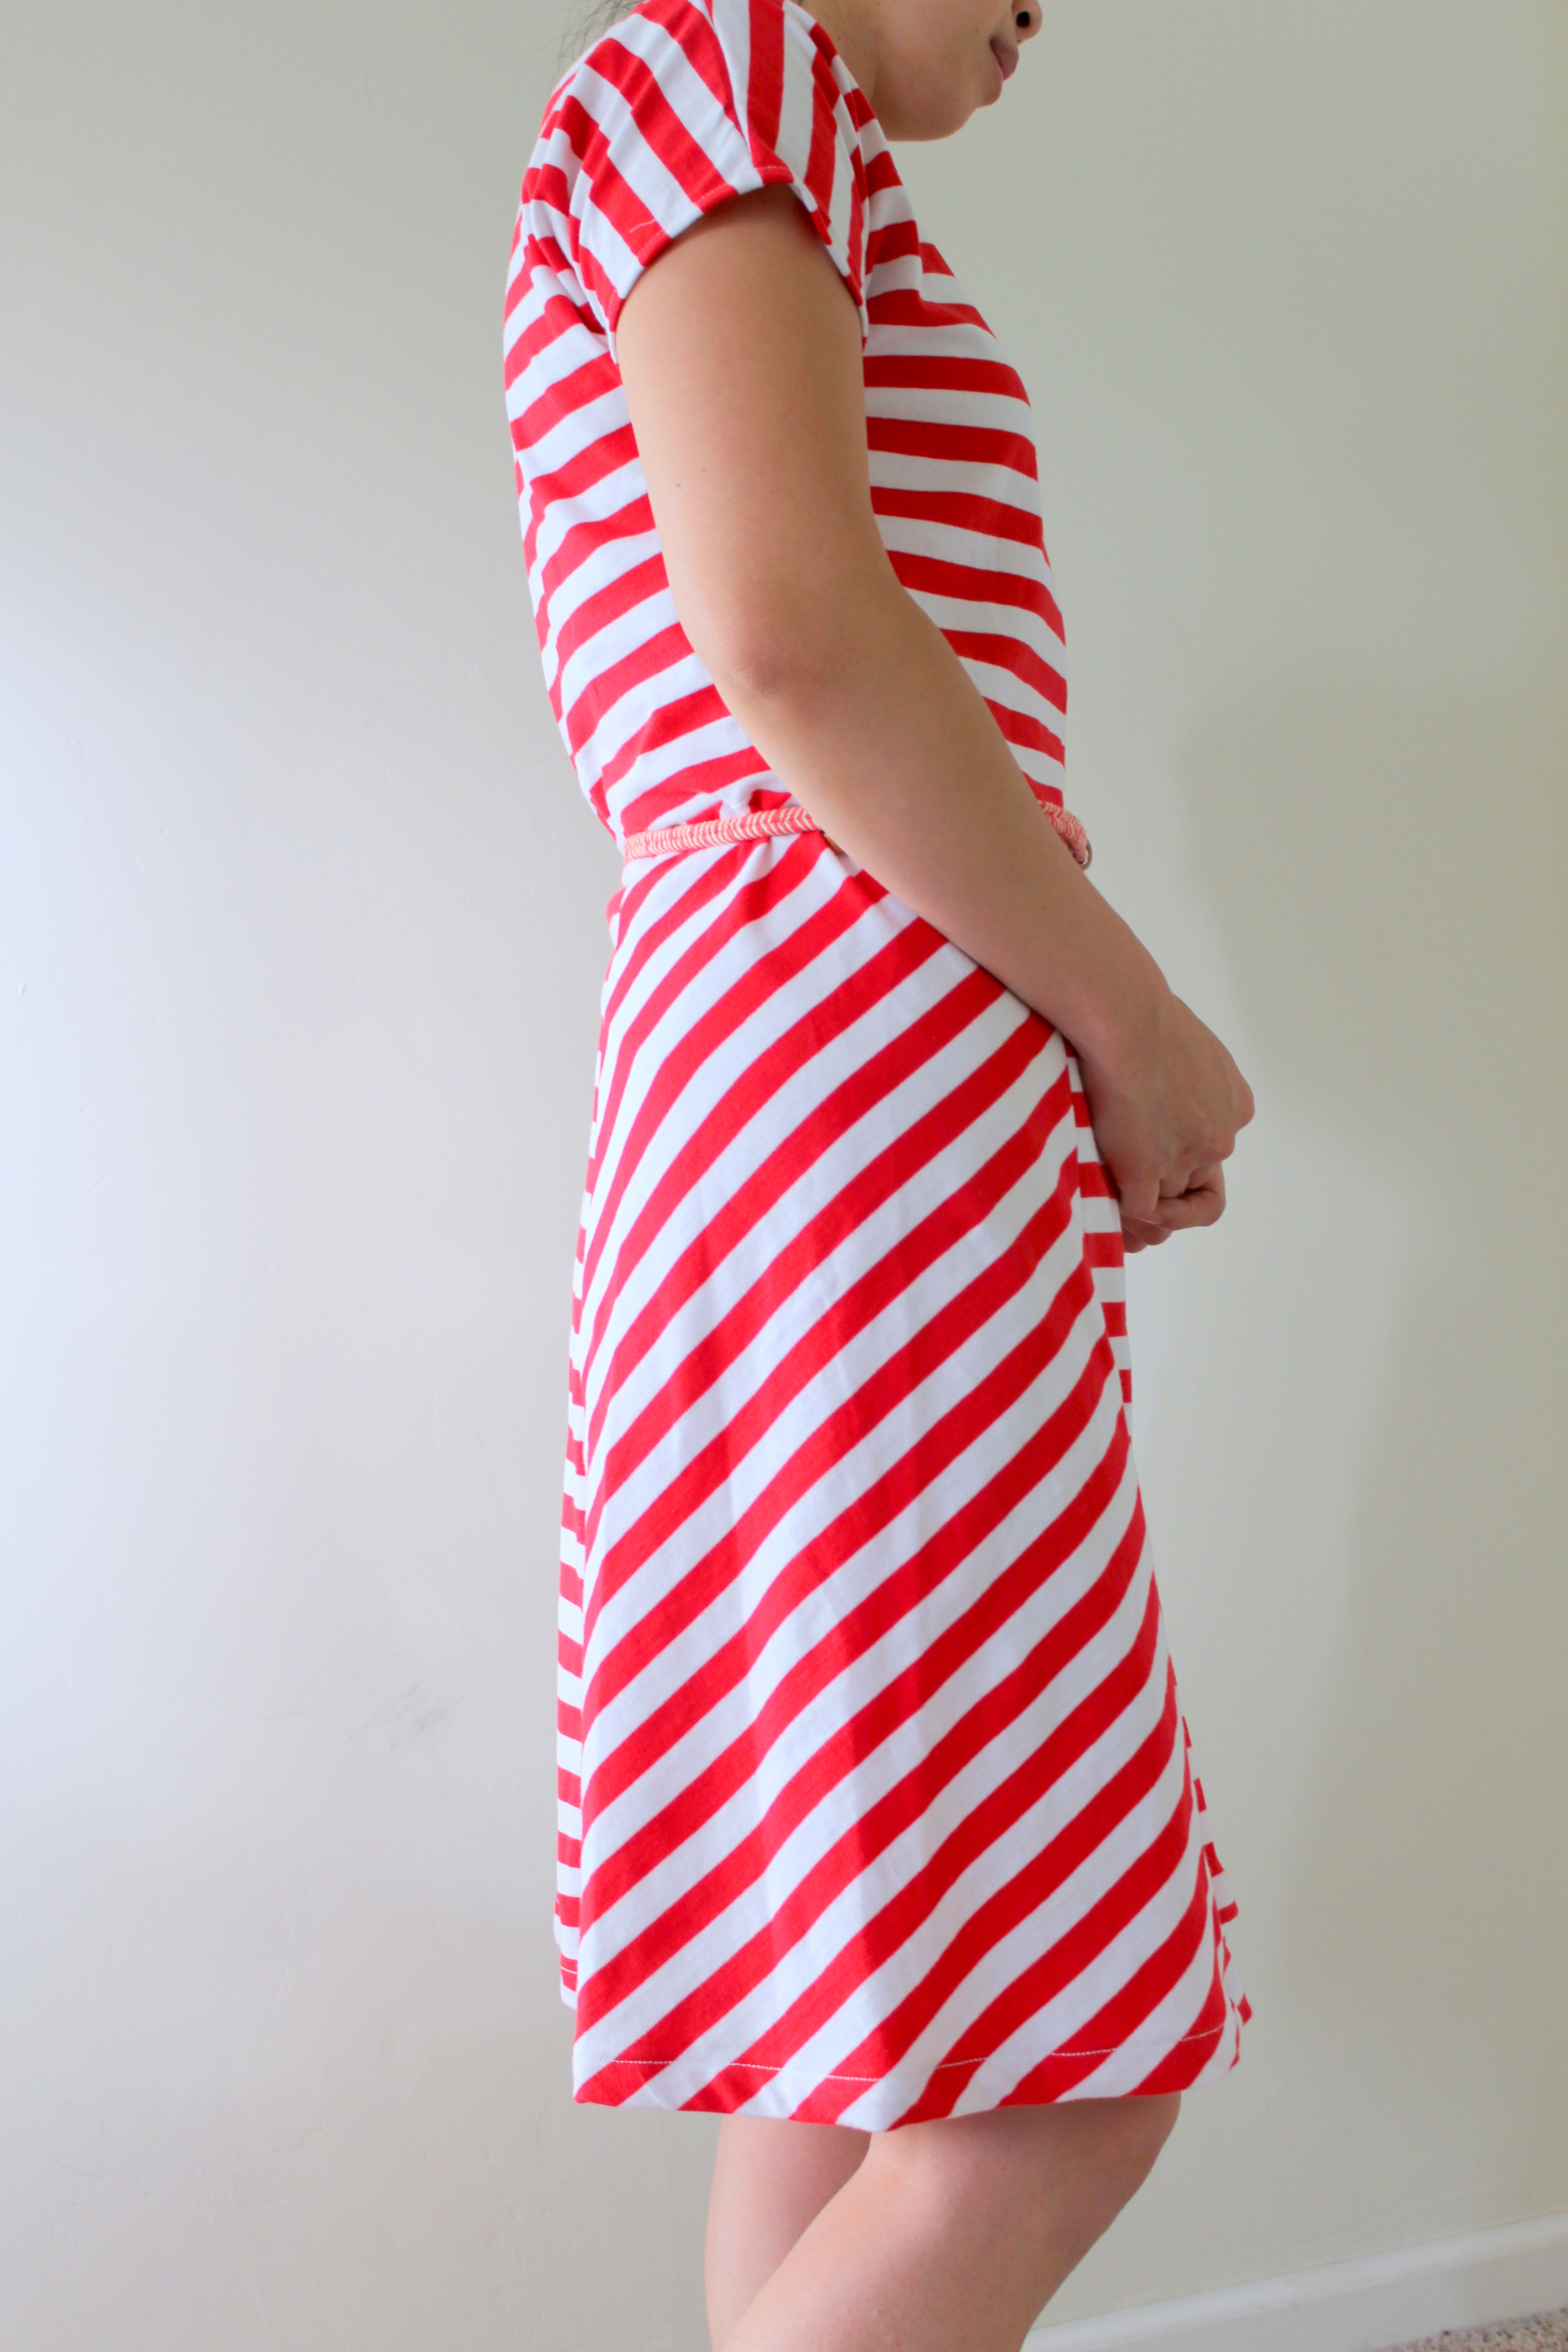
Double fold the neckline then sew. I cut my neckline too wide and it could almost be off-shoulder… I was trying to go for the wide boatneck look with a slight V. Oh well.

Hem your sleeves to desired length. I only single folded the hem for the sleeves.

Double fold and iron the skirt hem then pin and sew.

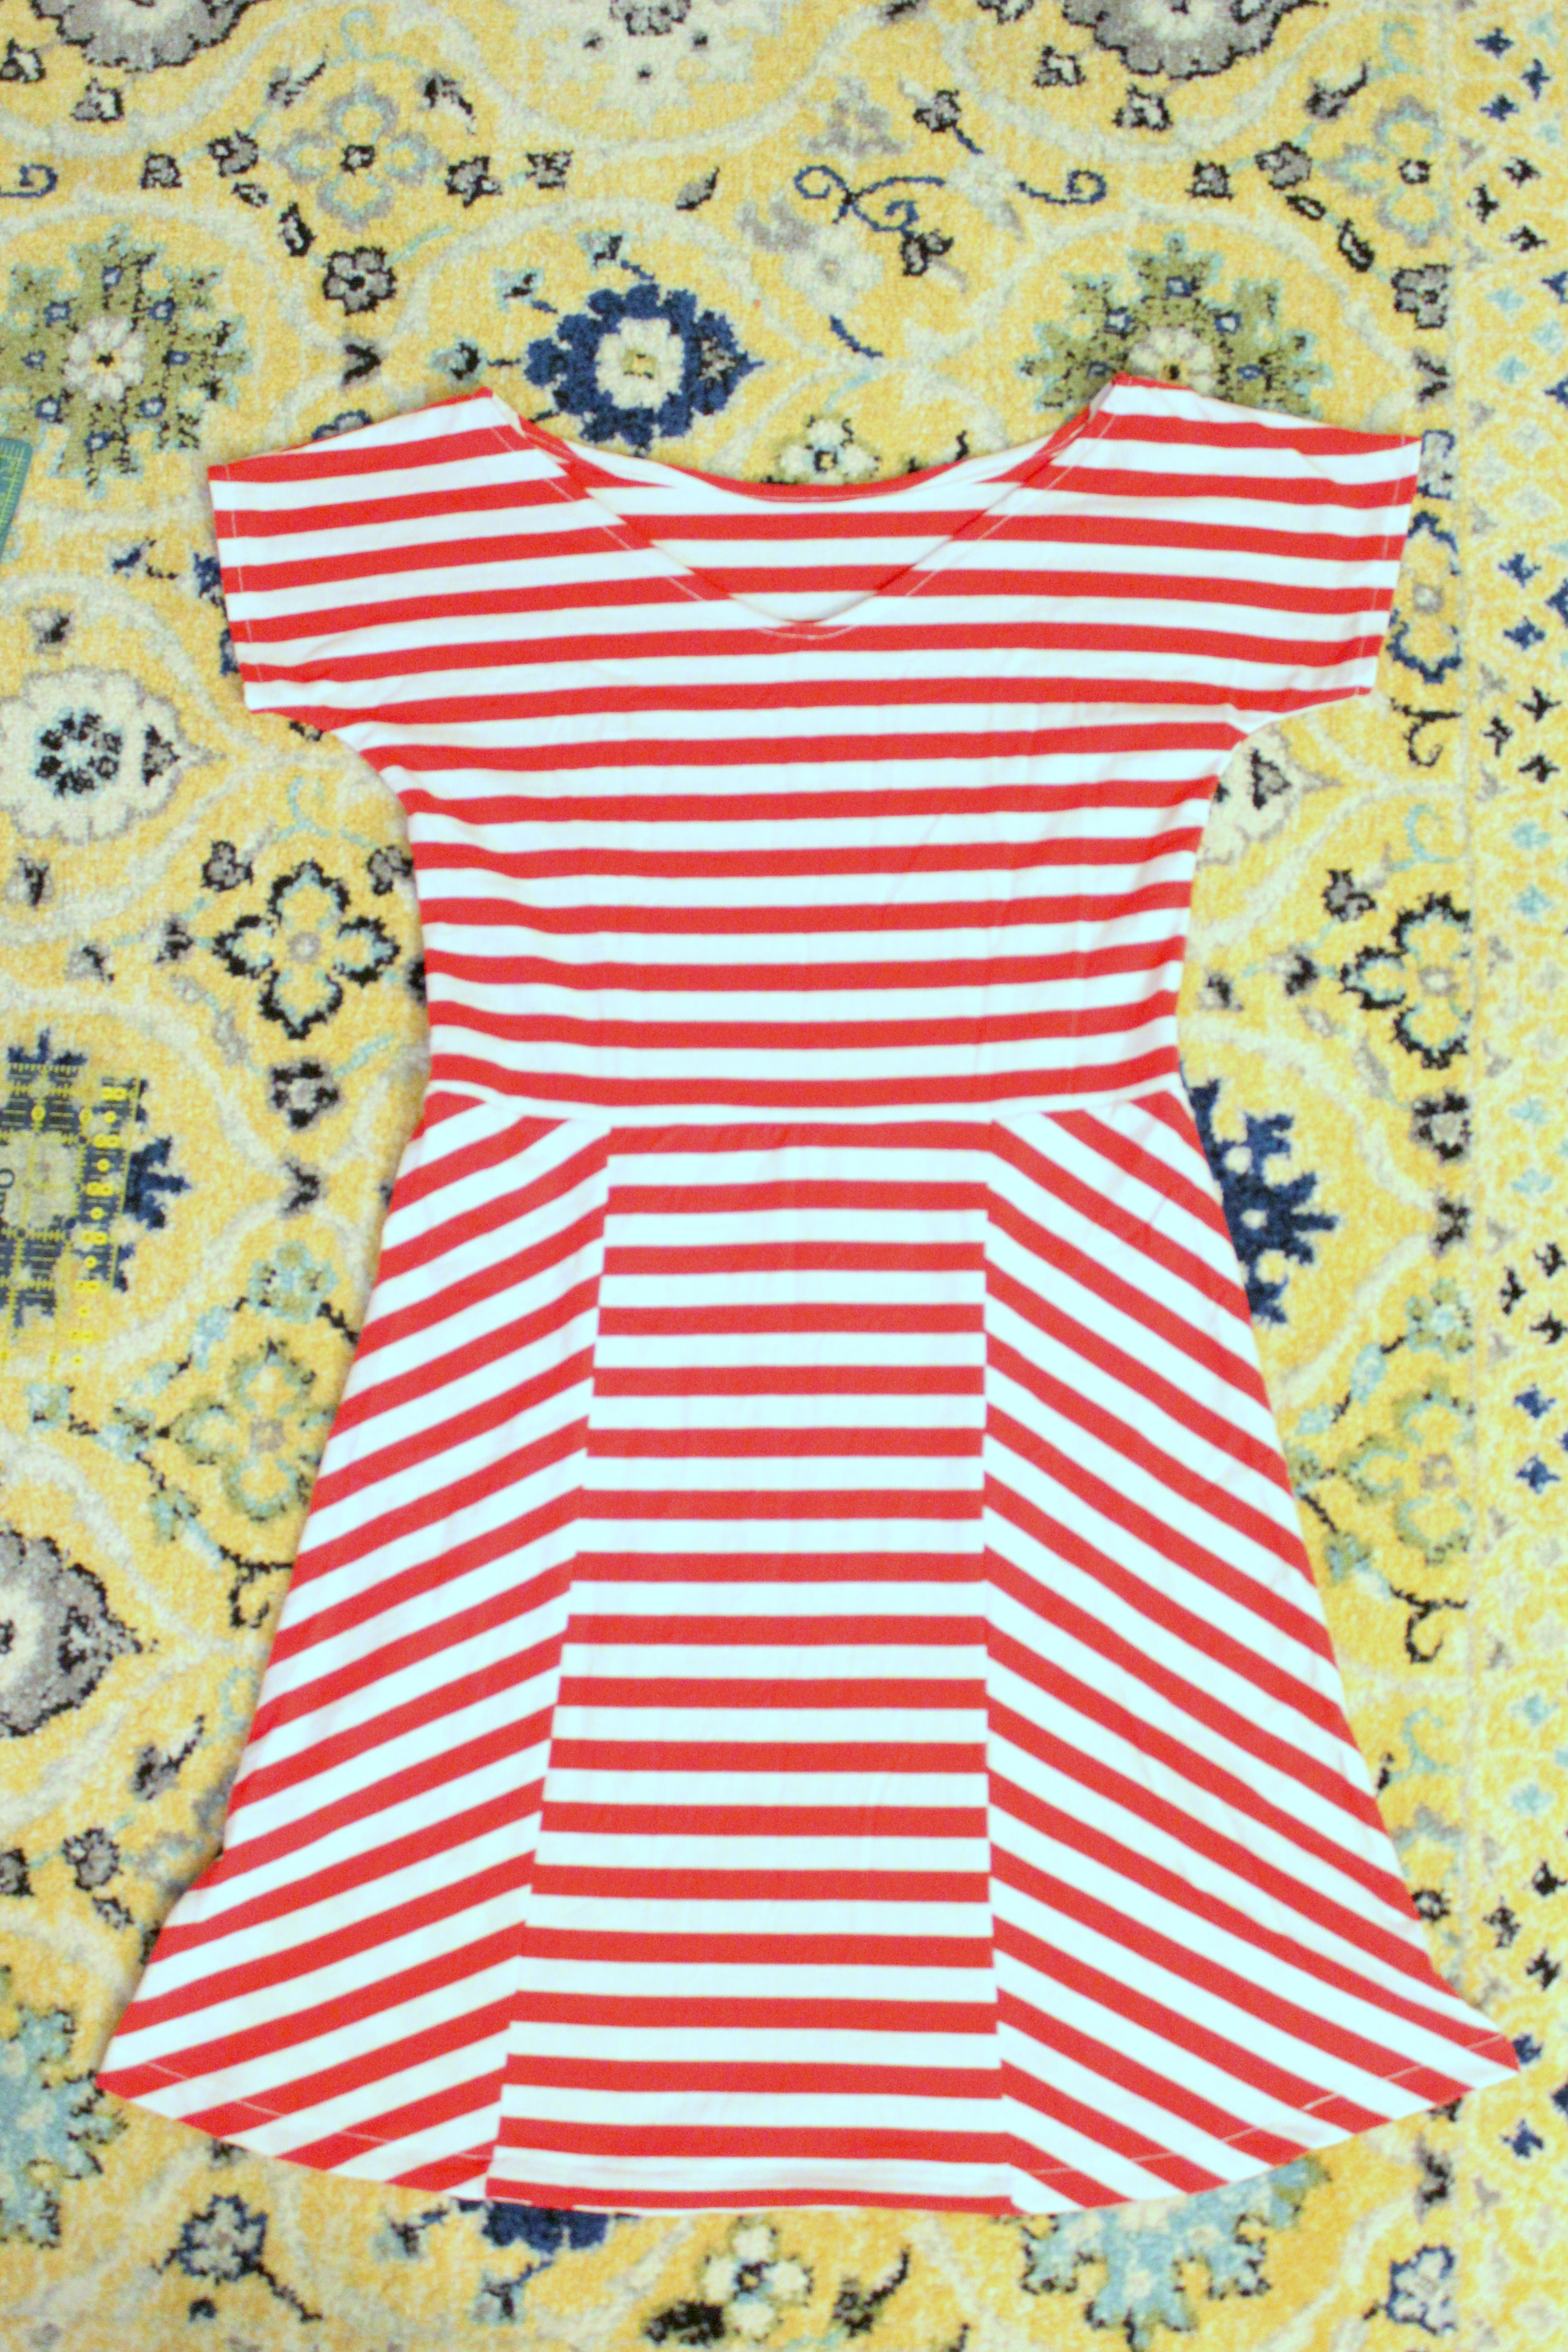
Aaaaaaand you’re done!!!
Hey, this dress would be perfect for the 4th of July! I just need to add some blue and stars and I’m the US flag! I’m excited to add this to my small, but growing, knit dress collection.
Thanks for reading!
-Flora
P.S. Thanks for taking the time to take pictures of me modeling the dress this morning before you left for work, Ken hubby! Love you!