Striped Henley-type knit dress

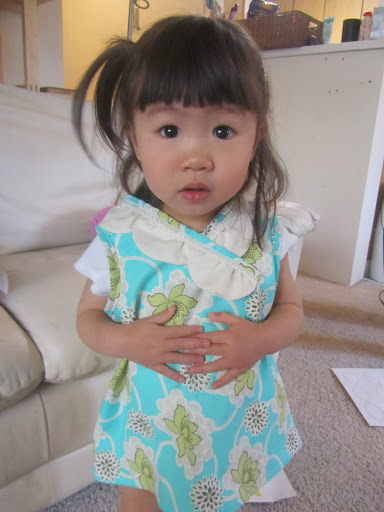
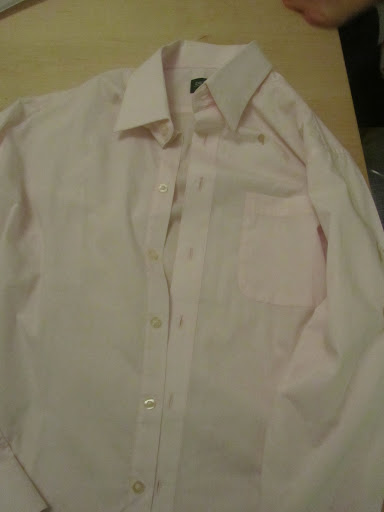
I have a folder on my comp where I save pics of kids’ clothes that I like for future reference, and I decided to try this dress out from GAP.

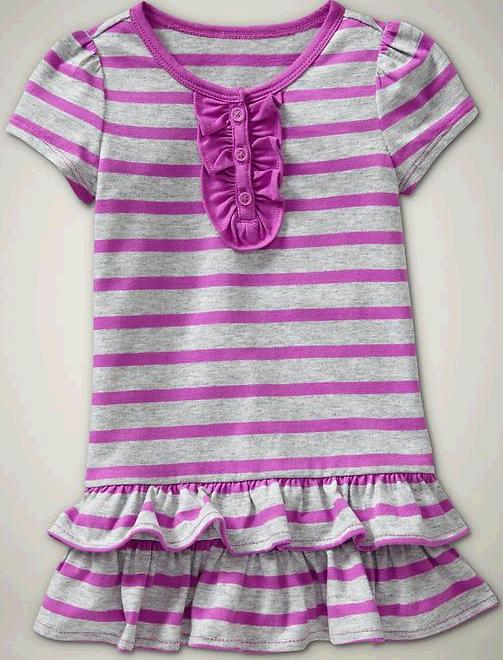
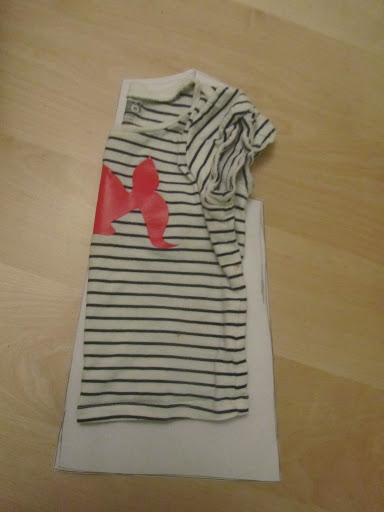
 I know the dress I made doesn’t exactly look like this henley dress from GAP, but this is what I got my inspiration from.  
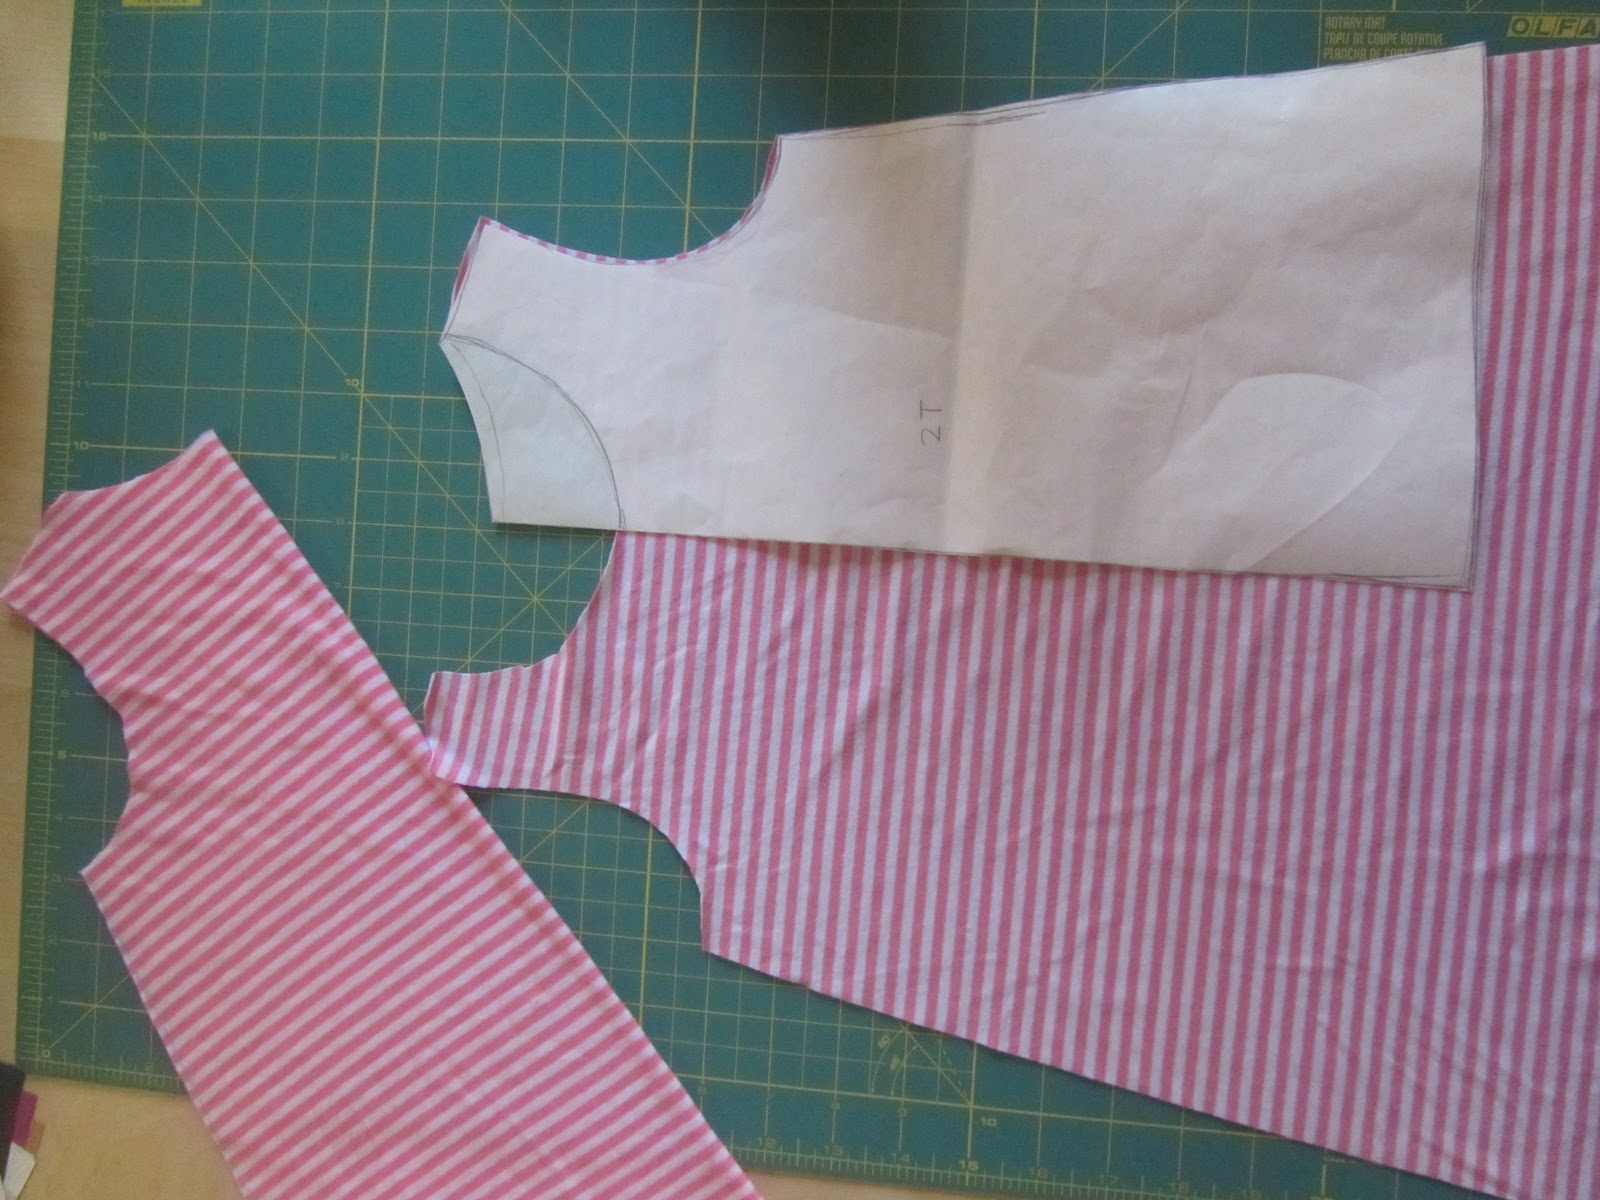
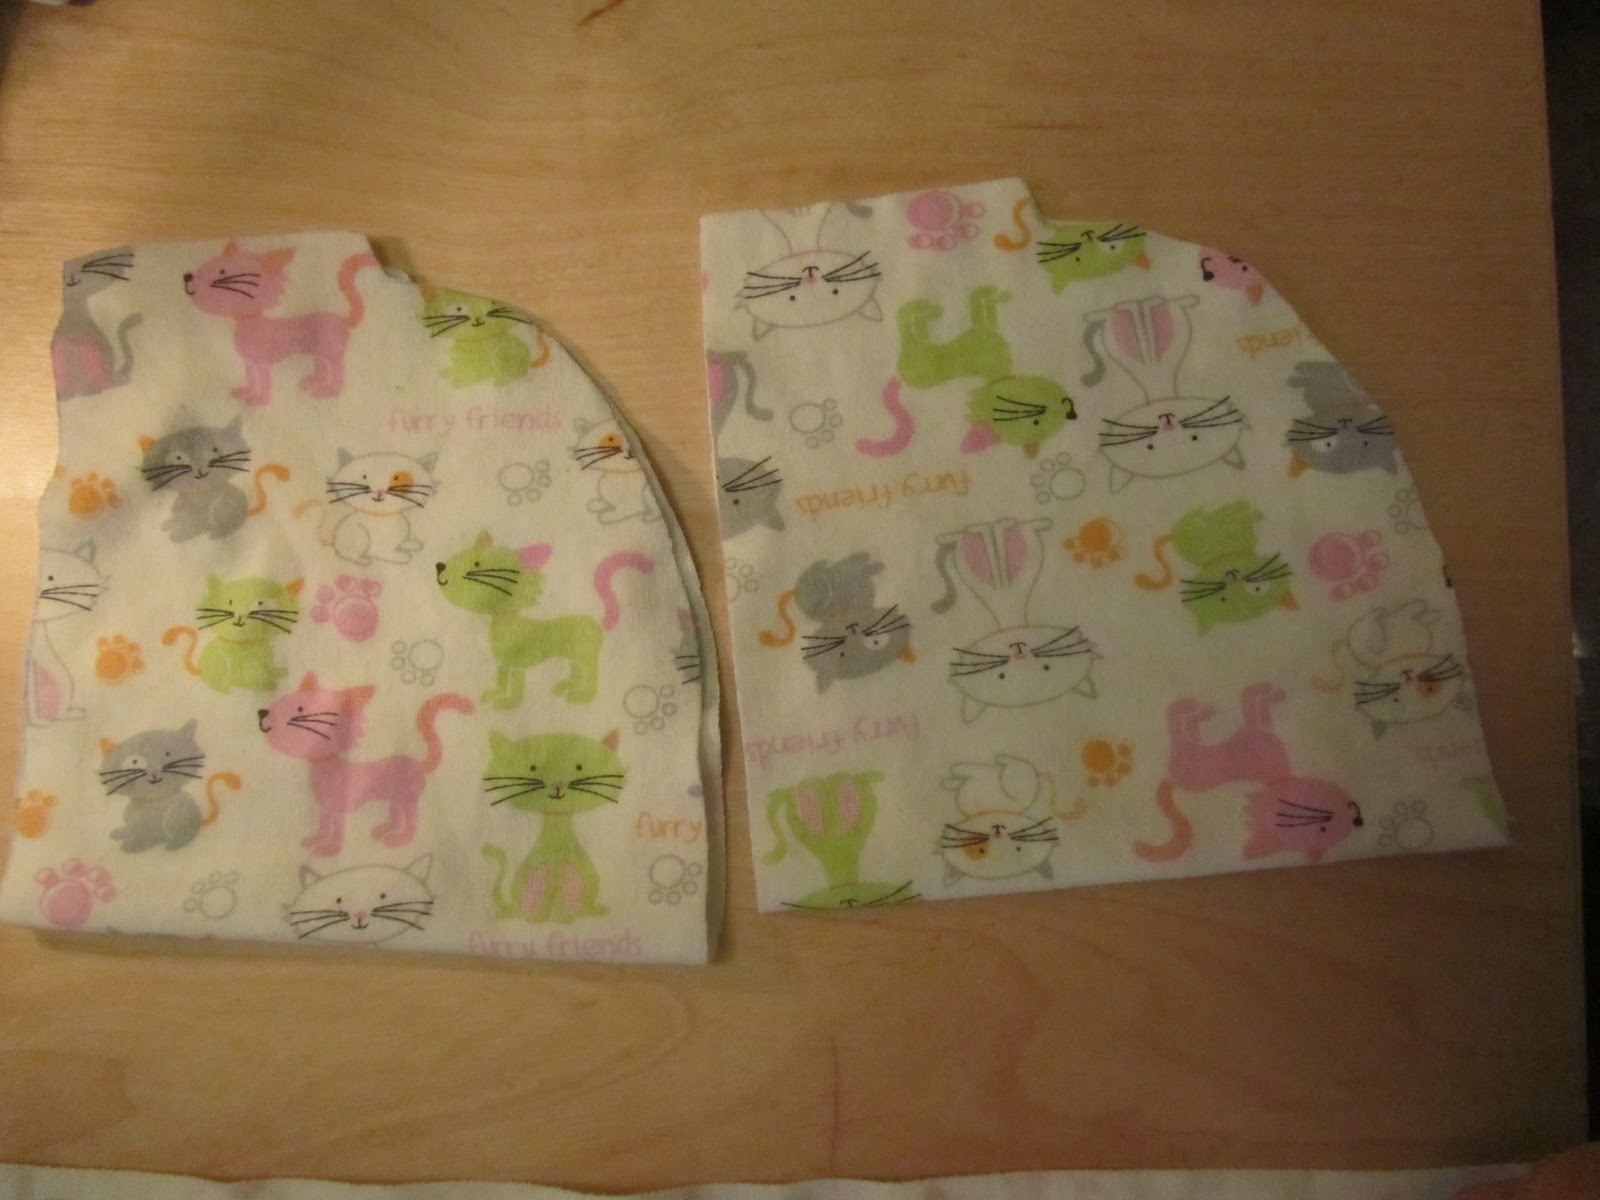
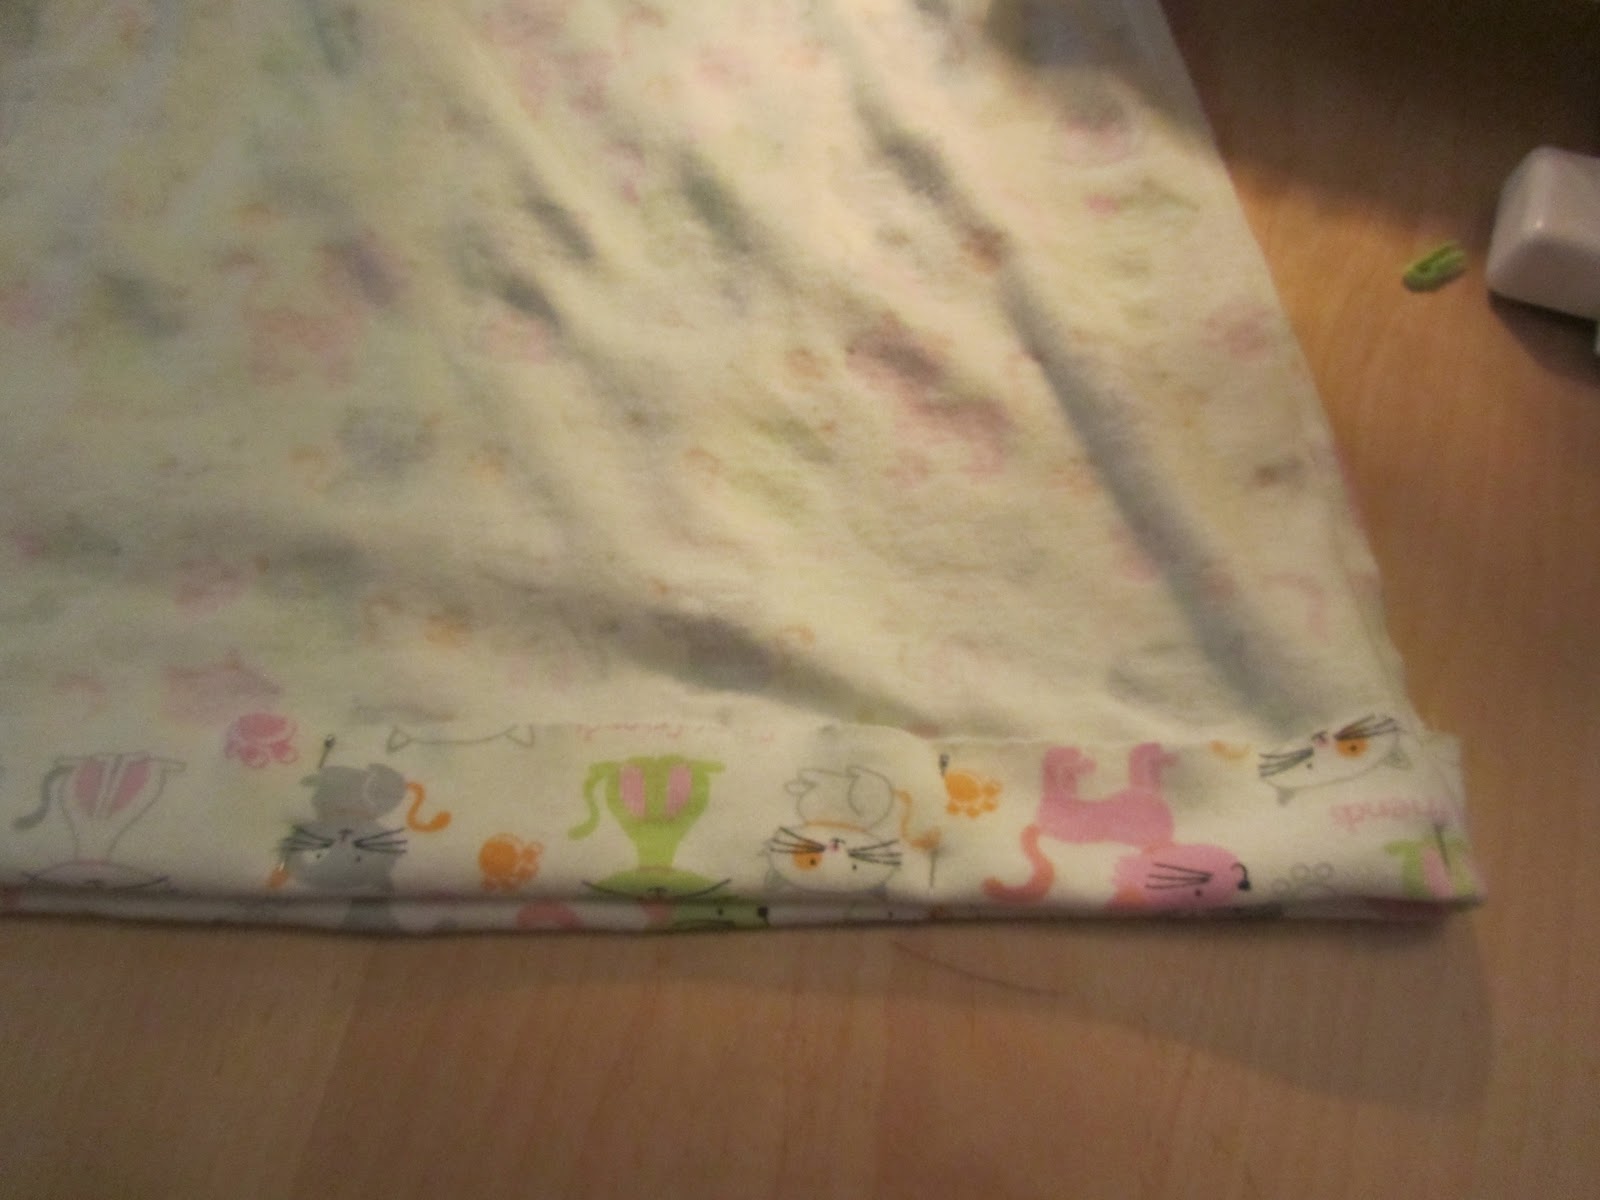
First off, I used the pattern I had for my daughter (which I made from tracing her shirt, add seam allowance), then cut out sleeves, and cut out two strips of fabric double the width of the bottom of the dress for the ruffles.

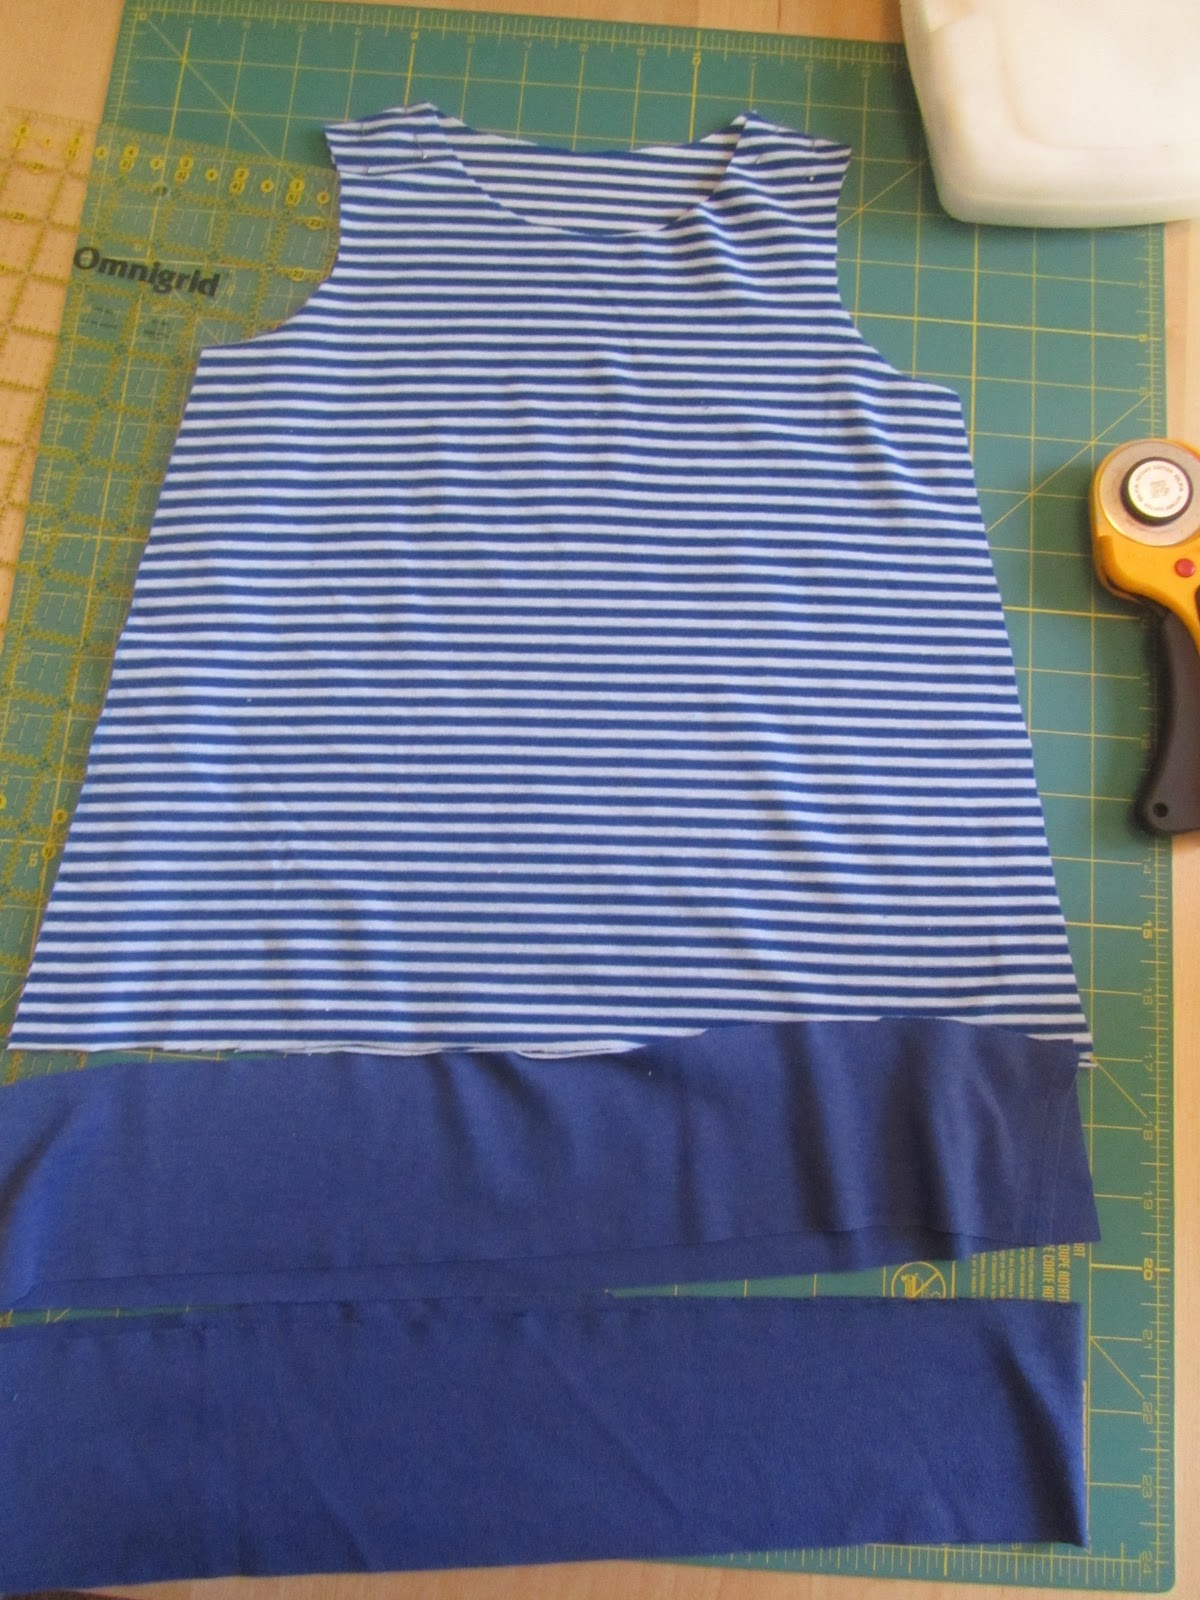
You can see I folded the solid color fabric so it’s double the width of the bottom.

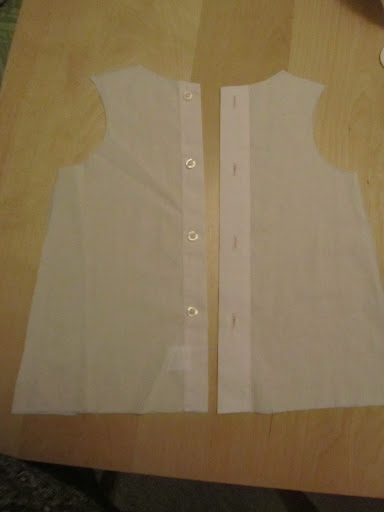
Then sew the shoulders together with right sides of fabric facing each other.

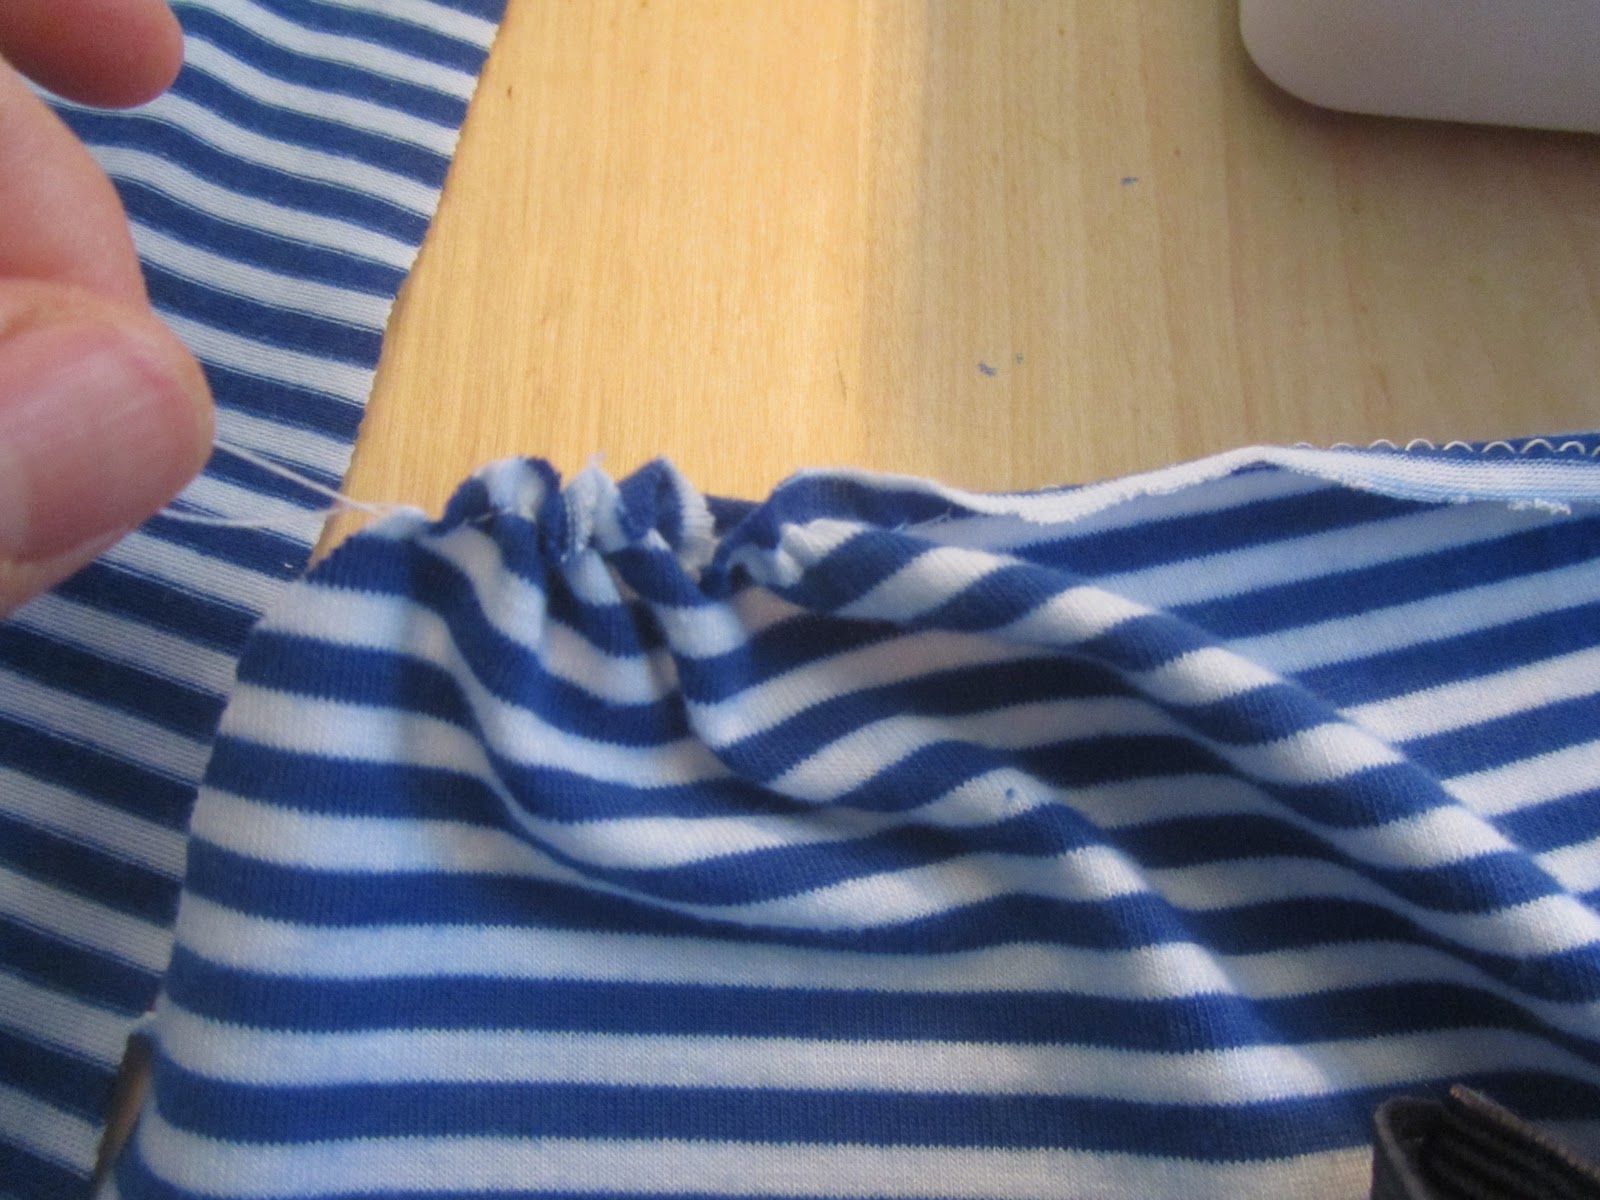
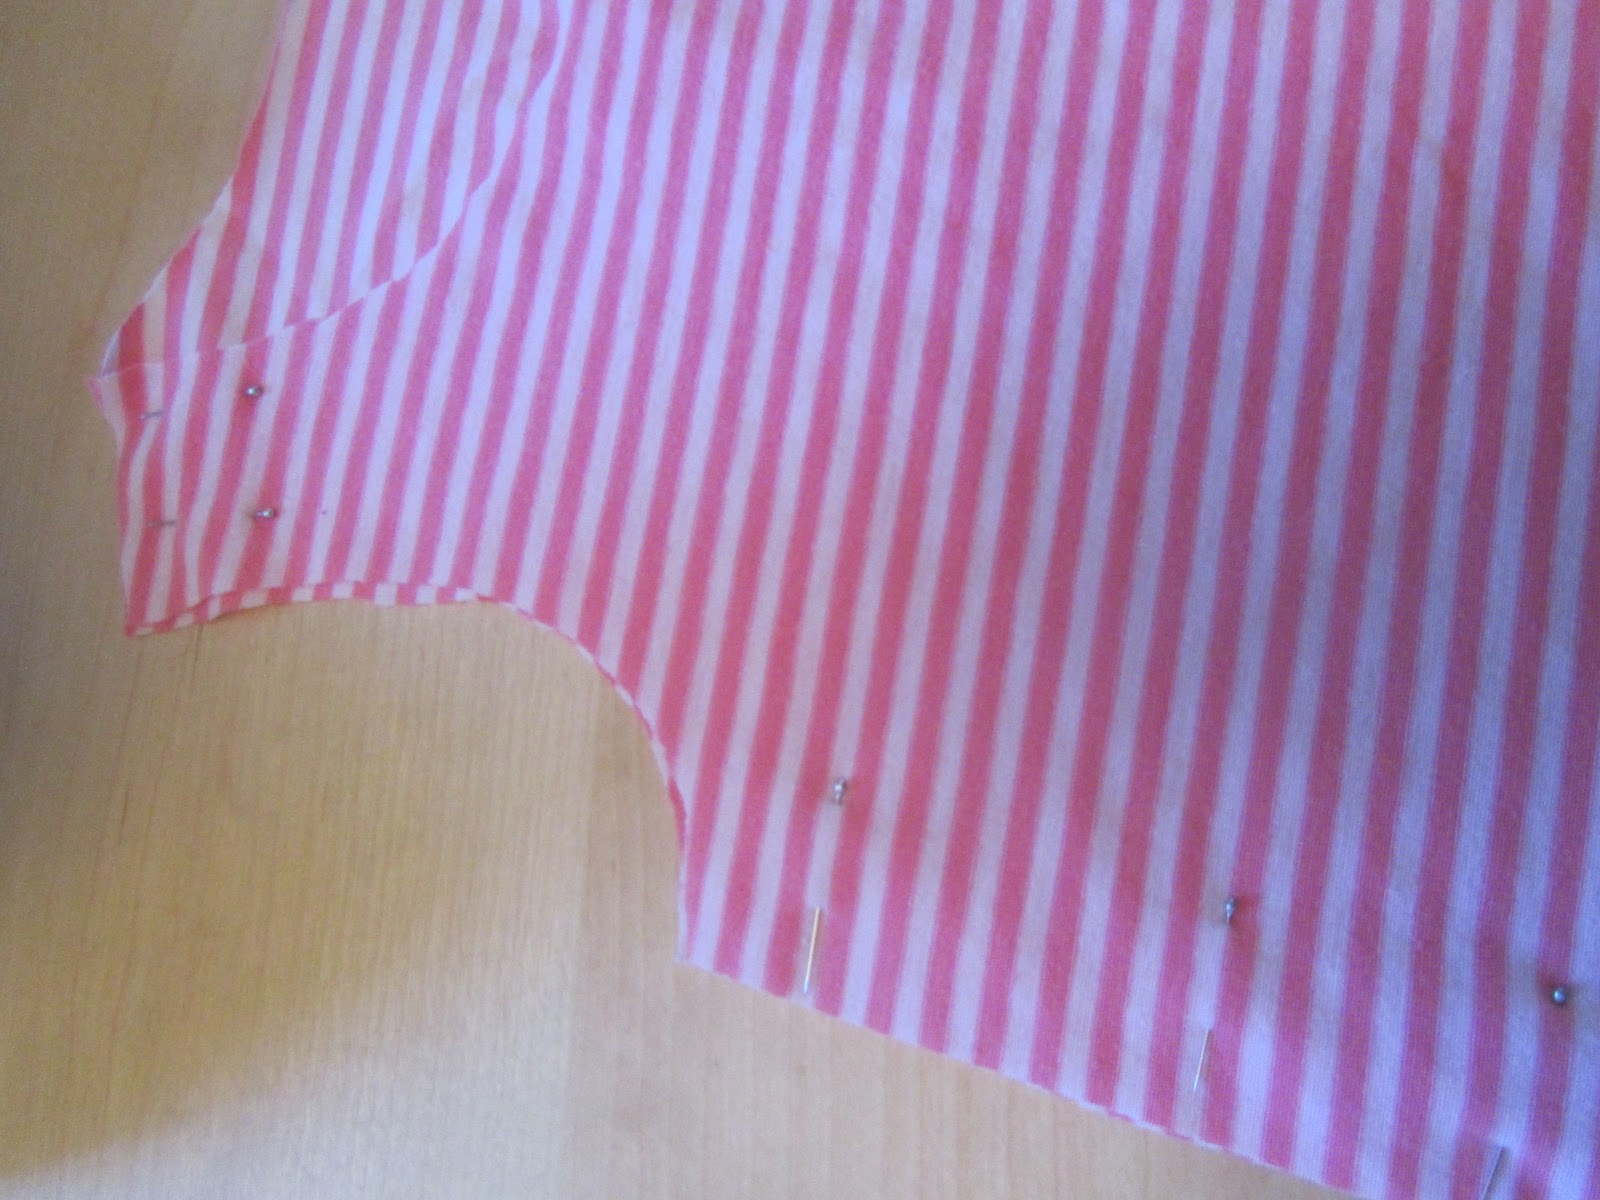
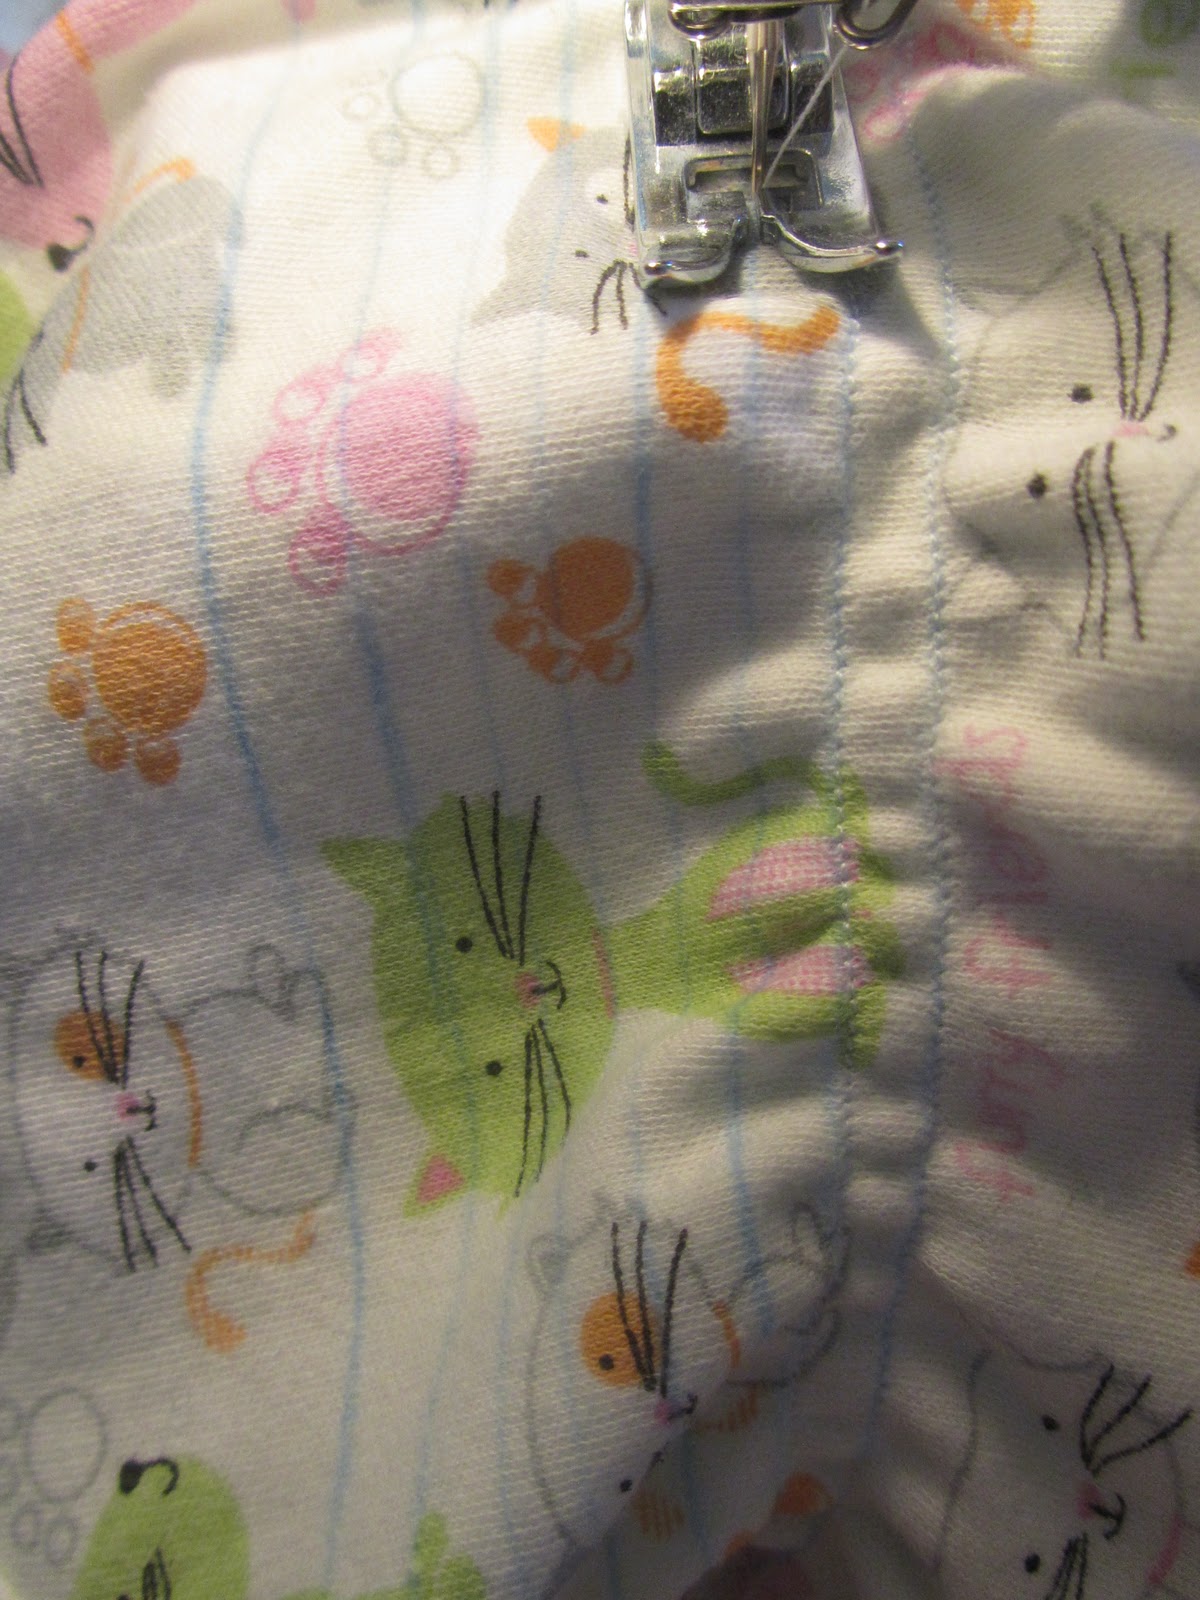
Then get your sleeves and do a gather stitch and gather until it fits your armhole

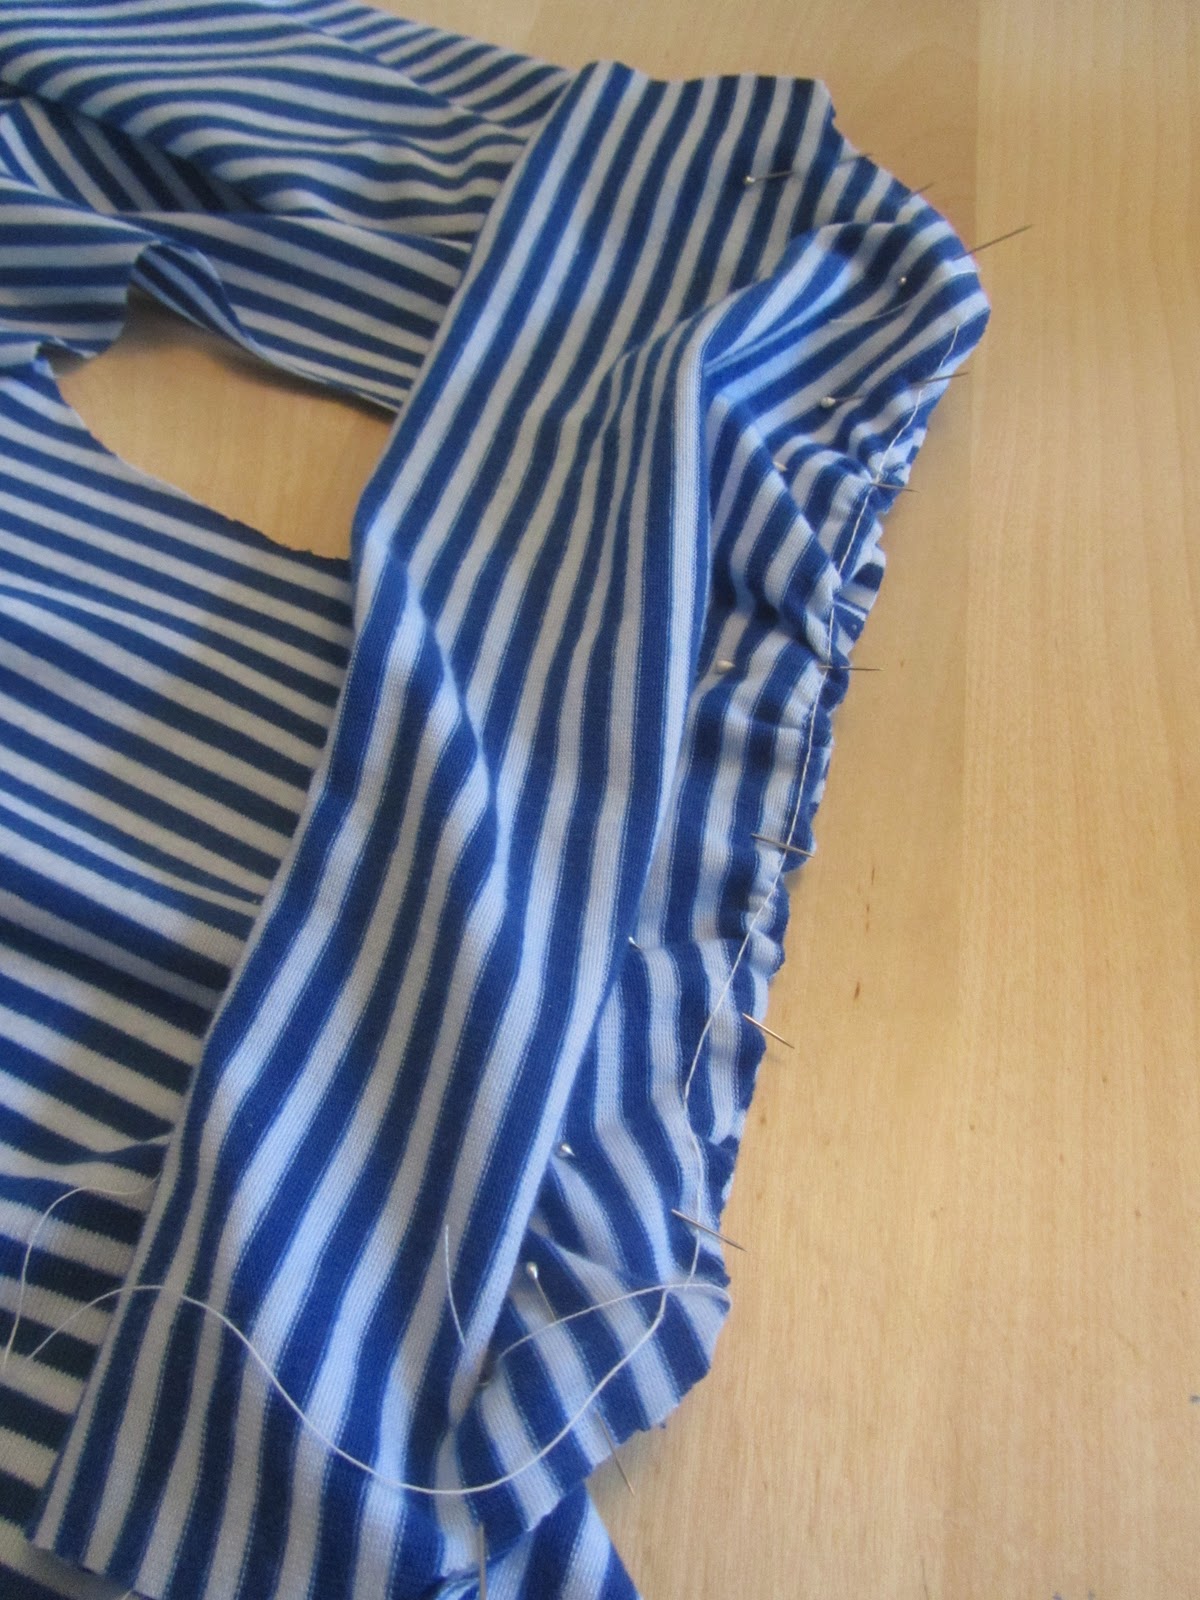
Pin the sleeves onto the armhole then sew it together (again, right sides of fabric together)

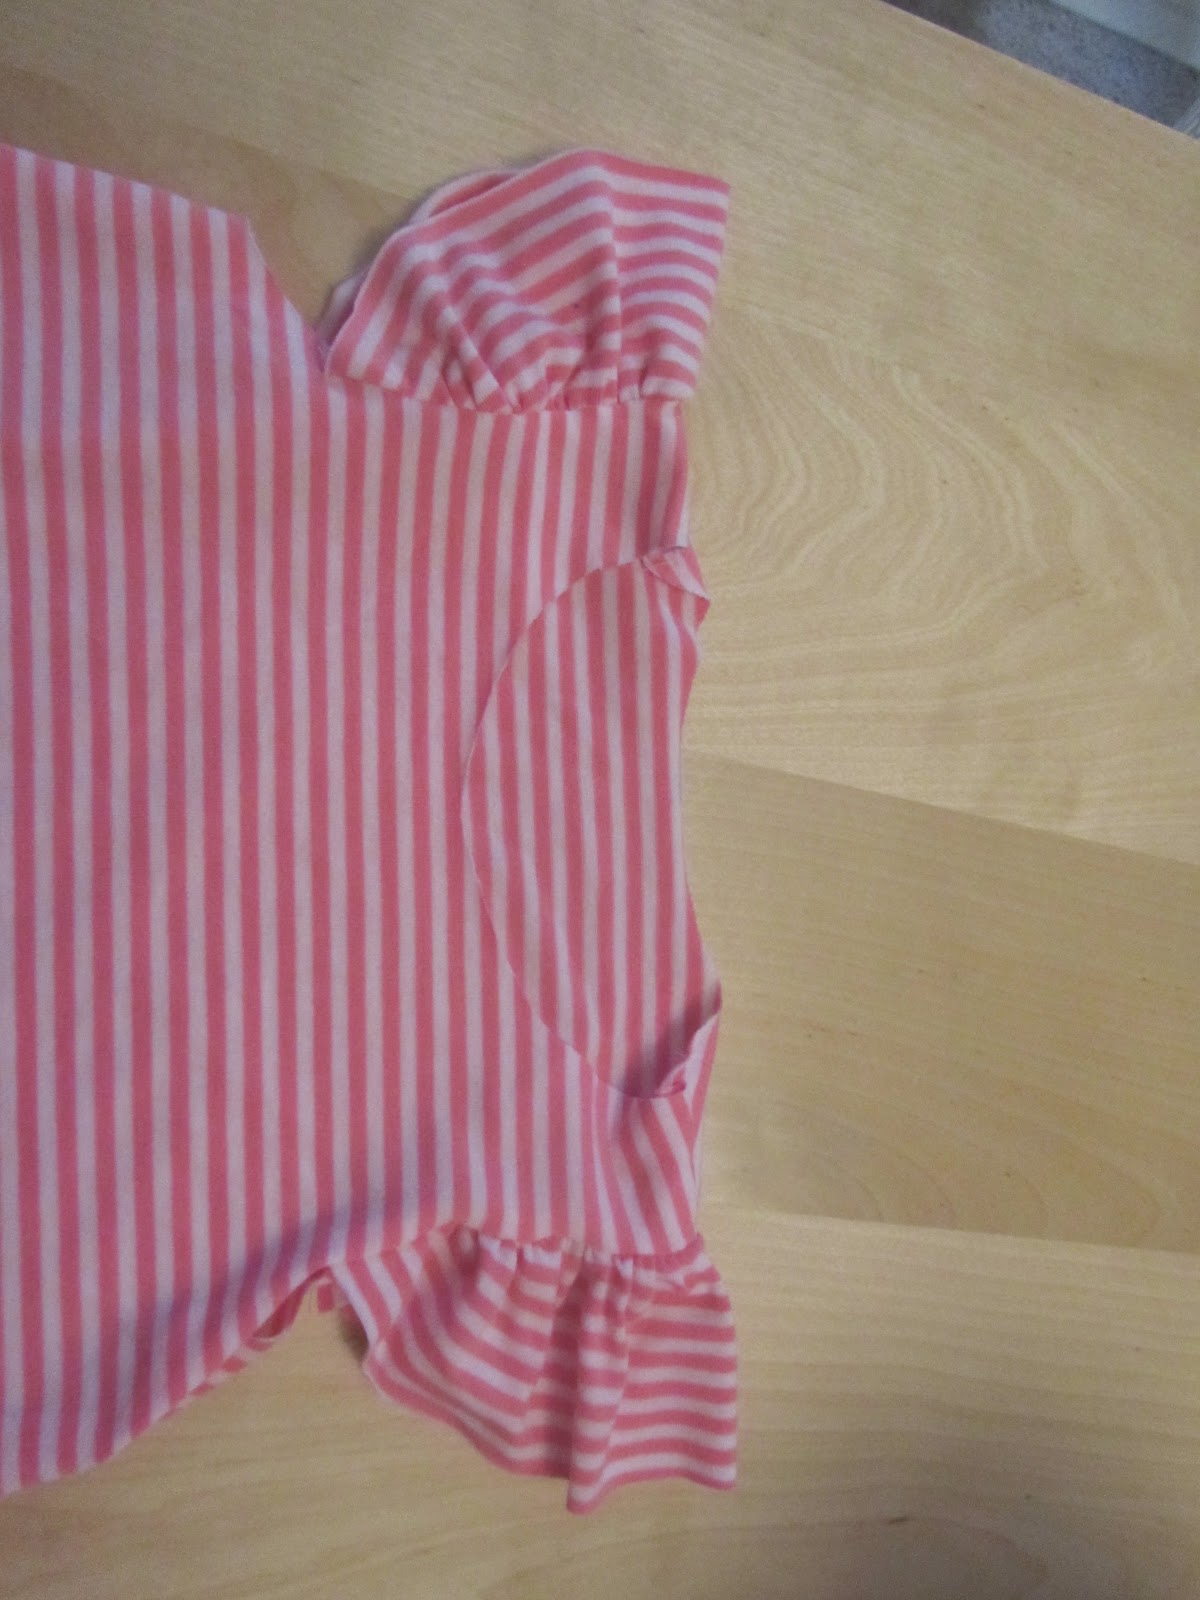
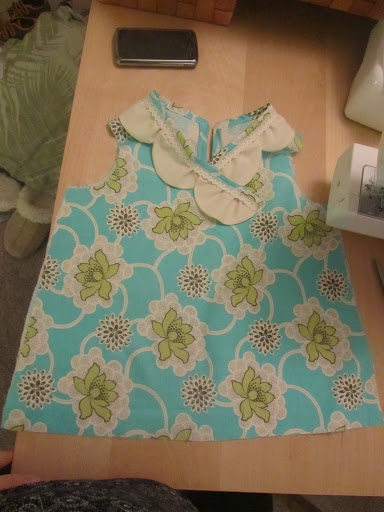
This is what it should look like after you sewed on the sleeves

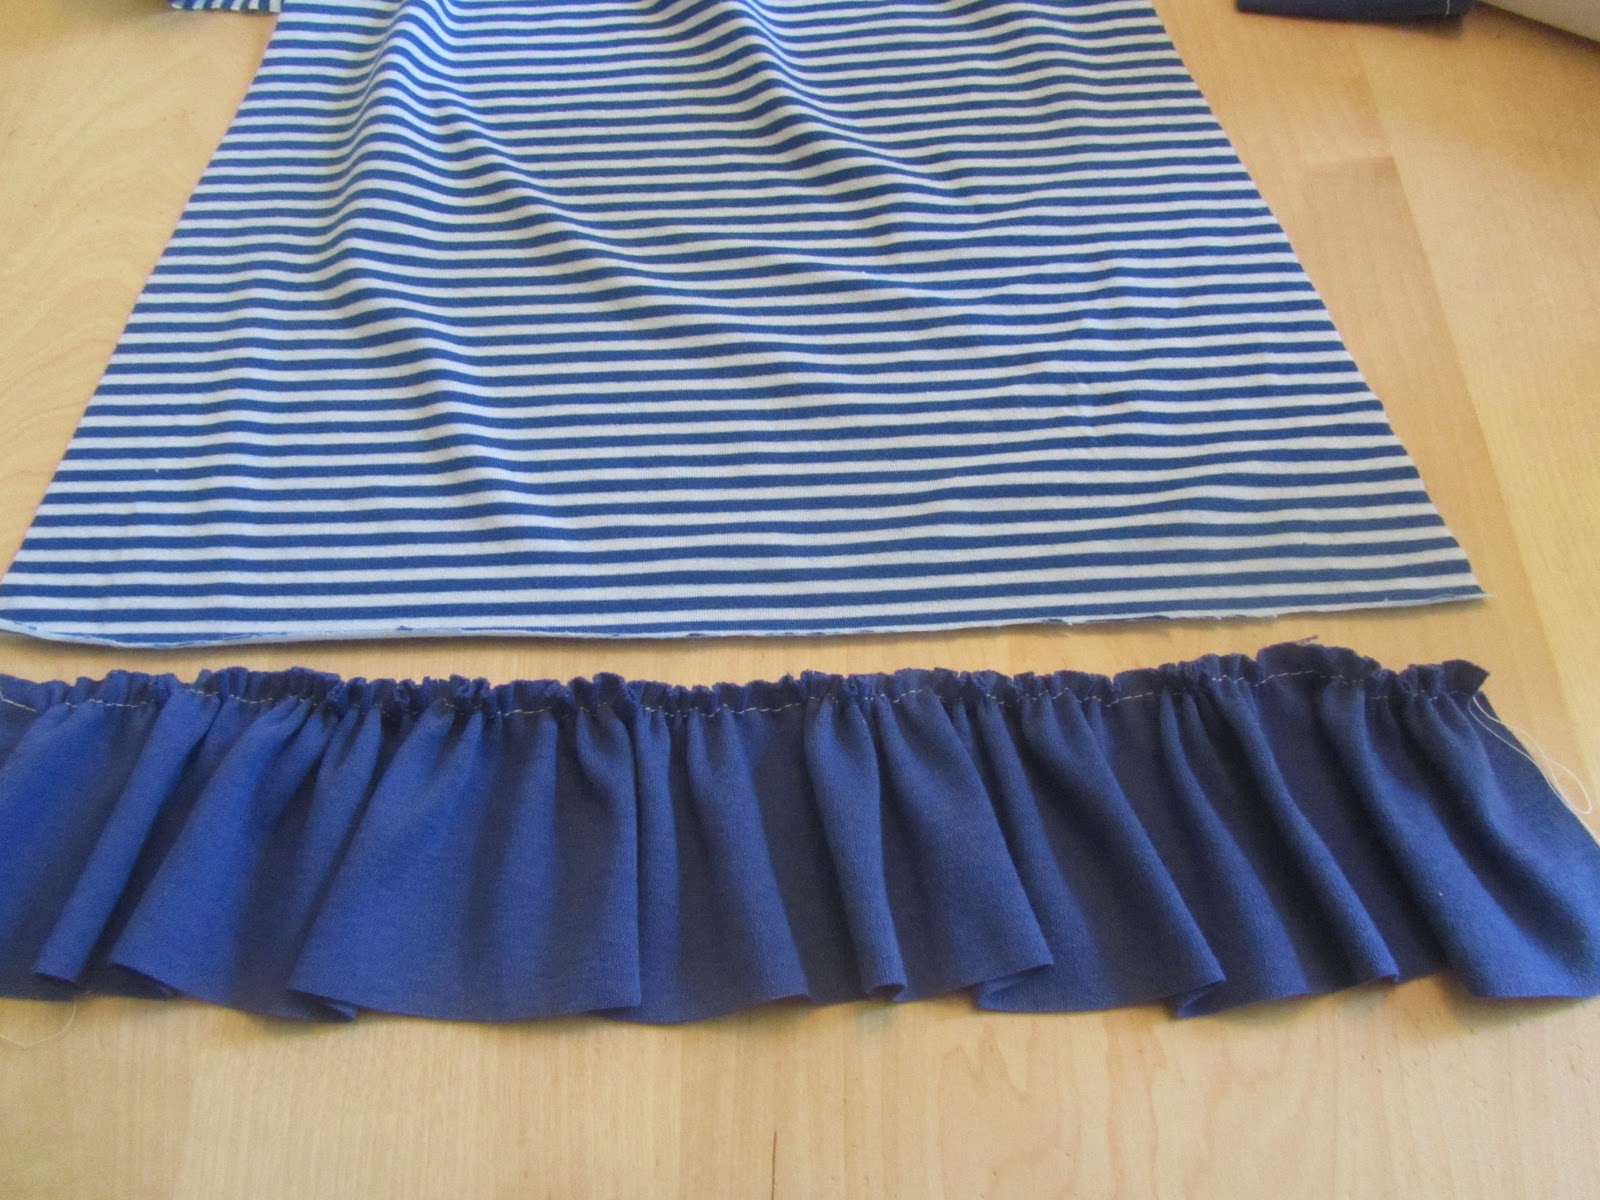
Now take the long strips you made for the ruffles, gather stitch them, then pin them onto the bottom of the dress w/ right sides together.  Sew it together

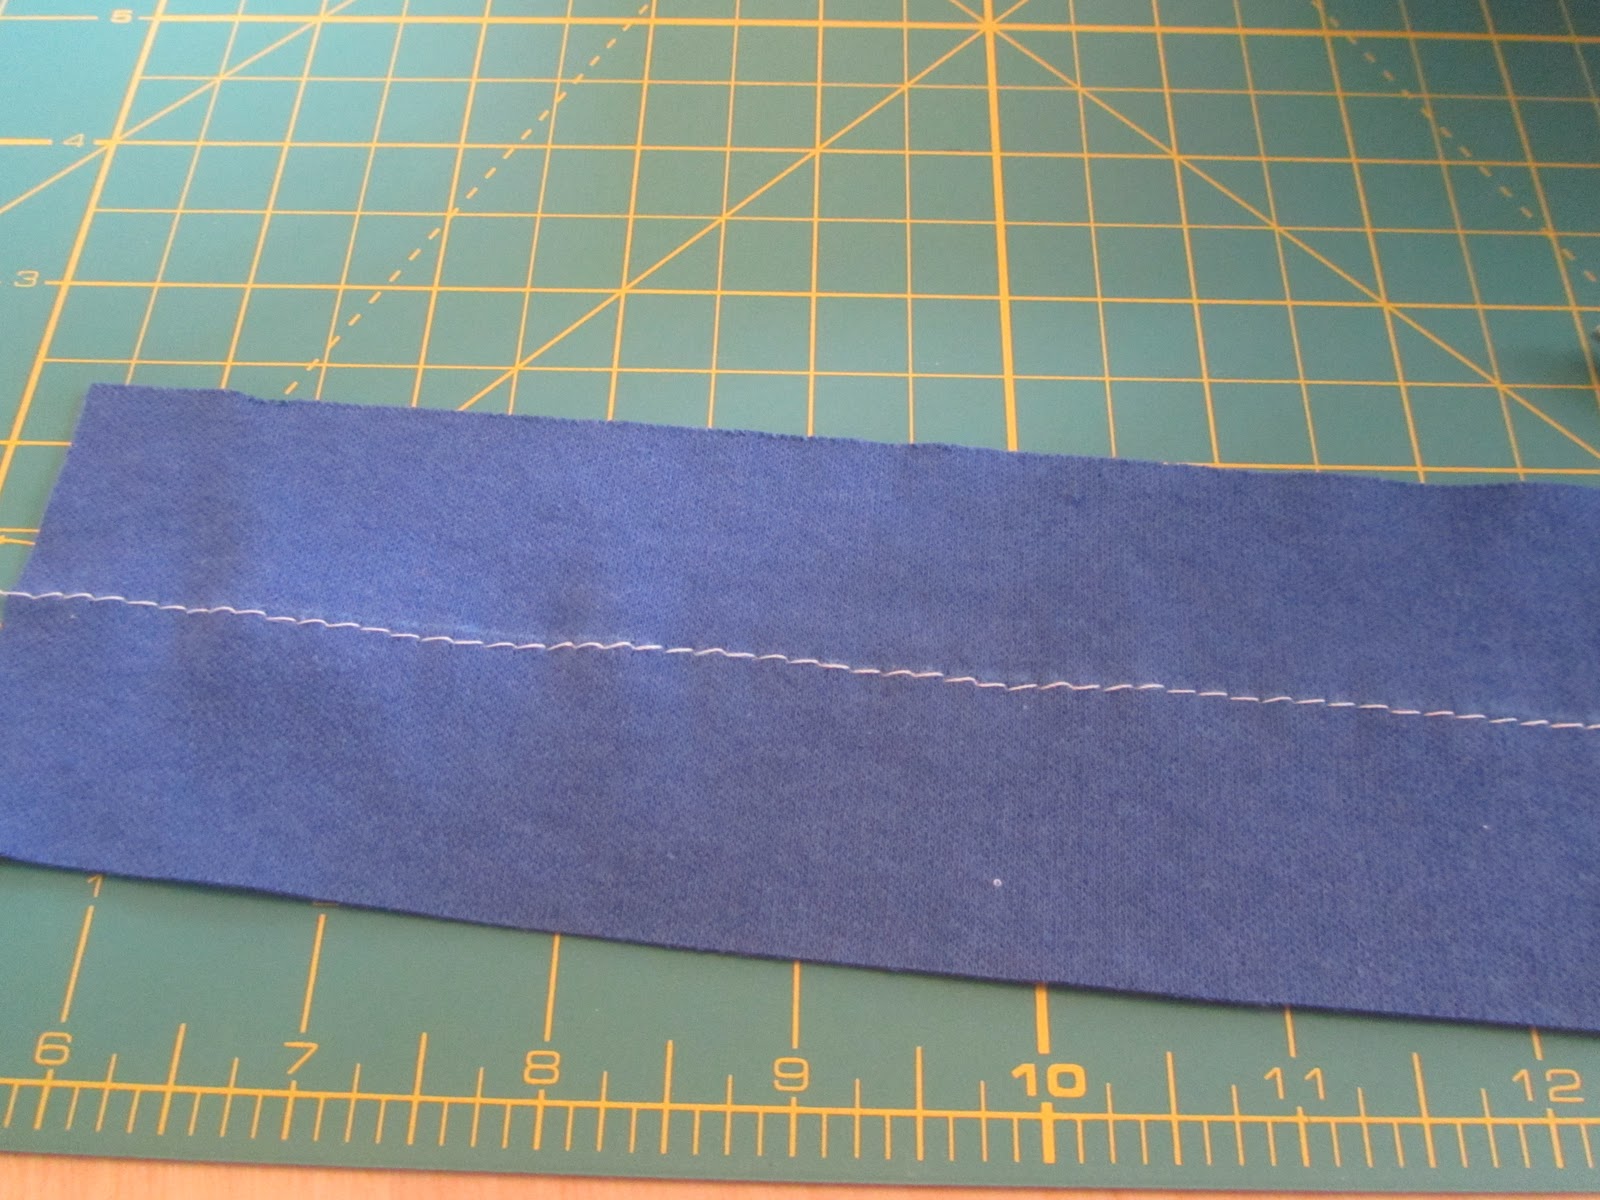
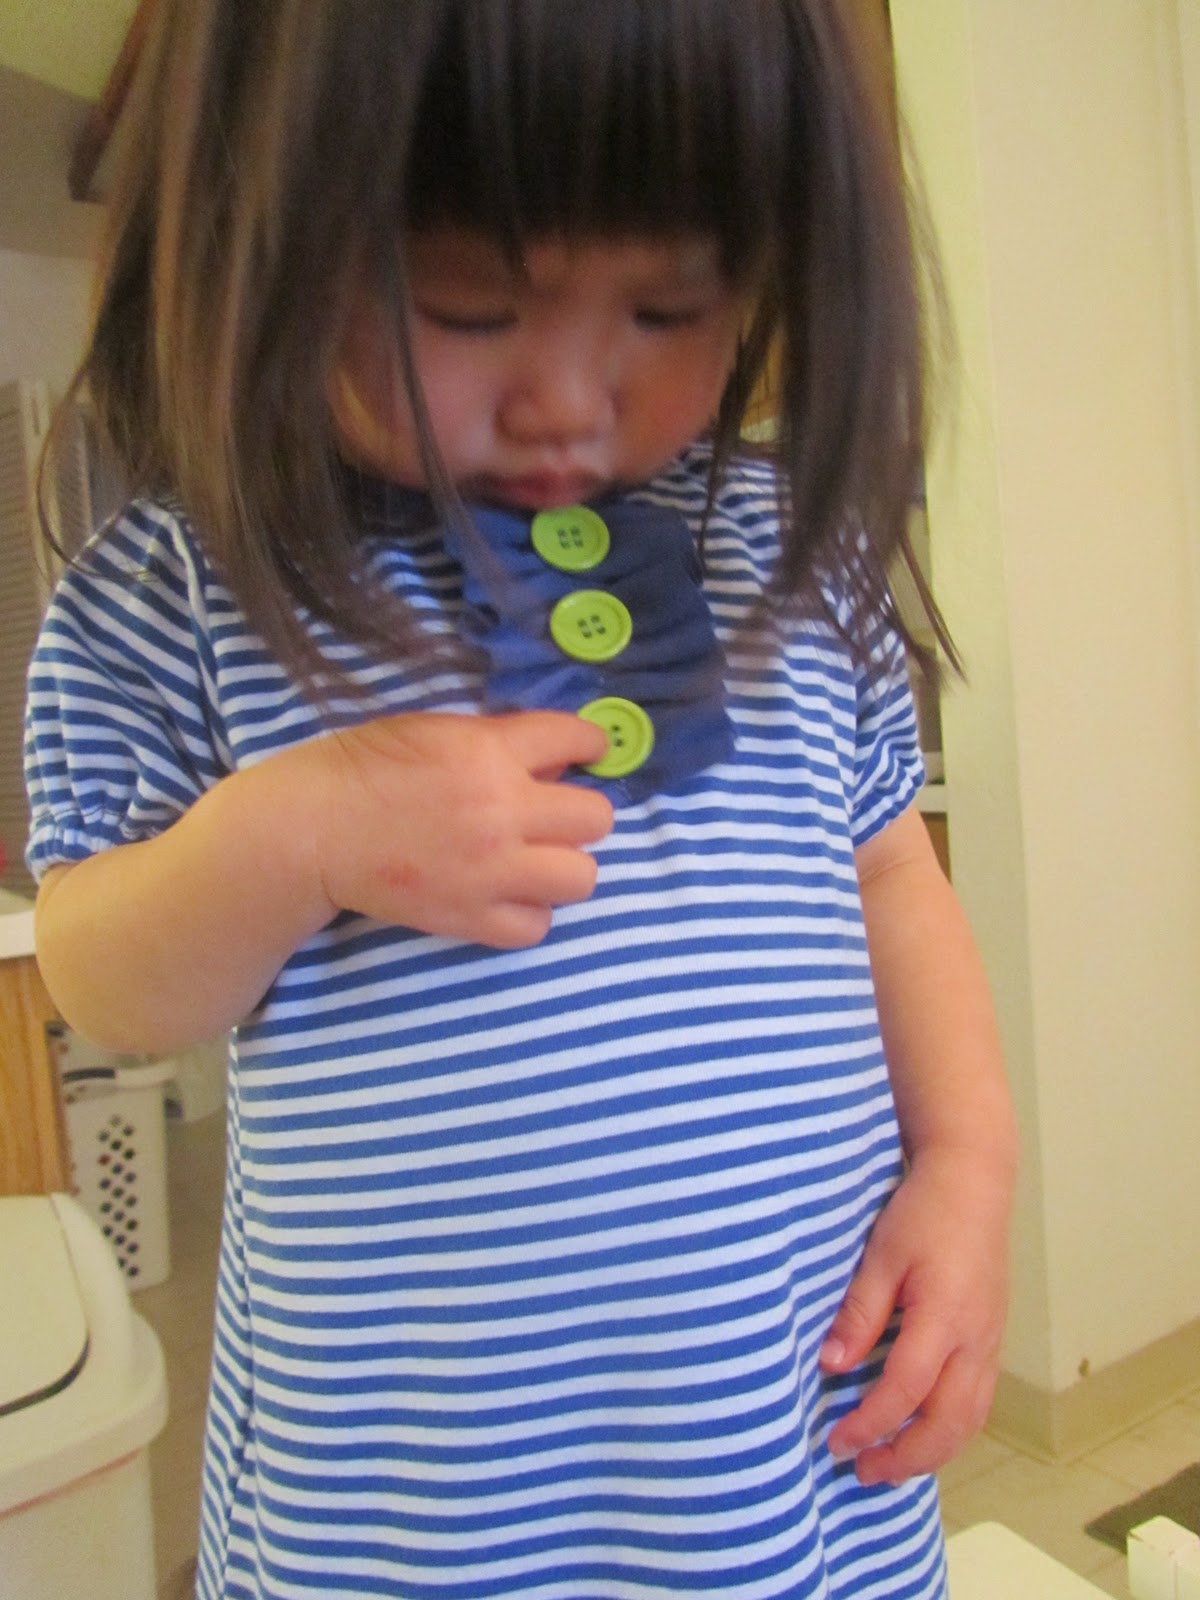
Now, this is another strip of fabric I cut to make the ruffles in the middle of the dress w/ the buttons.  I just eyed the measurements to what I thought would look good after gathering it.  Sew a gathering stitch in the middle and gather it.

Pin it onto the front, middle of the bodice and pin it in place.  

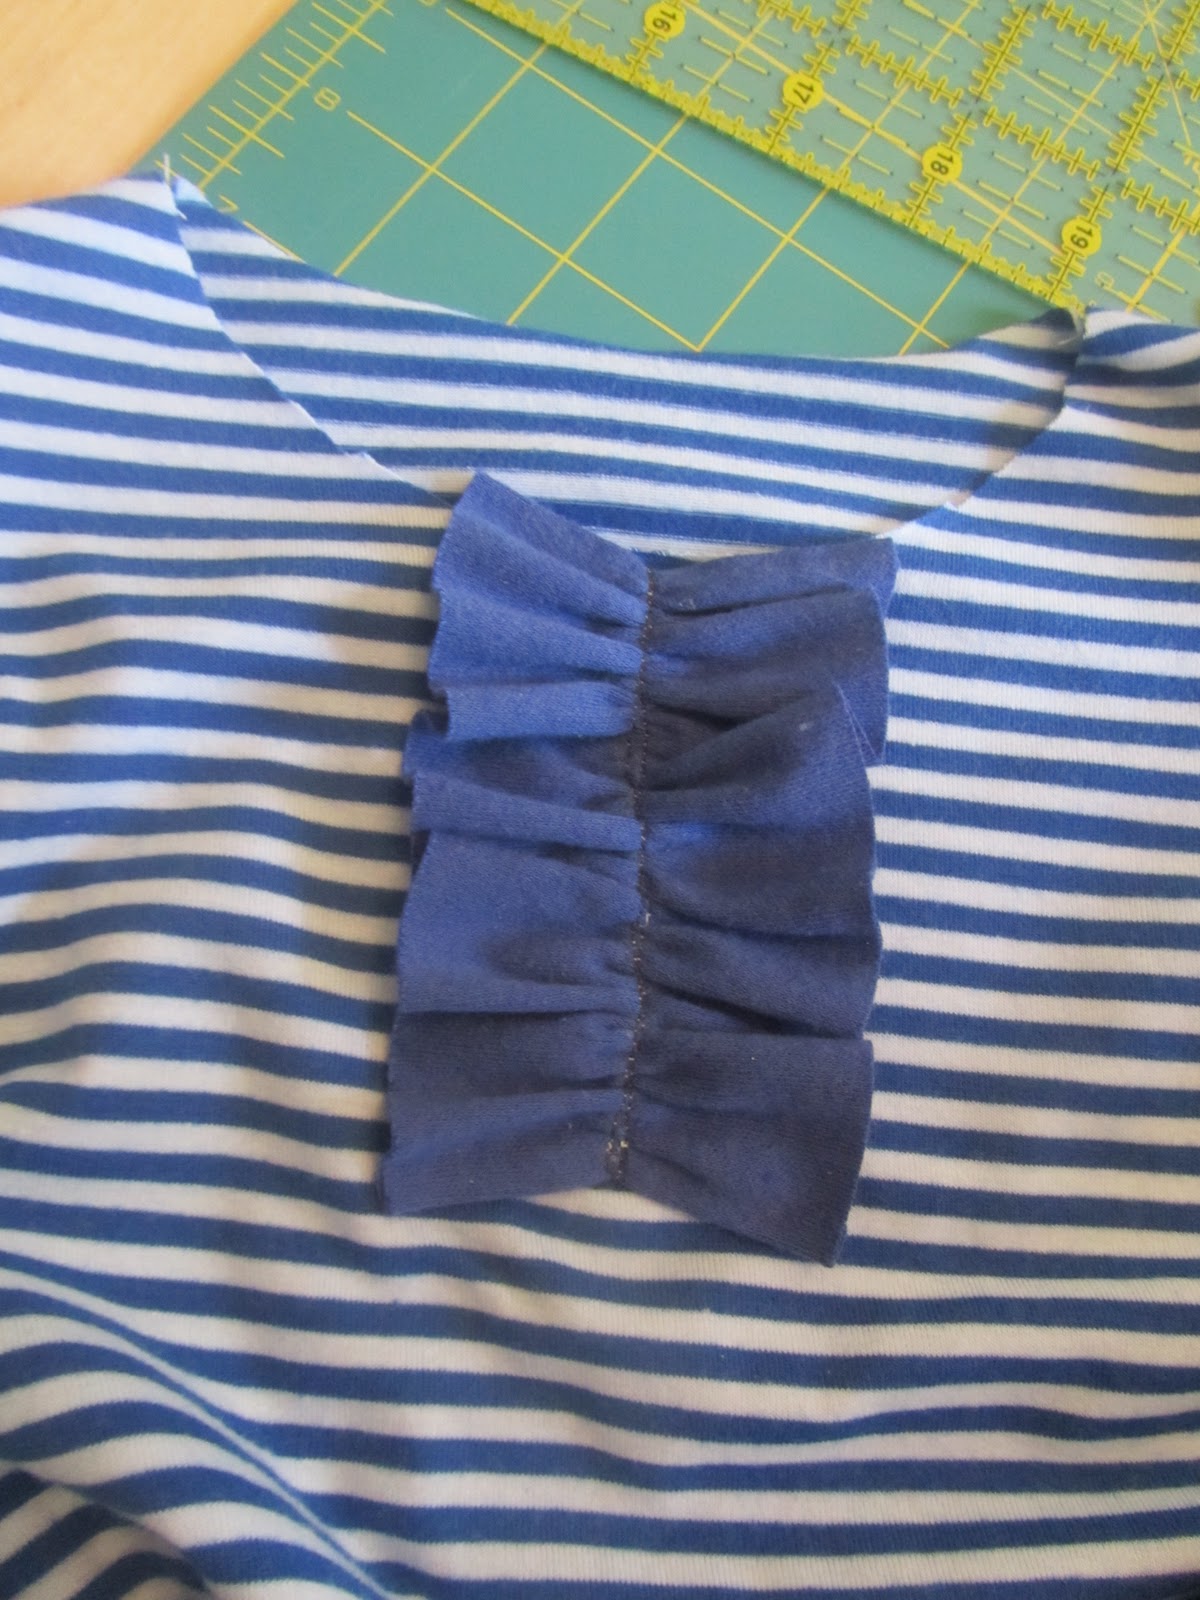
Sew it down with matching color thread then remove the loose gathering stitches so it looks neat.

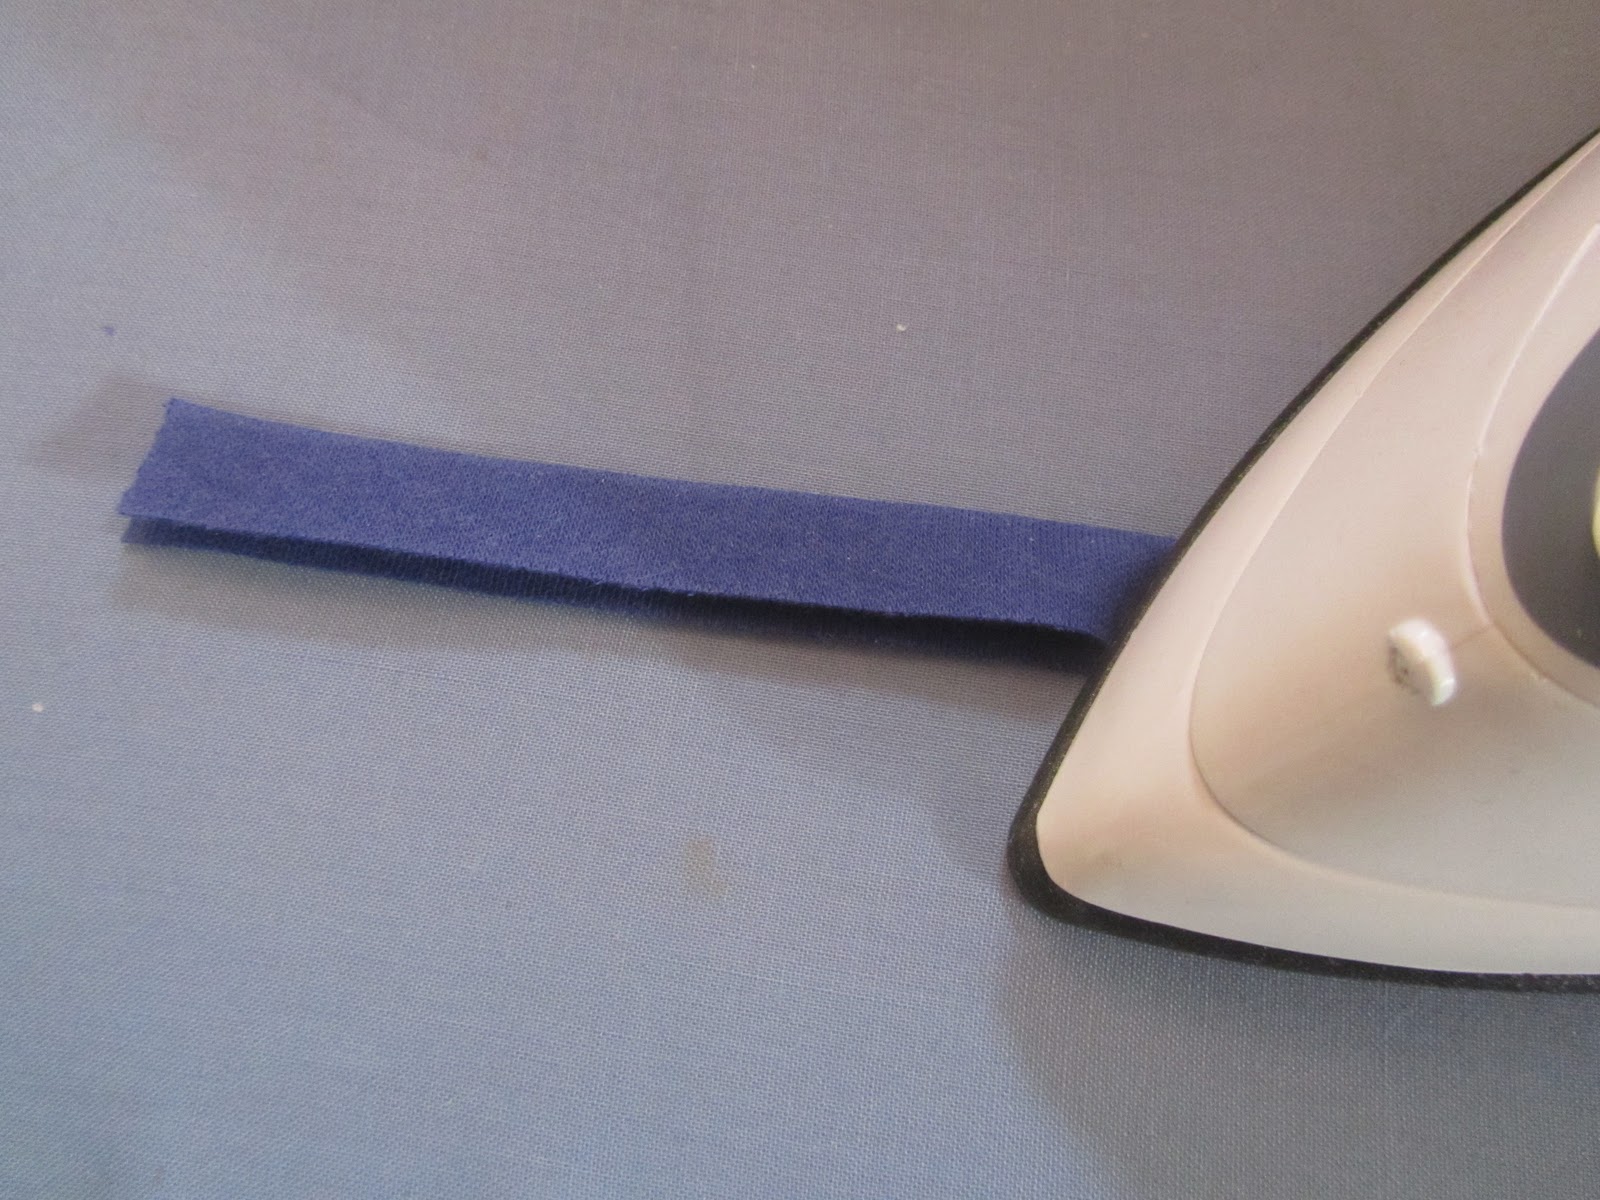
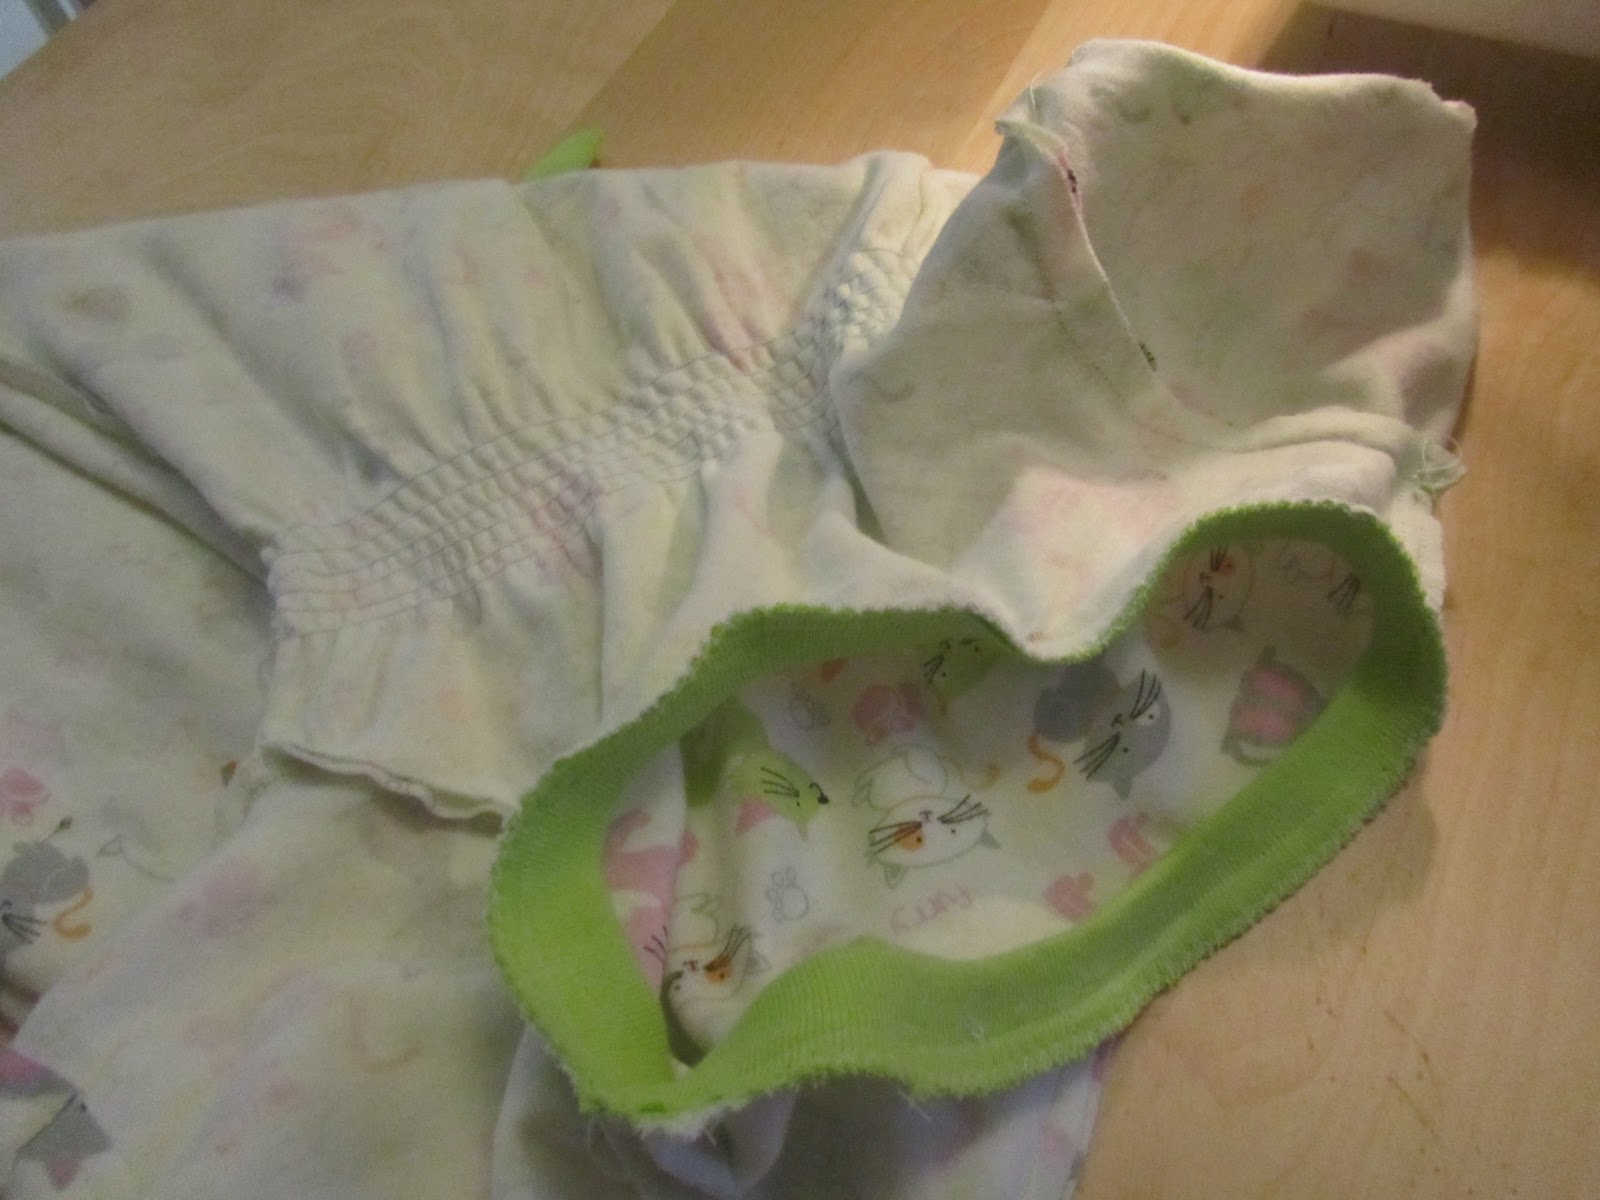
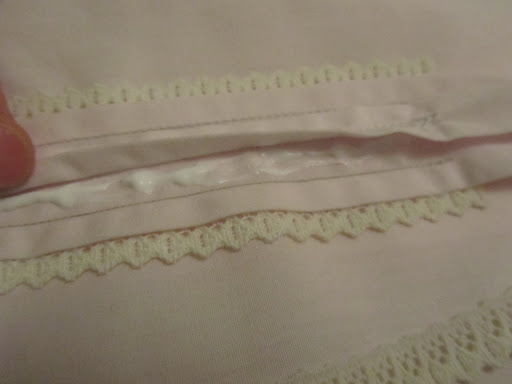
Now for the neckline.  Take a good amount of solid fabric and iron it in half like so.

Then pin it onto the neckline while pulling the bias strip around the curves of the neckline.  So when you go to sew it on, you’ll have to stretch the bias strip.  That way your neckline isn’t stretched out and loose and ugly.

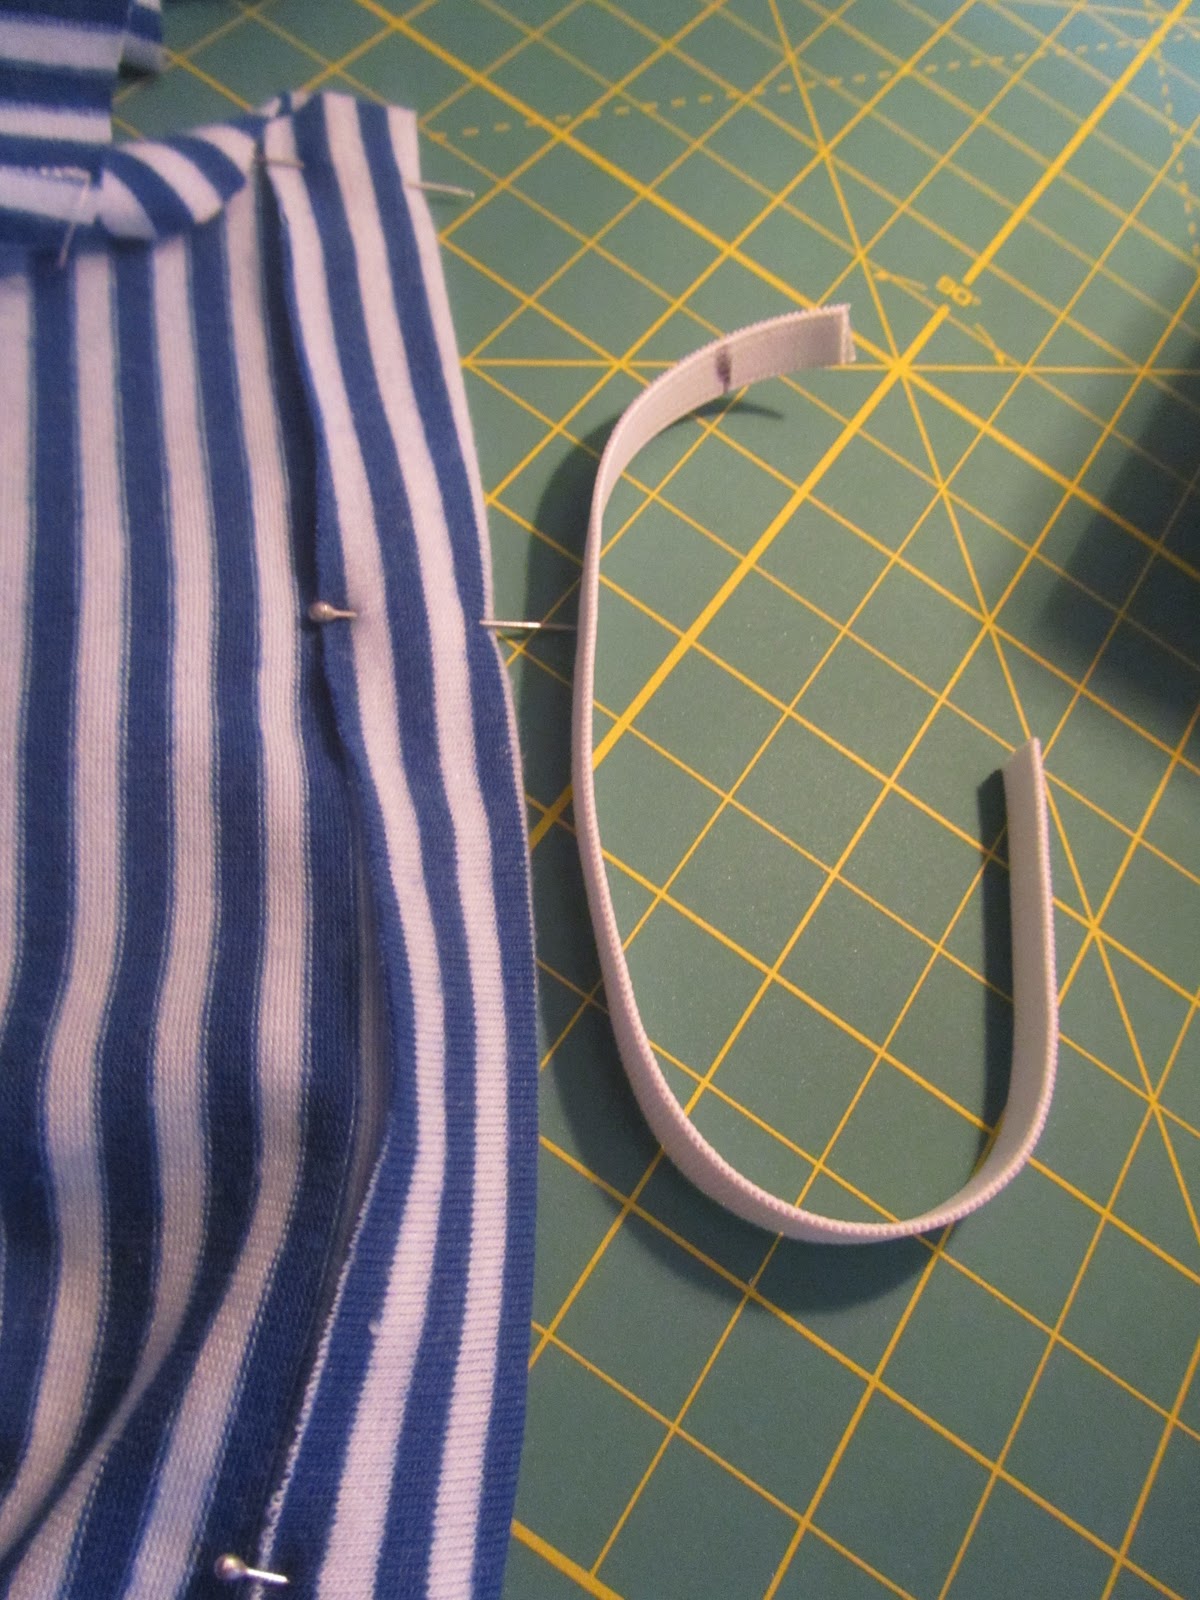
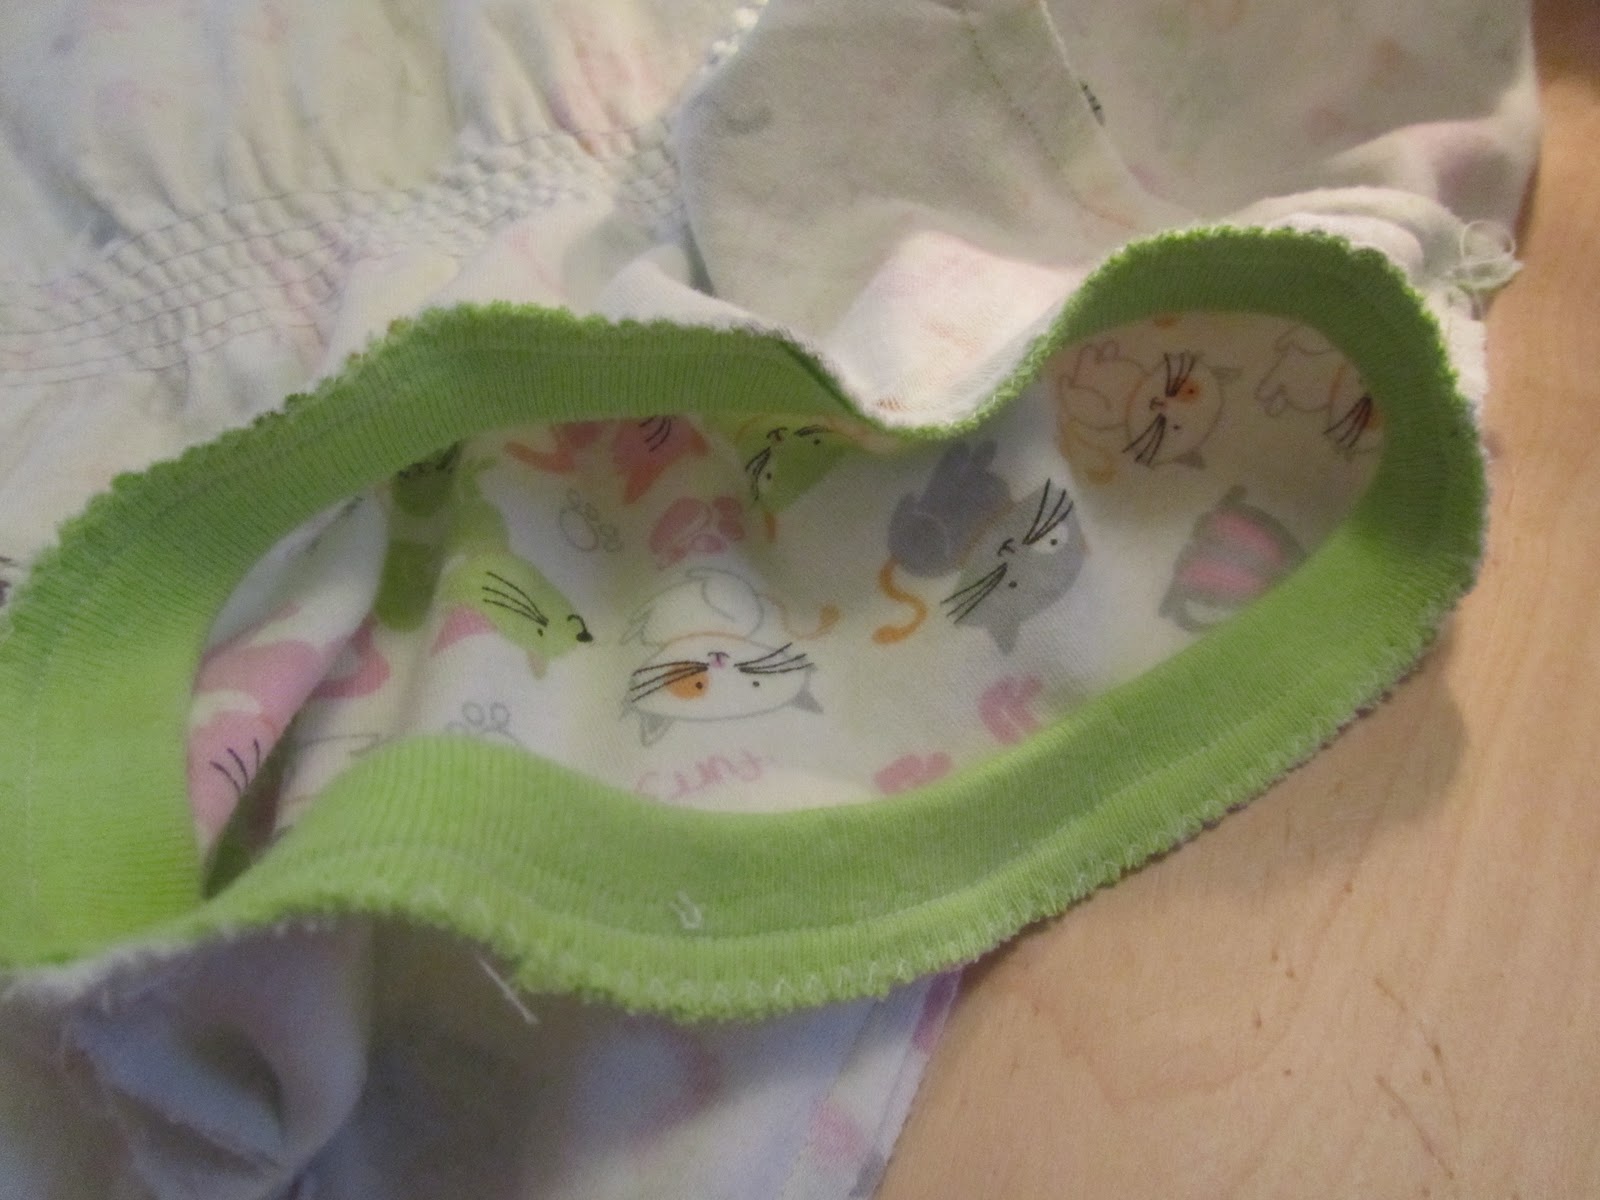
Now we’re going to add the elastic to the bottom of the sleeves, so iron and pin the bottom of the sleeve.  Make sure you leave enough room to pull the elastic and safety pin through.

After you sew the bottom of the sleeve, pull the elastic (with the help of a safety pin) through the sleeve to the opposite end, make sure you hold onto the other end of the elastic so it doesn’t get lost inside the sleeve. (I’m lazy and just stick the other end in my mouth…)

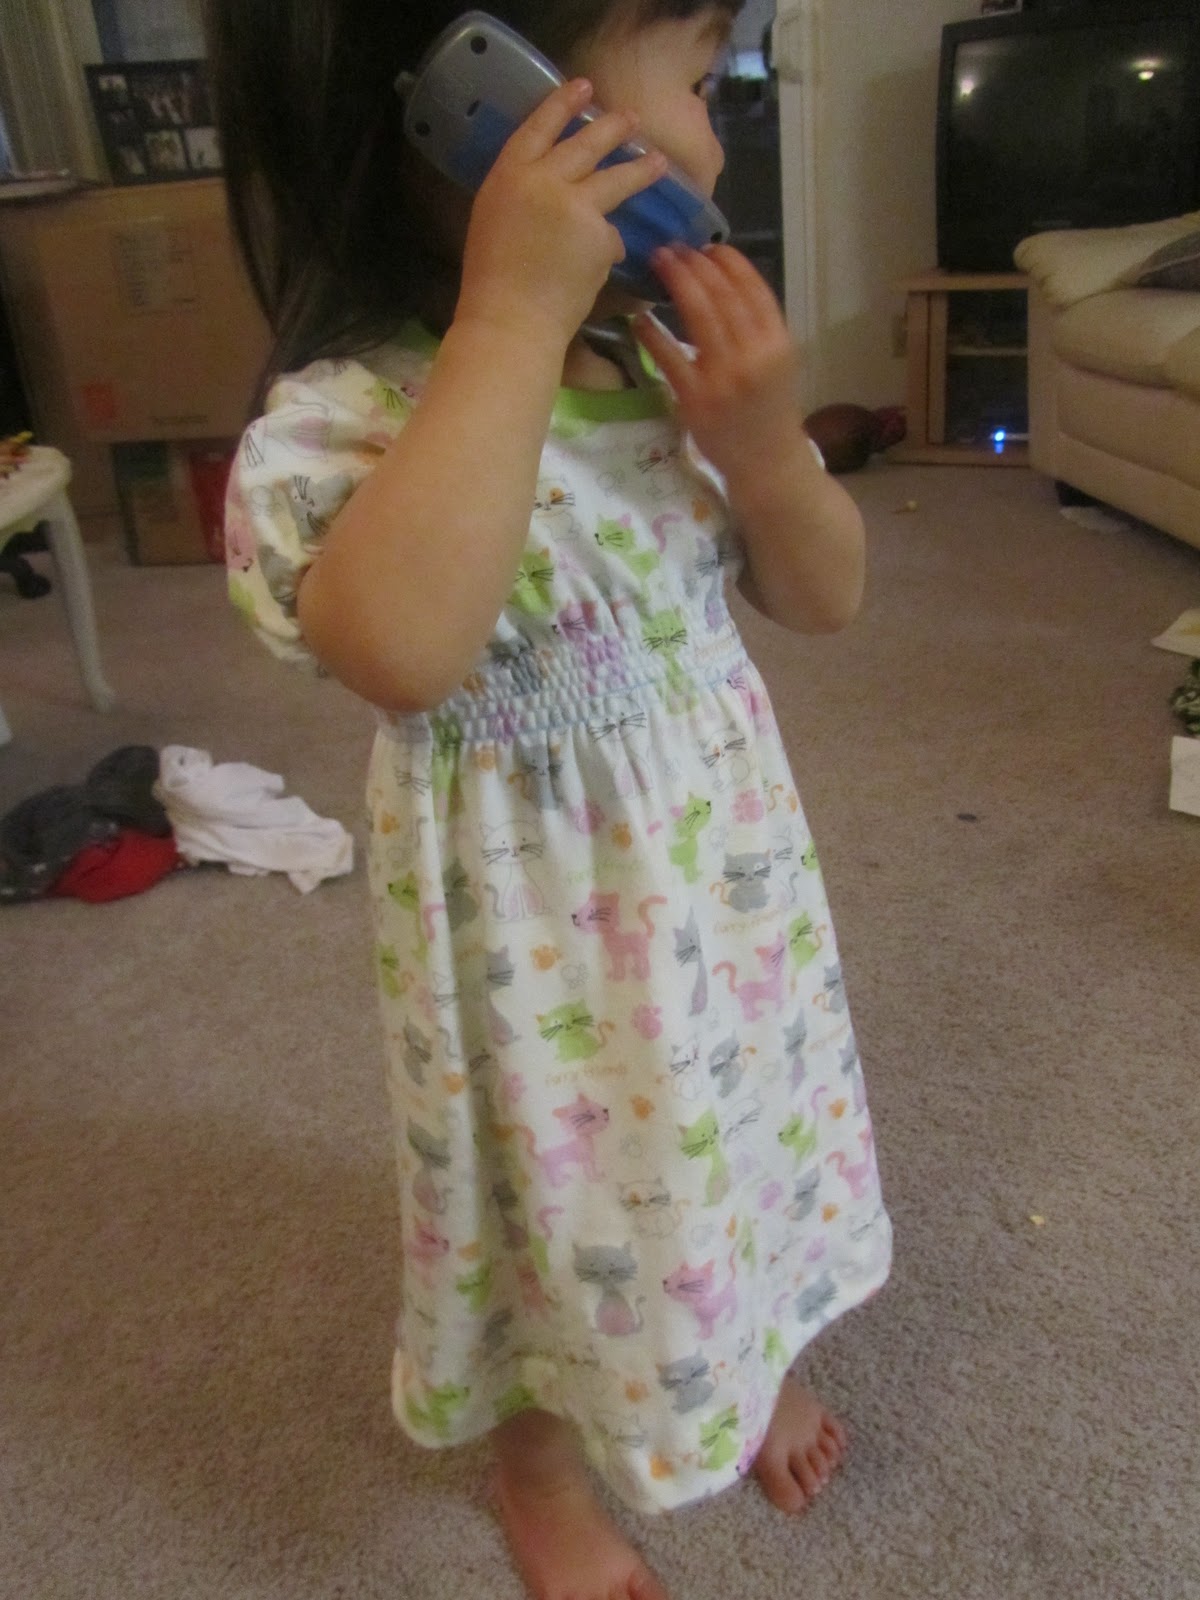
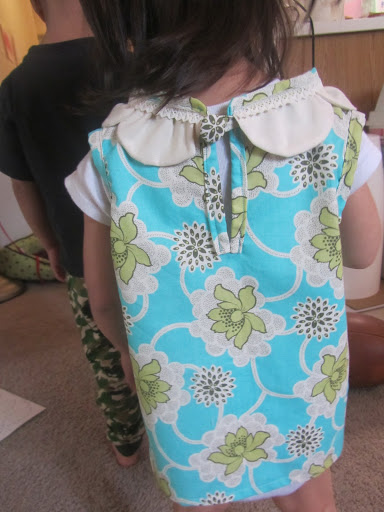
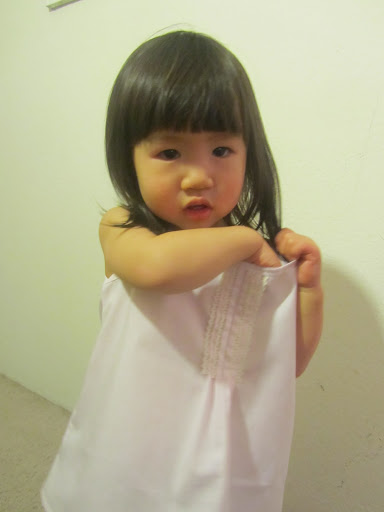
Then sew the sides of the dress and the bottom sides of the sleeve together with right sides of fabric together, and you’re done!!!  Oh, and just hand sew on the buttons.

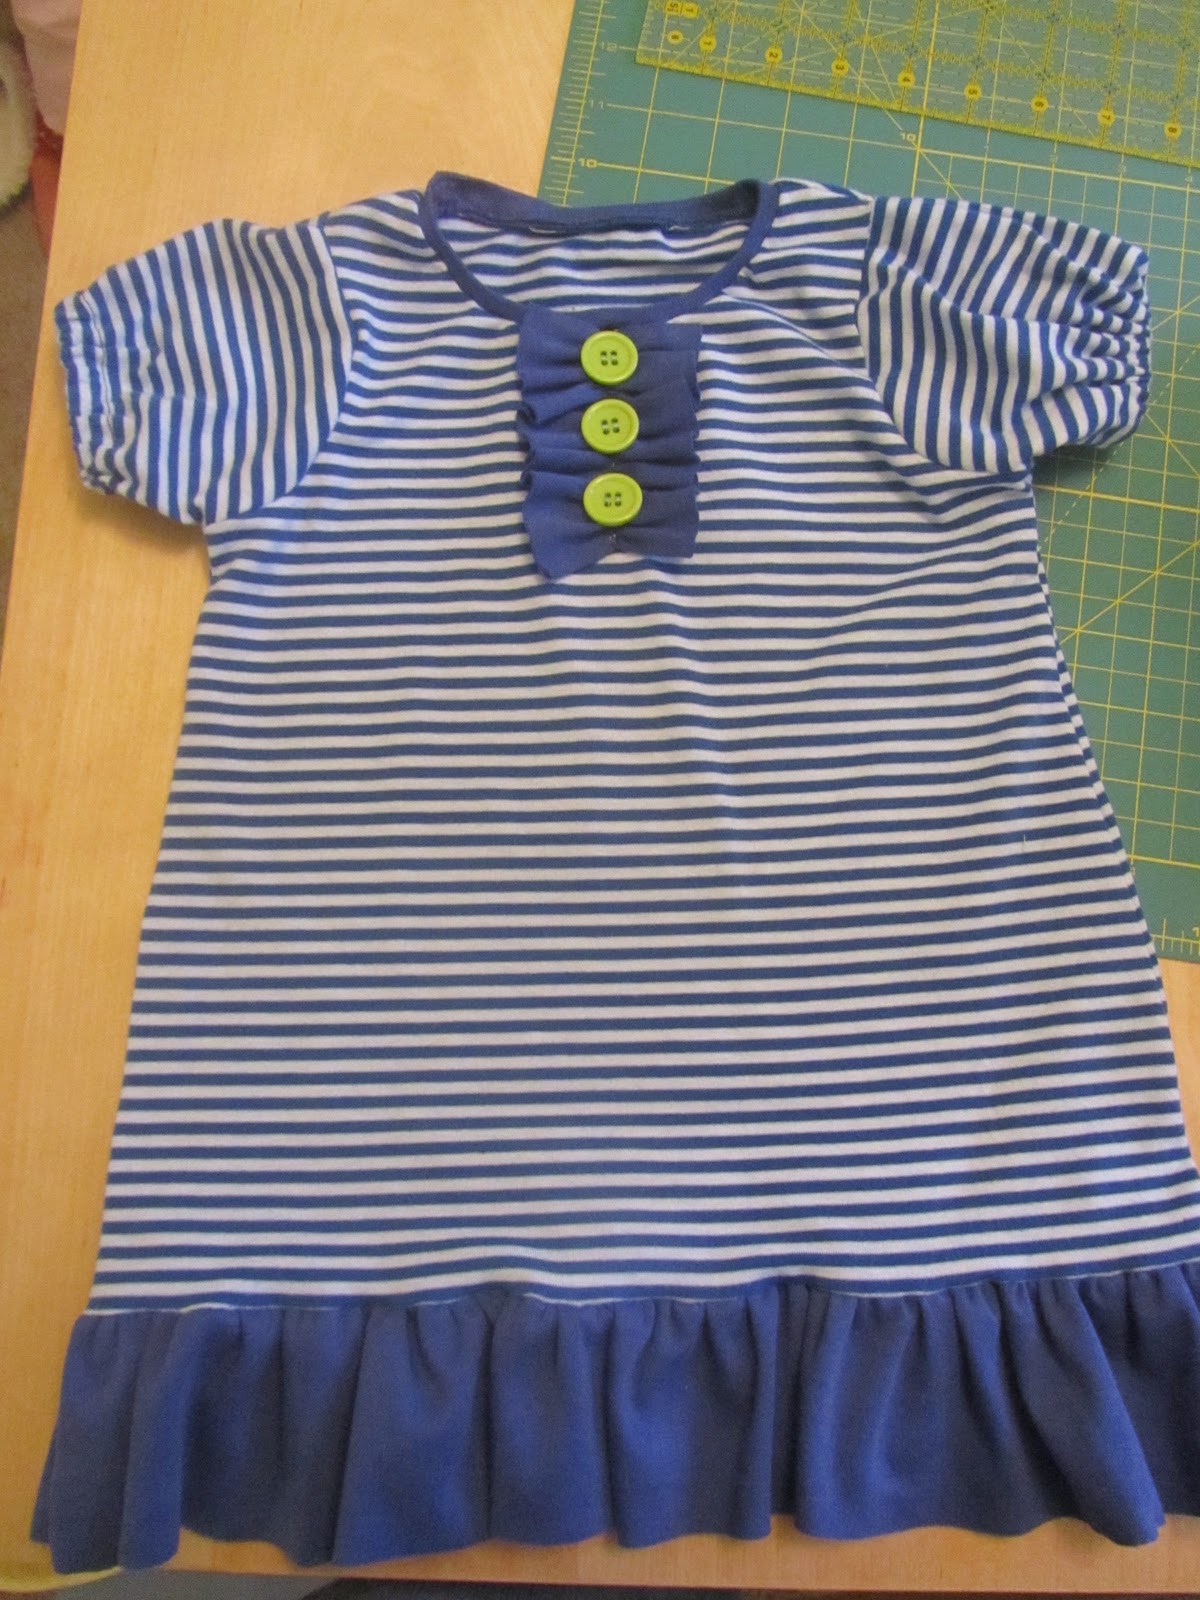
I know the buttons look neon green, but they’re really not.  It’s a pretty combo w/ the navy blue.

Boy’s shorts and Necktie

Finally made something for Brayden.  I used the boy’s pants/shorts pattern from http://www.danamadeit.com/2011/05/tutorial-kid-shorts.html .  This is the flat front pattern so it looks nice and not scrunched up from the elastic on the front.  I added a little airplane iron-on that I had for him and he loves it!  He likes to wear it at home since it’s too cold to wear it out just yet.

This is a boy’s necktie that I made w/ a pattern from Purl Soho  http://purlbee.squarespace.com/little-boys-tie/.  The tie is definitely for boys at least 3 yrs and older.  It’s too long for little baby boys.  My son’s 3 and it fits him just right so the smaller end in the back doesn’t hang out longer than the front, if that makes any sense…  He’ll be able to wear it for a few years and more.

"Easy Breezy Dress" copycat

Inspiration from Hanna Andersson
I got the Hanna Andersson catalog in the mail and saw this cute dress/shirt on the front page and thought it looked simple enough… just add ruffles, right?
I used about a 3/4 yard of the stripe fabric and about 1/2 yard of the solid pink fabric (for ruffles and neckline)
I used the same pattern I had for Avie (made by folding a shirt that fits her in half and tracing around it to make a pattern- adding seam allowance) and cut out a longer piece so it’s longer than a shirt.
I cut out a front and a back w/ this cute cotton knit fabric that I found at Joann’s, which actually is almost the same as the design in the “hanna” picture

I also cut out 4 long pieces 1  1/2″ strips for the ruffles (but I ended up needing a little more since the lower the dress, the longer strips I need for the entire front and back)
Also made and cut out 2 sleeves on the fold
I forgot to cut out the strip for the neckline but did it later.

Then pinned the shoulders together w/ right sides together and also pinned the sides and sewed it together.

I gathered the sleeves then pinned it onto the armhole and sewed it on

just like that

cut out another strip of fabric for the neckline.  Basically ironed the strip in half, then pinned it onto the right side of the fabric, pulling it at the curves (so it doesn’t stretch out the fabric when you stitch it), then sewed it together and ironed.
Now for the ruffles:

Use the strips you cut and gather them to make the ruffles (stitch w/ the longest stitch length and pull one side of the thread and it gathers), which I then pinned onto where I wanted them.

After you pin them on, sew it down (it’s pretty tedious… next time I think I’ll add regular cotton fabric for the ruffles instread of knit fabric.)

Here’s the finished product!
Notes to self:
*next time use cotton fabric for the ruffles and not knit fabric
*cut the sleeves shorter 
*make the neckline a little more higher around all sides of neck.
*and perhaps cut a thicker strip for the neckline bias
Now… wish I had more solid pink fabric to make those cute matching capri pants…

Playdress (or nightgown)

I’ve been pretty addicted to trying out different sewing projects and here’s another one.  I found this cute cotton knit fabric at Joann’s and thought I’d give knits a try.  Well… they sure are a handful to work w/… probably more so since I’m a beginner sewer or seamstress… whatever they call it

I used the same pattern I made for the other two projects (the scallop shirt and the pleated shirt) and finally got up the nerve to make myself sleeves for the dress.  So i cut out a front and back for the dress (I made it much longer to make it a dress, though my pattern is for a shirt).  Then I cut out two sleeves and had to think about it when I cut so that the cats won’t be upside down when I put them onto the dress.
I sewed the shoulders together for the front and back dress pieces then gathered the sleeves

Next, I pinned the sleeves onto the armhole of the dress

looks funny… but that’s what I did

Then I contemplated putting a green strip of fabric in the middle, but decided against it and just drew some lines almost right under the arms and sewed it w/ elastic thread (the elastic thread only goes in the bottom bobbin)

 See how it’s starting to gather so it’ll make a waist for the dress  (I read somewhere to iron the elastic part afterwards to make it gather more) so I did that and I think it worked.

Then I sewed the sides and the underside of the sleeves (obviously not the part where you arms go through)

This is the neckband w/ the bias… that was the hardest part.  I found a really good video where the lady explains how to do it without stretching it out and making it look wobbly/wrinkled.  Basically, you pin around and pull the neckband and stretch it out around the curves so that the knit fabric doesn’t stretch.   I tried to find the video again so I could post the link… but I can’t find it!  I’m sure if you search online you’ll get some other good videos or tutorials for it.  Sorry

hemmed the bottom of the dress… and VOILA~

It looks better on, I promise.

I think it turned out cute 

It looks so comfortable… I want one!

Sleeveless Scallop Shirt

So I loved this look http://www.craftinessisnotoptional.com/2011/02/scallop-shirt-on-project-run-and-play.html and decided to try it out.  I’ve done a sleeve once and didn’t want to tackle making my own pattern for the sleeve, so I just went sleeveless.  My daughter’s in her onesie so it looks kinda funny… but ignore the white shirt she’s wearing under that shirt… and also her lack of pants.  She’s figured out she can take them off

Pleated Shirt from Daddy’s Shirt

So I’ve decided to jump the DIY sewing bandwagon.  After pinning so many fun and cute projects on Pinterest, I finally summoned up the courage to try out one of the cute shirts by Jess on http://www.craftinessisnotoptional.com/2011/08/pleat-weeks-guest-post.html, but I cheated and used my hubby’s old shirt that somehow had blood stains on it (not sure how, probably one of the kids busted their lip and needed some comfort) and skipped the whole adding buttons and buttonholes.  
So I got one of Avie’s shirts and made a pattern for the top

Here’s daddy’s beautiful soft pink shirt with the bloodstain on it.  I used my seam ripper to take out the pocket and so the front of daddy’s shirt became the back portion of Avie’s shirt.

I cut out the back portion of the shirt, folded it in half, and traced the pattern on it while leaving enough room to make the pleats.  (Note to self: next time, leave more room for the pleats cuz these pleats were really small and I like the bigger pleats on Jess’s project)

I used the same pattern piece to cut out the back portion (which is the front part of daddy’s shirt) I know I keep saying daddy’s shirt when really it’s my hubby’s shirt… but w/ kids I just end up calling him daddy for the kids’ sake.  
Then I put it together and added the bias tape.  (you can see the in depth tutorial on the link I posted above on Jess’s site, which is what I used)

So initially, I just did the pleats without adding the lace, but then I found a whole LOT of this pretty lace from my mom’s sewing stash that she left when she moved and thought it’d look pretty.  So I cheated and used liquid stitch to “sew” on some of that lace in between the pleats.  I think it makes it look nicer, especially since my fabric is very plain and boring.  

And here’s my cute daughter posing for me… or scratching… I promise there the shirt isn’t scratchy.  This is just the best picture I could get of her in the shirt.