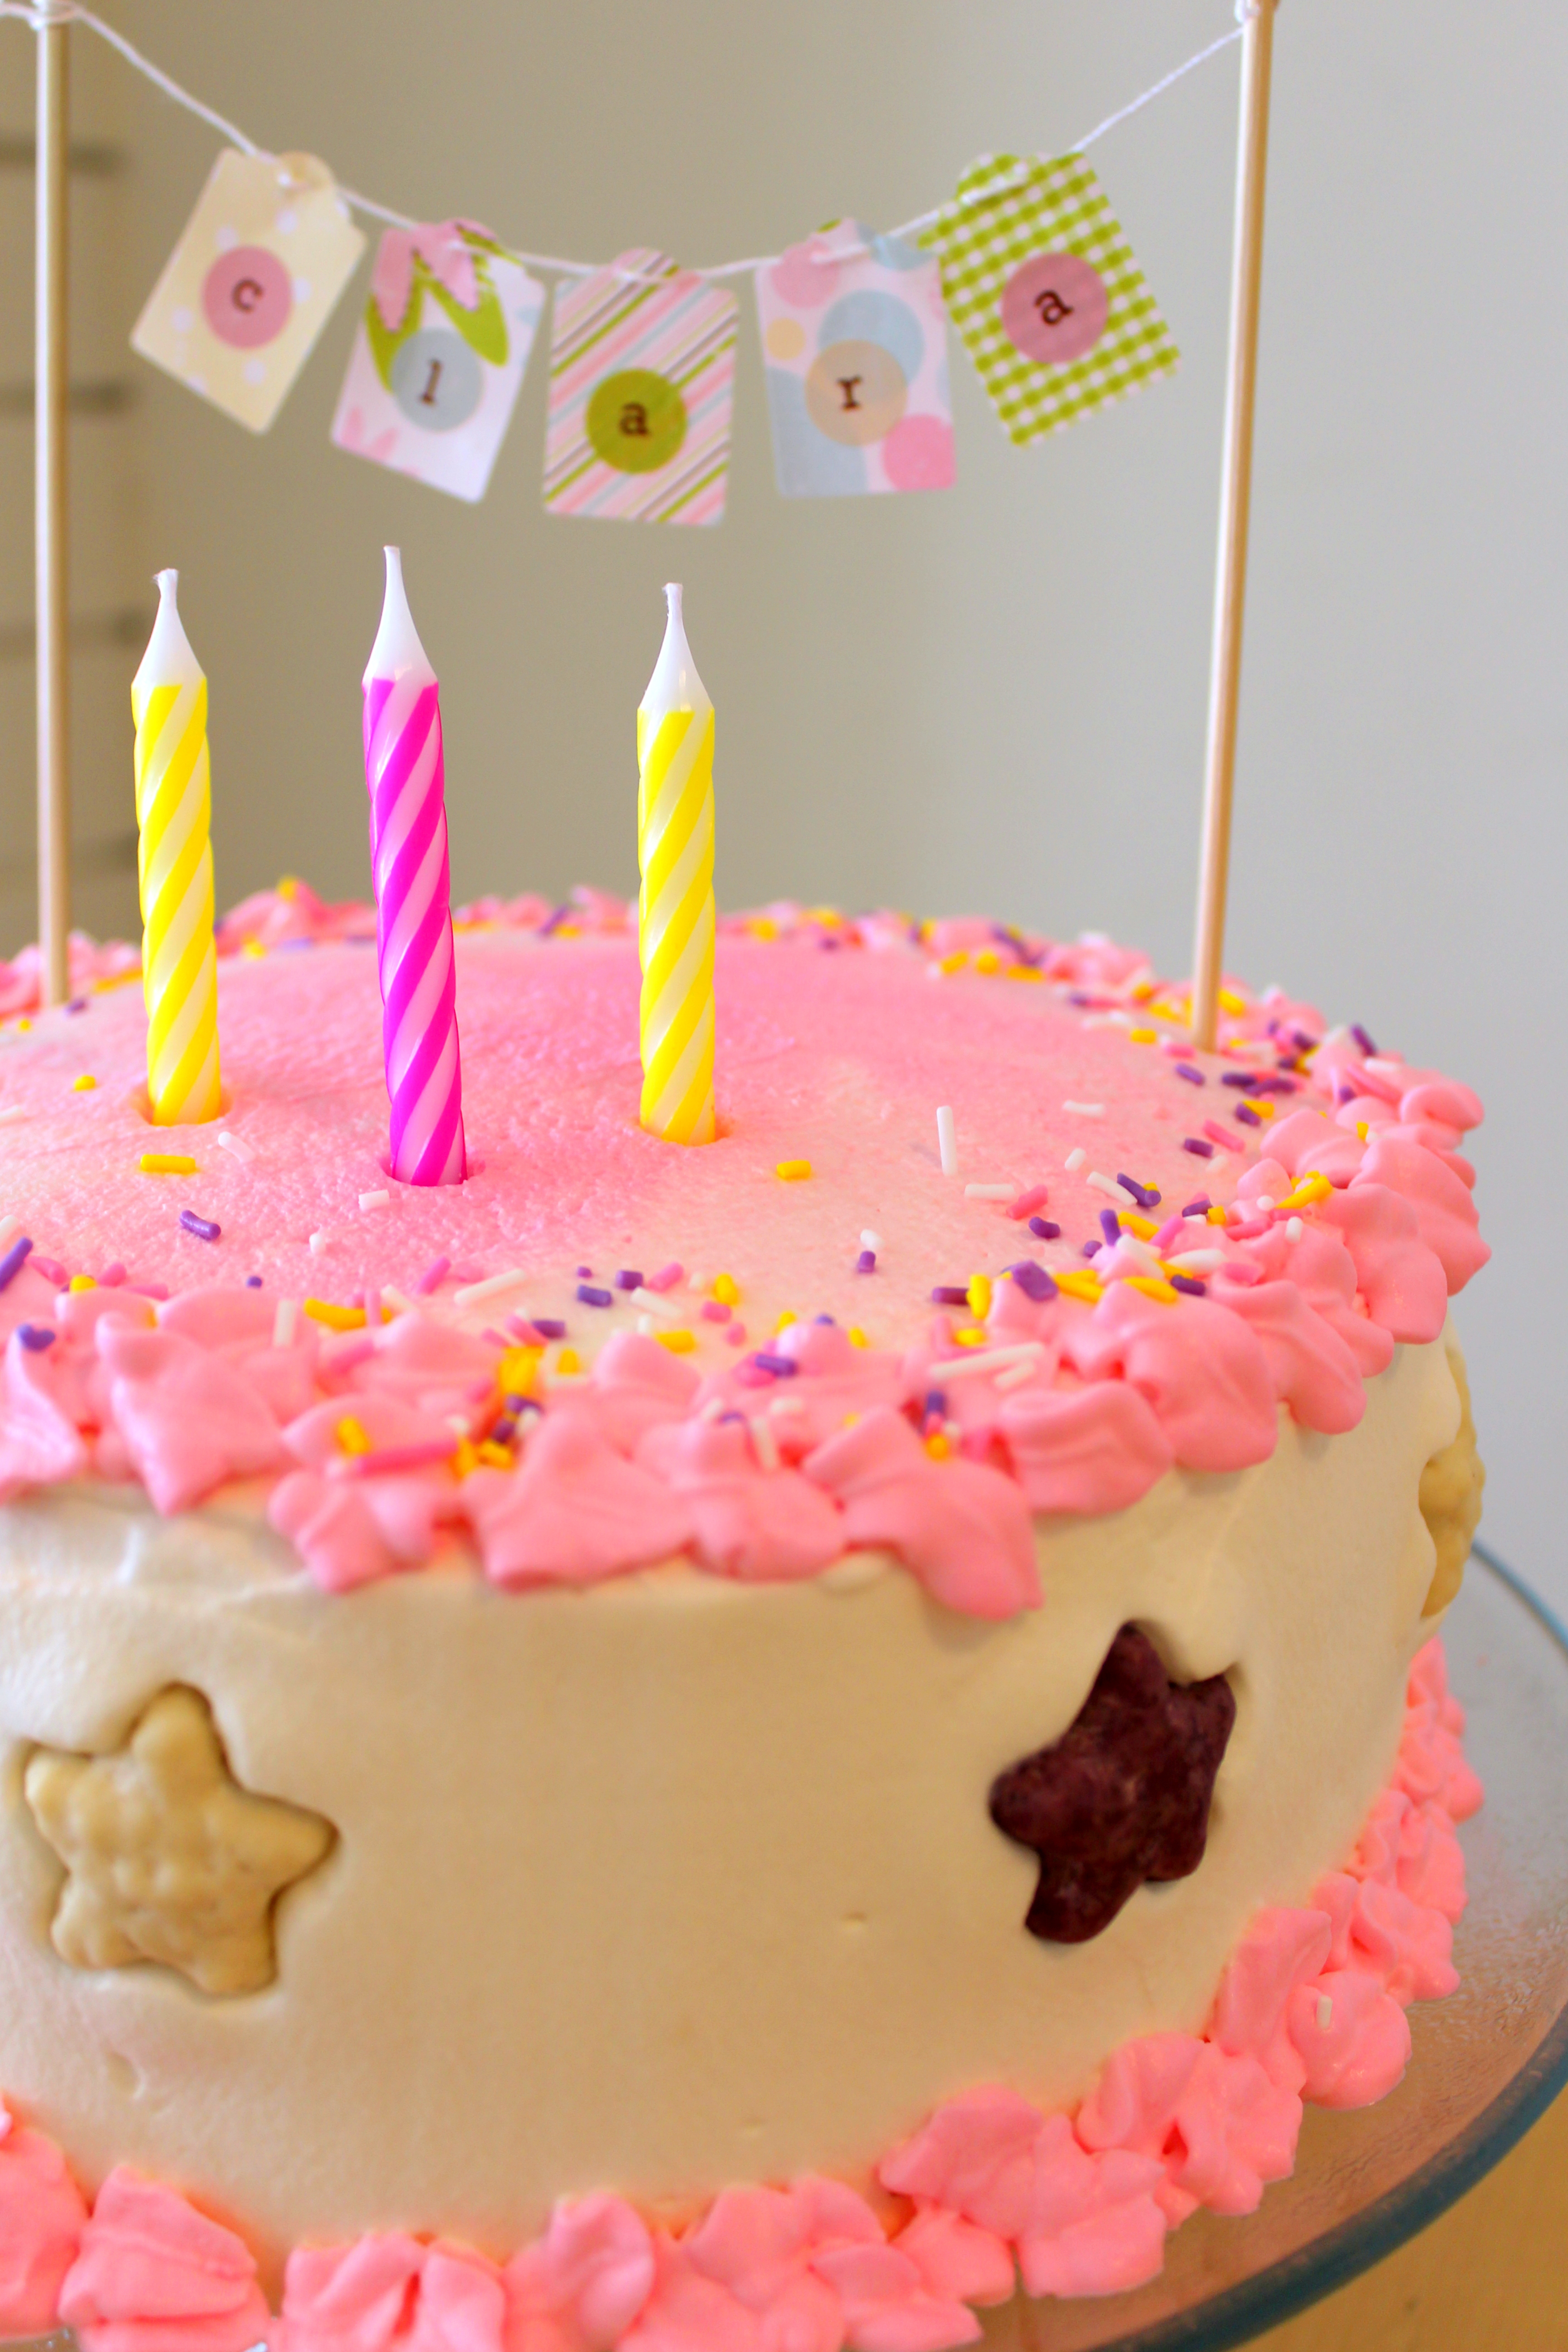
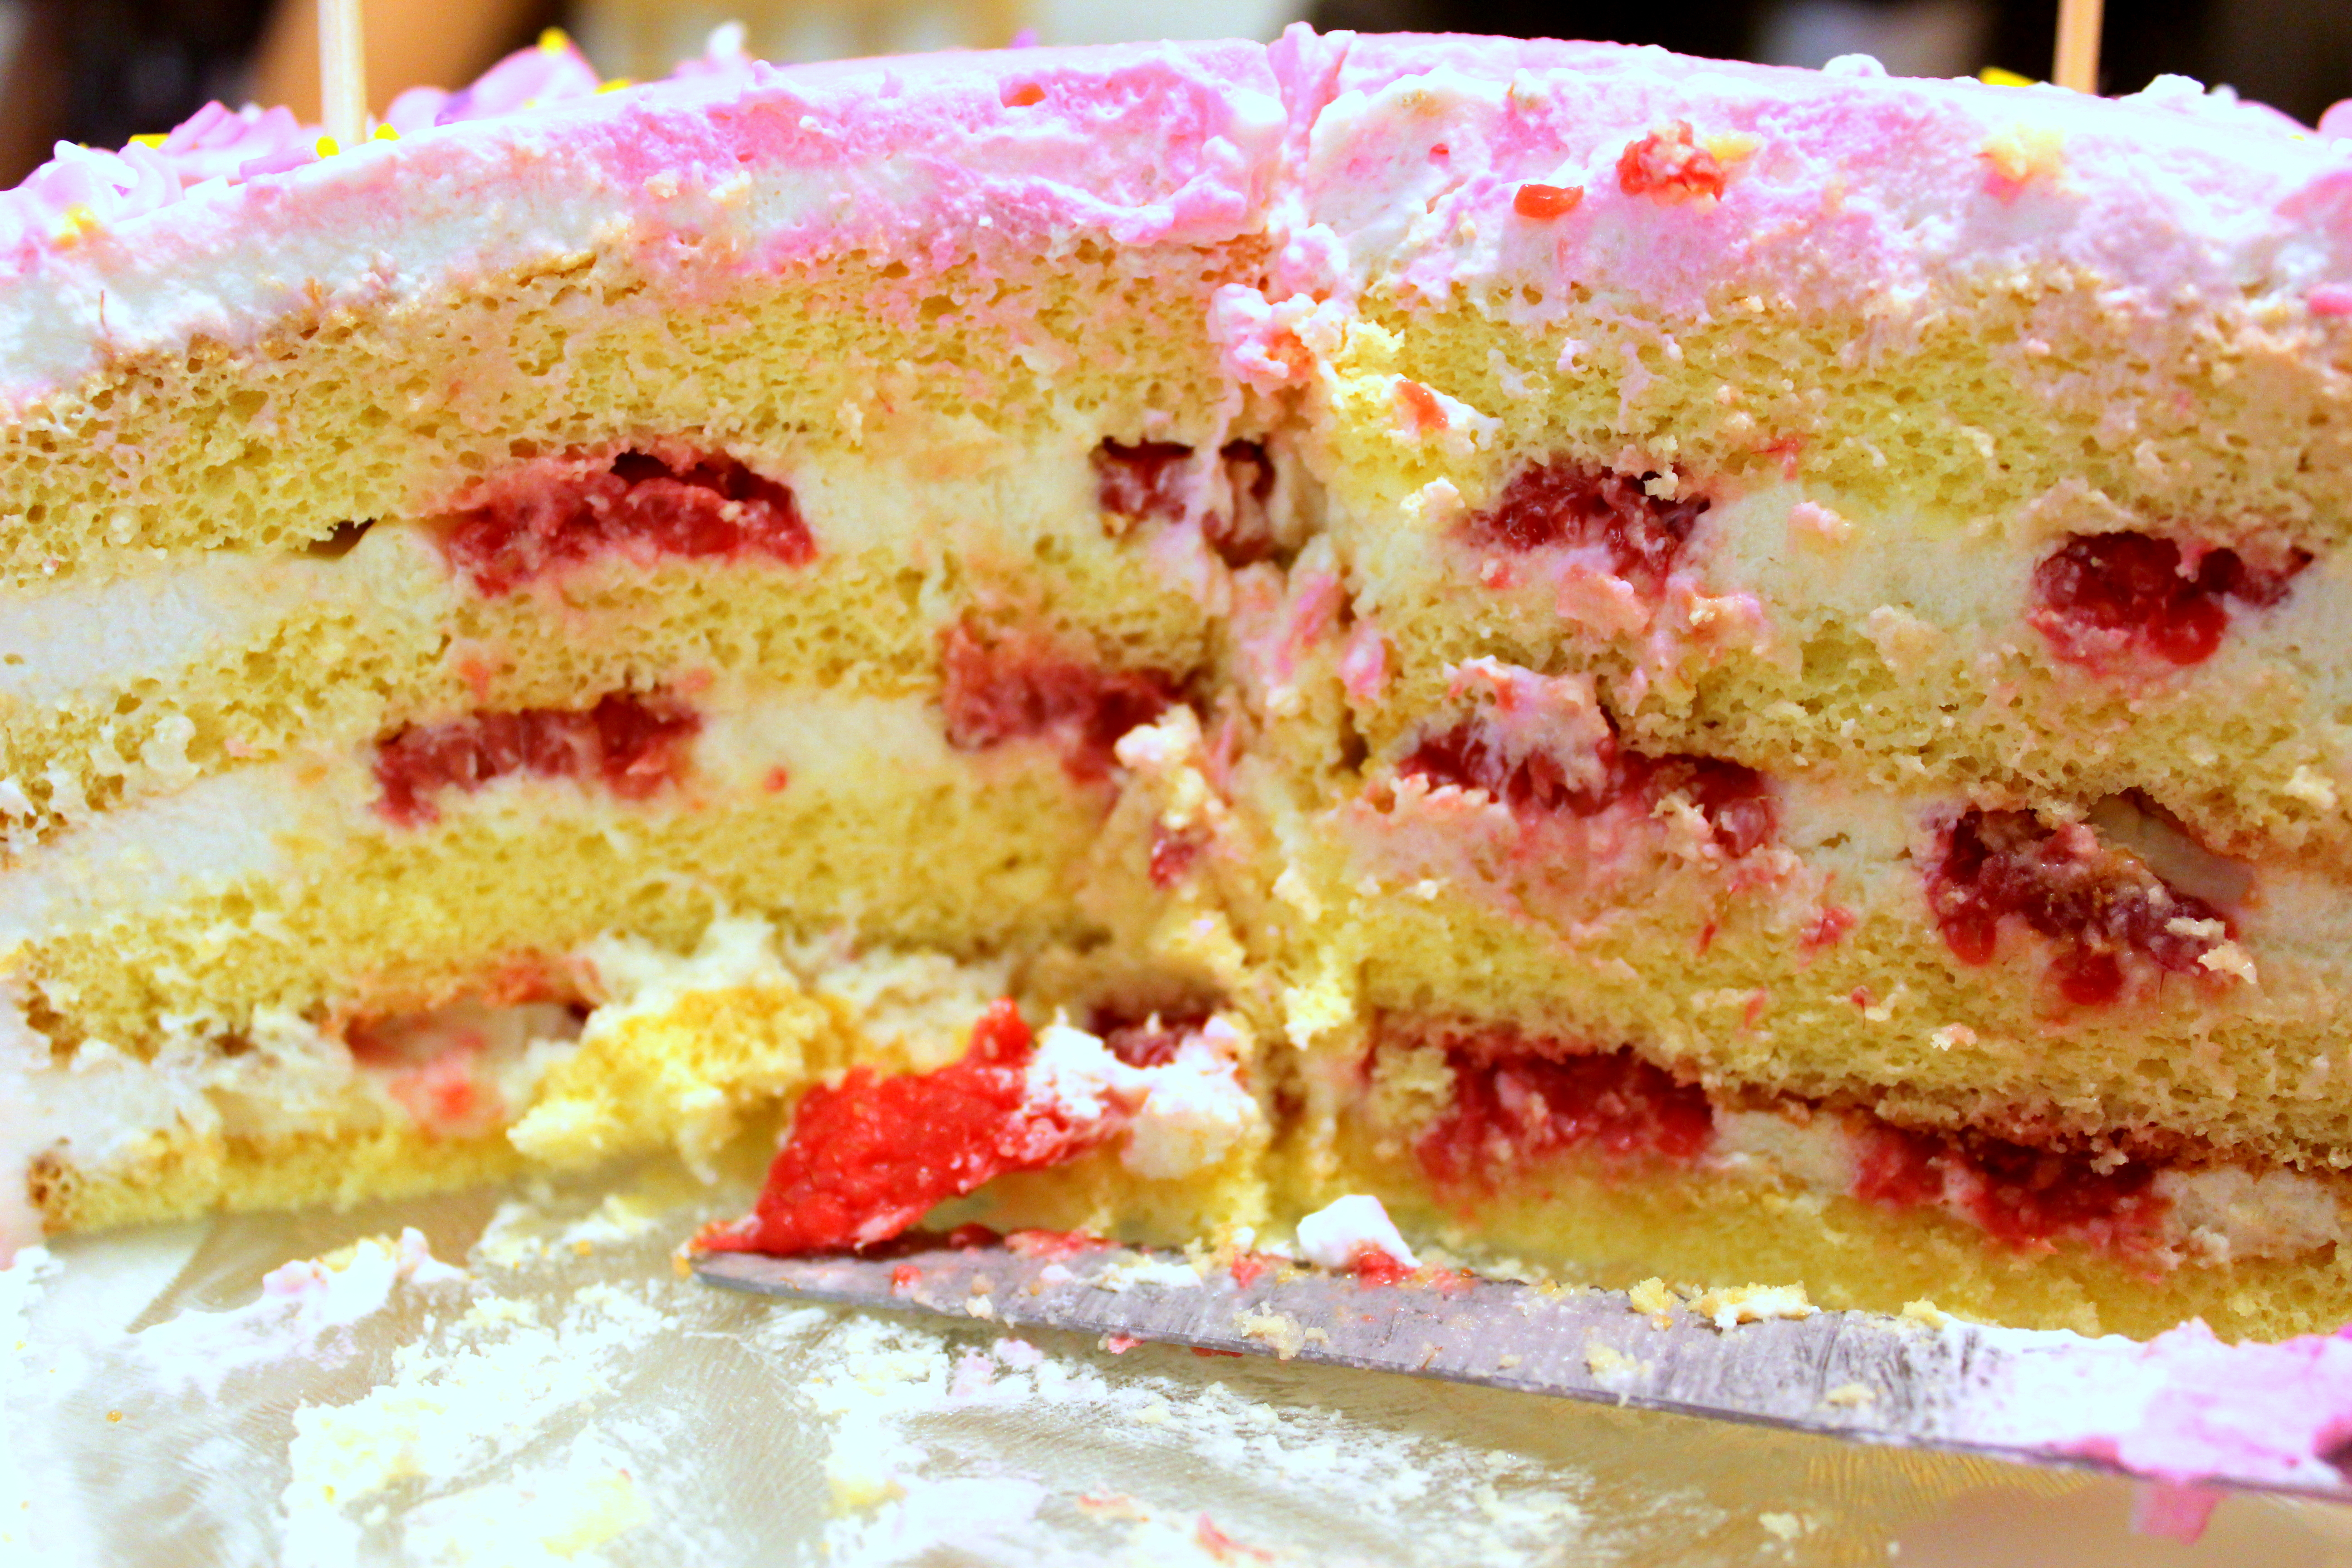
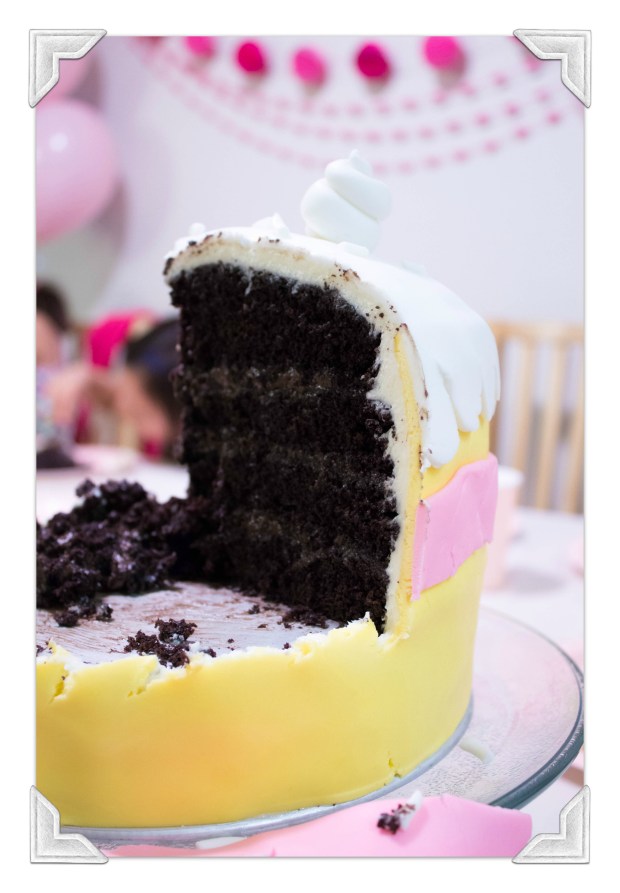
My little girl just had a birthday; and of course no birthday celebration is complete without a cake topped with birthday candles to wish on before they are extinguished in one (or a few) puffs, which concurrently blankets the cake with tiny droplets of birthday girl germs. But we digress… let them eat cake. Germs are everywhere. Besides, this cake is bulletproof! It’s covered with homemade marshmallow fondant which no one likes to eat anyway. I just peel mine right off and get to the good stuff: 4-layers of moist chocolate cake, devil’s frosting, and french vanilla frosting just under the peel, err… fondant.
I’m definitely not a fondant fan, but I must admit that certain cake requests (like this Shopkins cake) does require edible modeling clay to achieve that smooth, plastic look of a toy. Most of my cakes are covered in buttercream or whipped cream, but I made an exception for this one since I didn’t think tinted buttercream would look as nice as fondant would.
My little princess got 2 birthday parties! One on her actual birthday with family, including grandma who was in town, and her second party with a little group of friends at our humble home for a night of pizza, “Snow White” the movie, popcorn, and cake, followed by a spontaneous game of balloon war; organized chaos at it’s best!
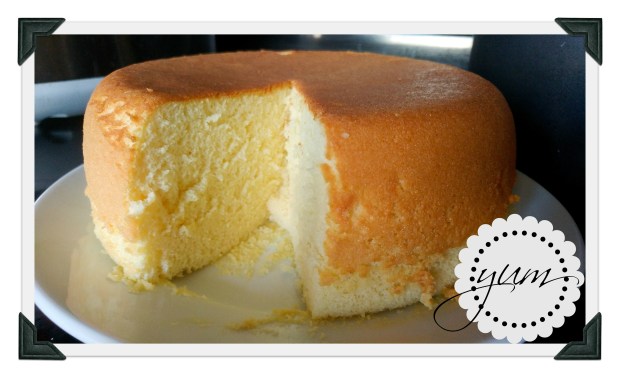
So lucky mommy (yes, that’d be me) got to bake a cheesecake for her family party and this cute Shopkins cake for her party with her friends and I’m going to share my Shopkins cake construction process.
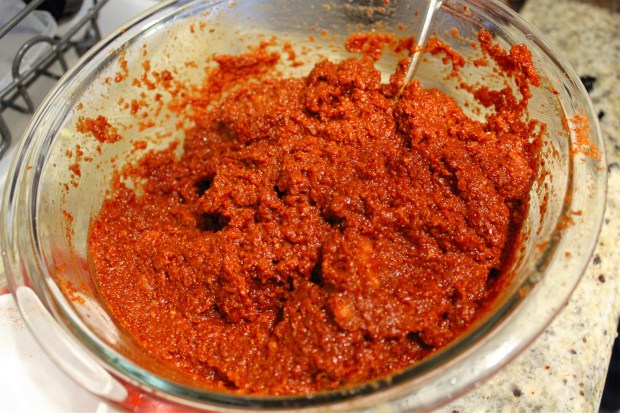
Little princess wanted a chocolate cake, so little princess got a chocolate cake for her special day. I used Toba Garrett’s chocolate cake recipe from her book “The Well-decorated Cake” and I promise it’s the BEST chocolate cake you will ever taste! She claims it’s good to the last crumb, and believe me, it is! For the filling, I made a HUGE mistake and accidentally made chocolate icing!!! Like the kind that you drizzle over desserts for the nice chocolate-spilling-over-the-edge look, and that doesn’t work for a cake filling unless you want a “Sleeping Beauty” type of cake look with all the layers sliding and frosting dripping and the whole cake leaning like the Tower of Pisa. That’s why, my friends, we should stick to tried and true recipes when attempting a special cake for a special occasion. Lesson learned. SO, instead of dumping the chocolate icing, I just doctored it by adding more butter and powdered sugar and it was fixed! Now, I had delicious devil’s chocolate icing buttercream that was perfect layered with the chocolate cake.
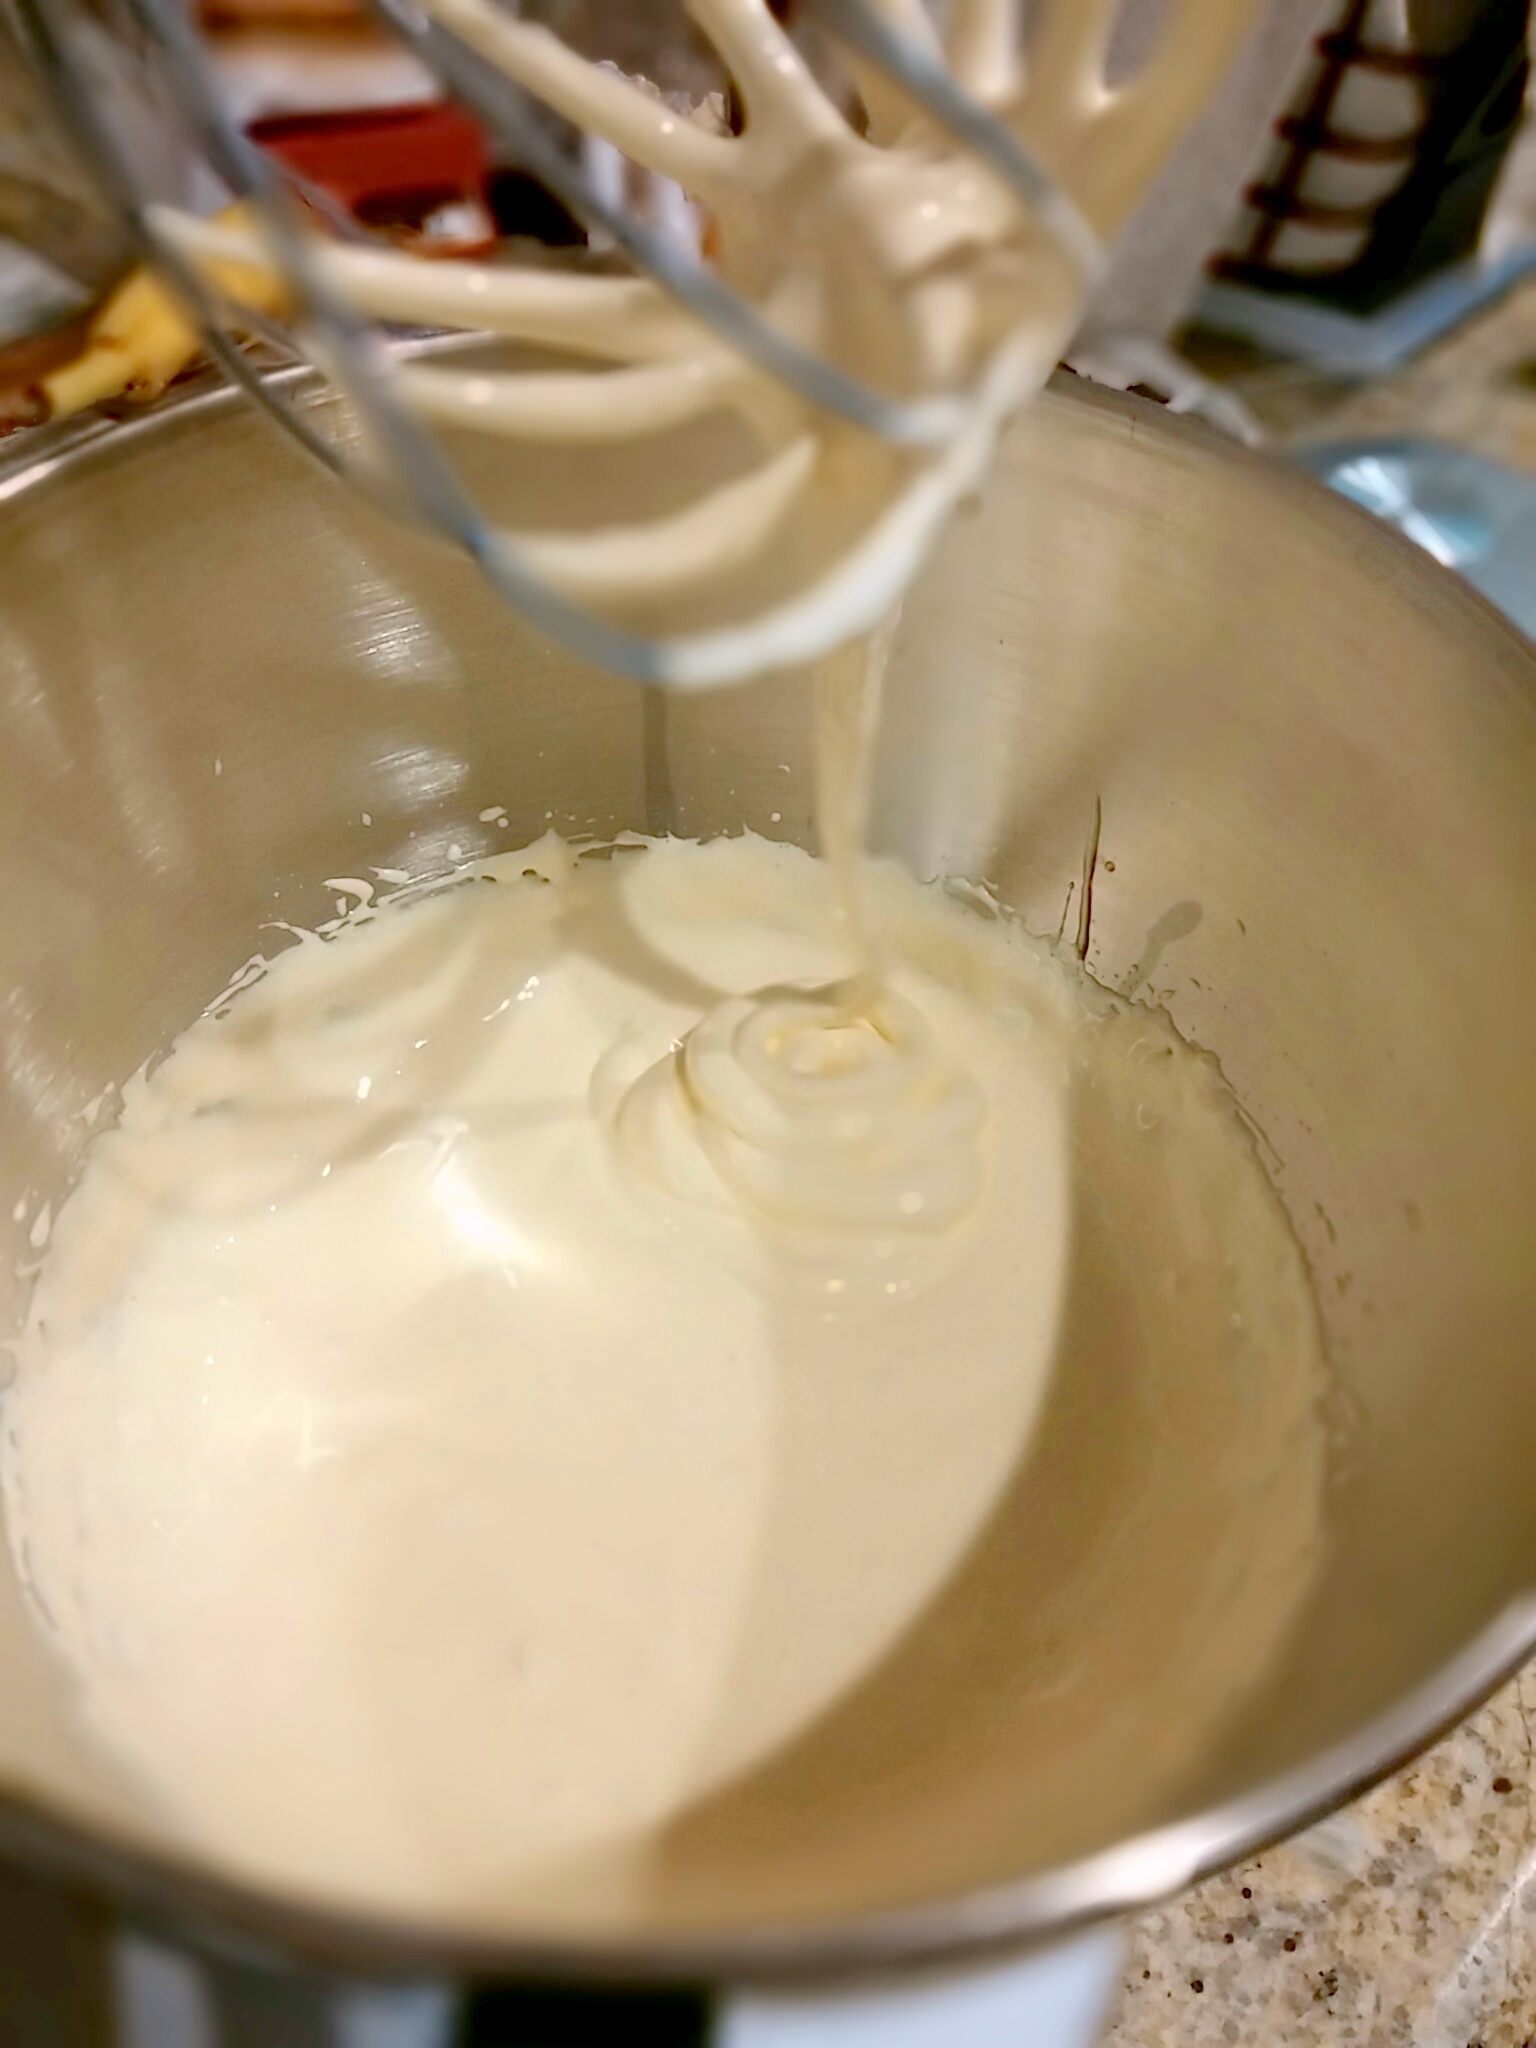
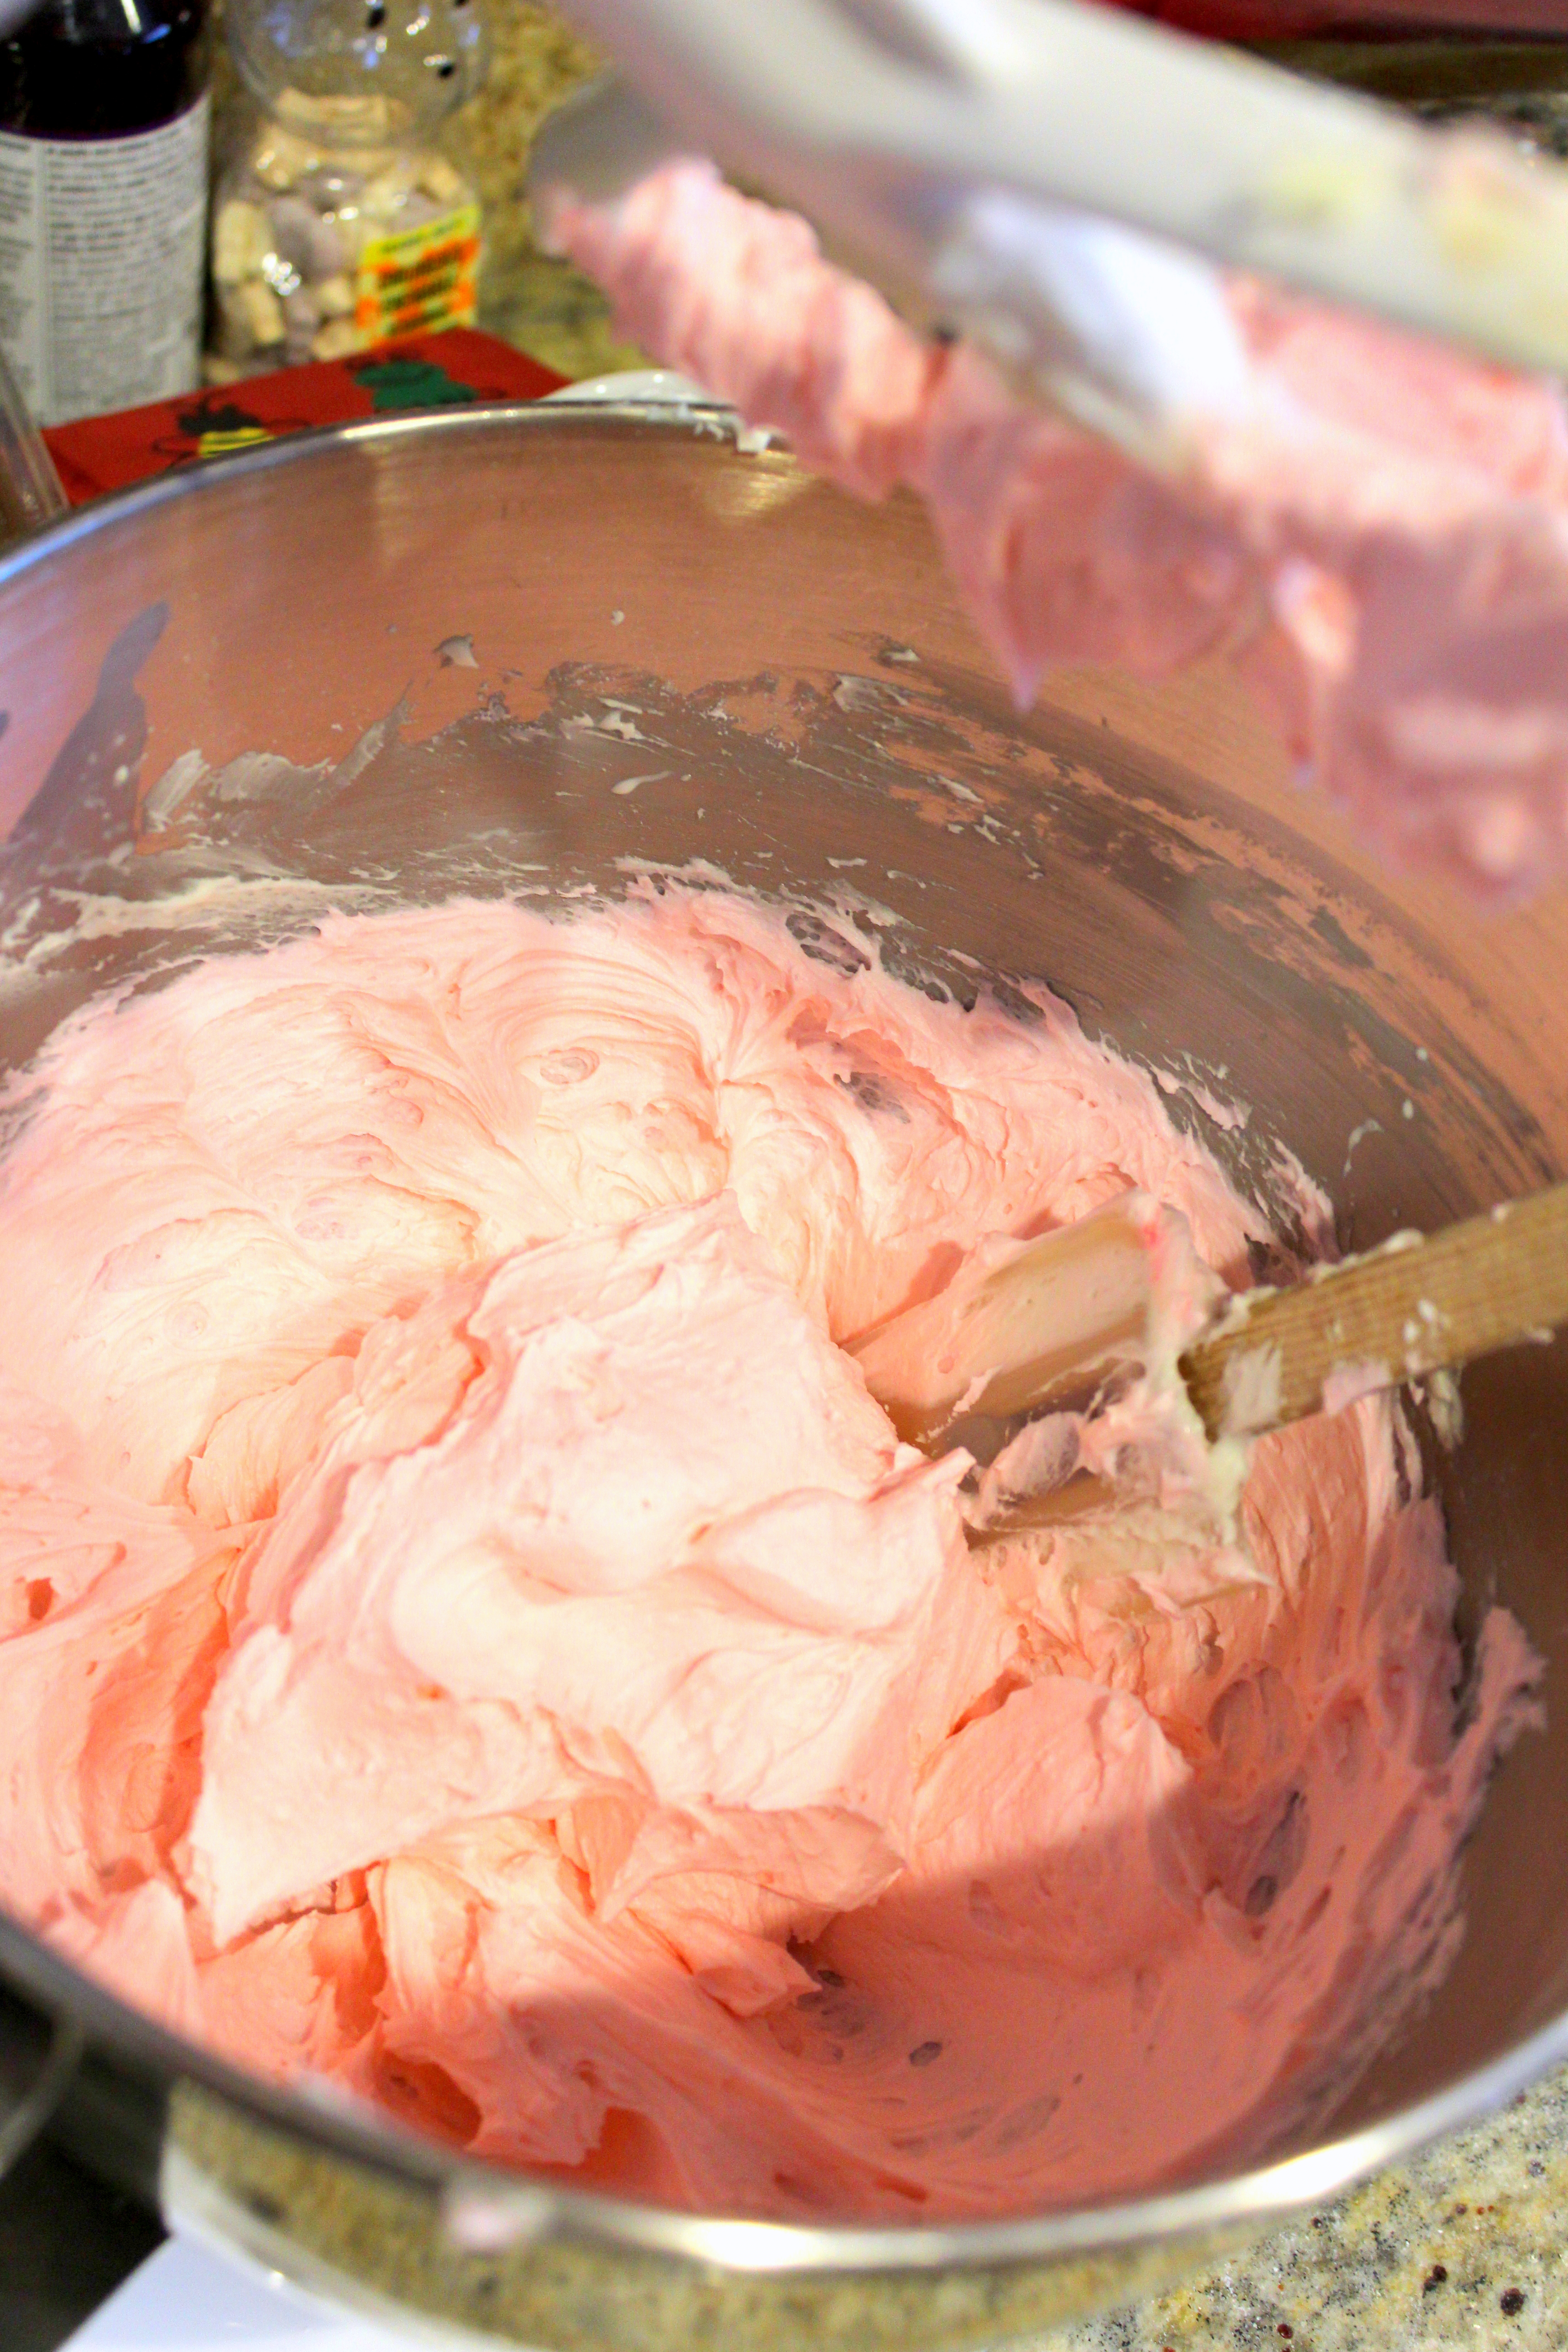
After that detour, I decided I didn’t want to risk the dark brown color of chocolate frosting possibly showing through the light yellow fondant so whipped up a batch of our favorite vanilla frosting, which is also found in Toba Garrett’s book (see above link) called French Vanilla Buttercream. This buttercream tastes like vanilla ice cream and has a texture that’s lighter and in between a buttercream and whipped cream. Definitely one of my go-to recipes and have used it in many of my past cakes.

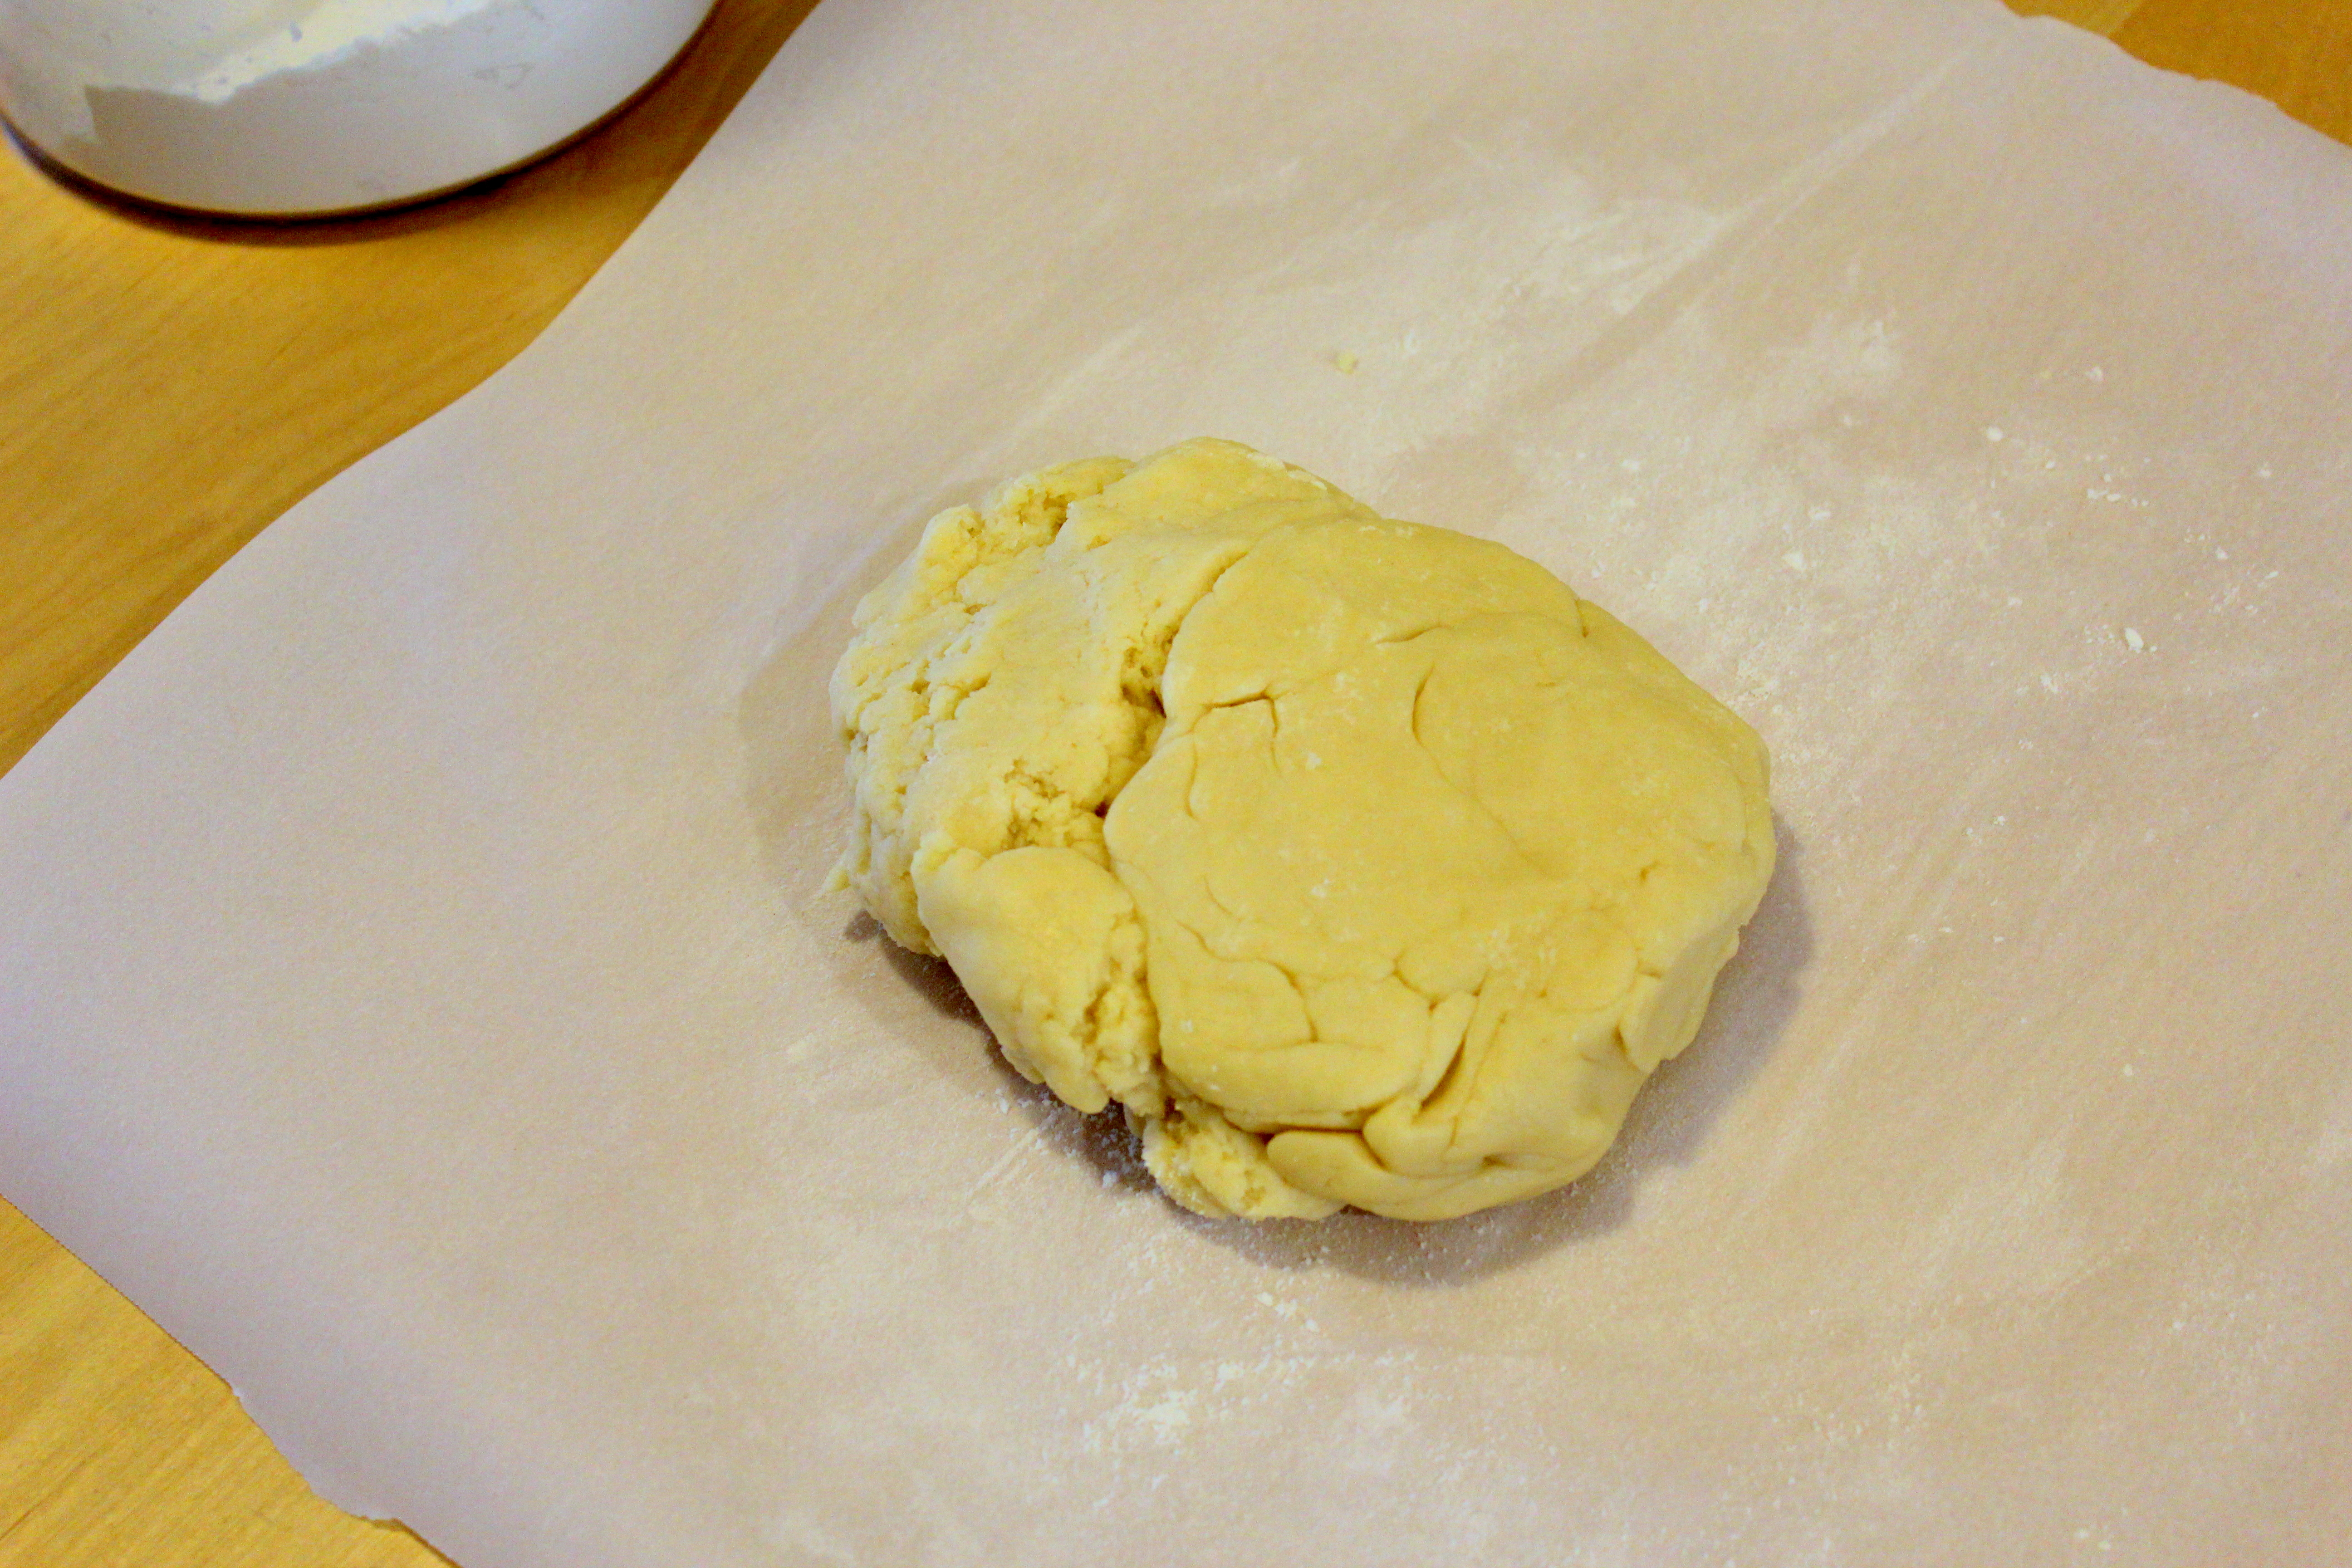
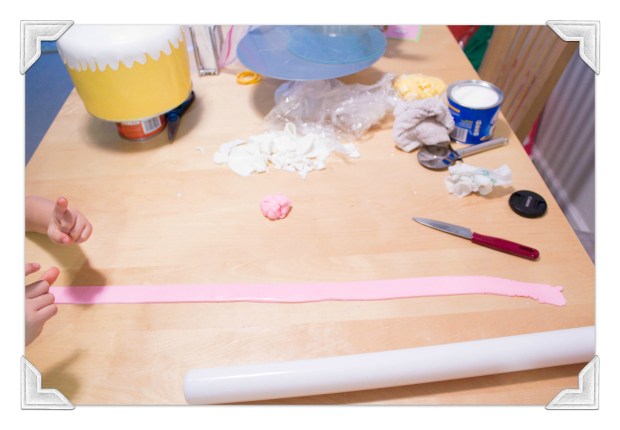
I made 2 batches of marshmallow fondant and colored one batch yellow then left a larger part of the 2nd batch white and colored some pink and a little black.
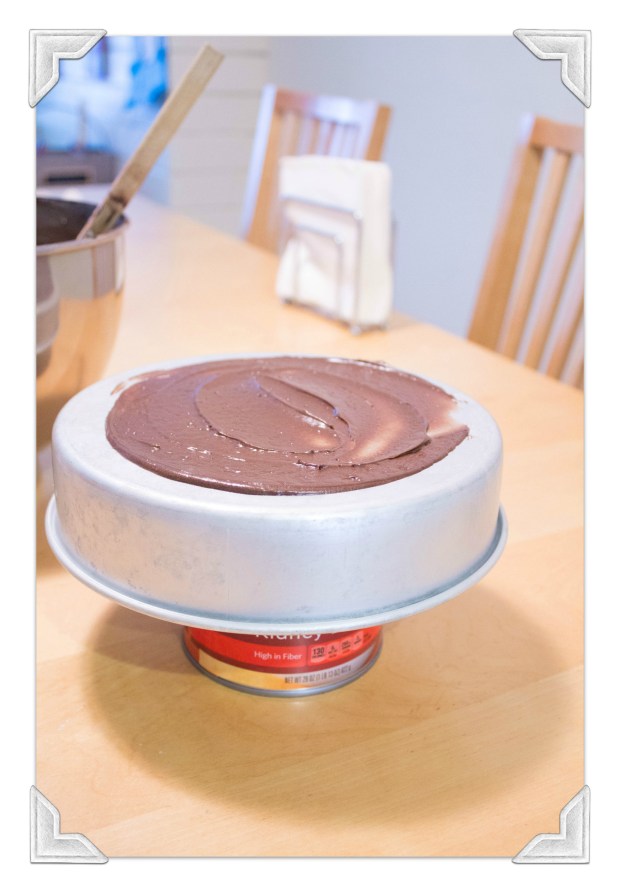
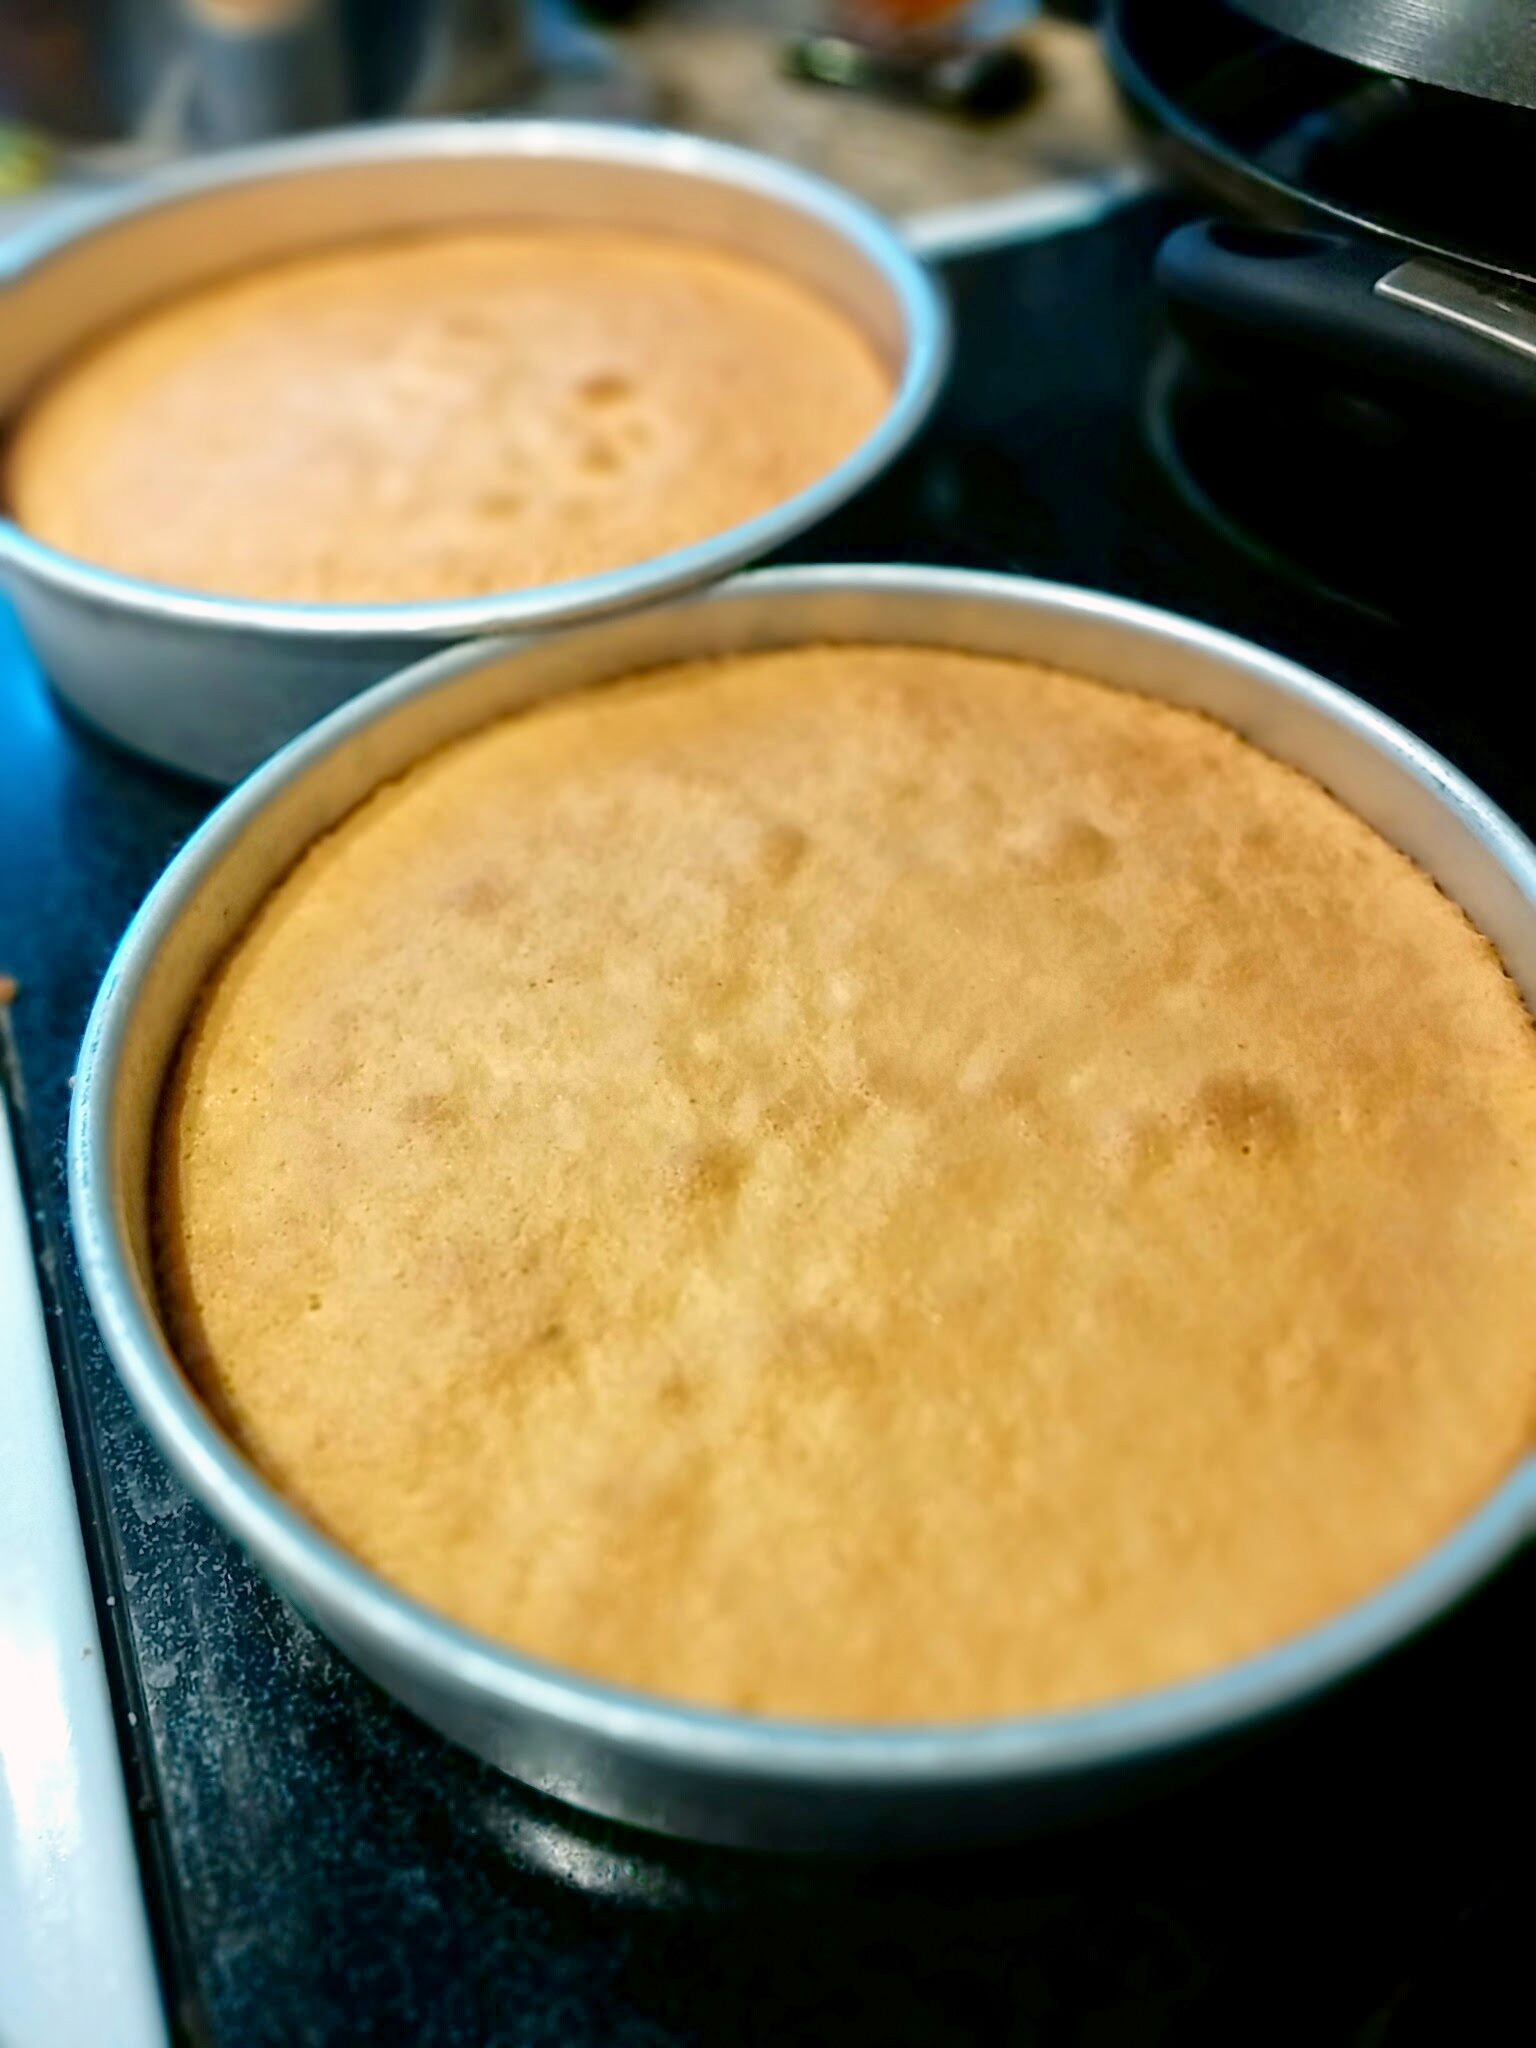
I wanted a taller, cake but I didn’t want to bake a 3rd cake, so I cheated and used my inverted cake pan as my 3rd cake layer to give the cake more height.

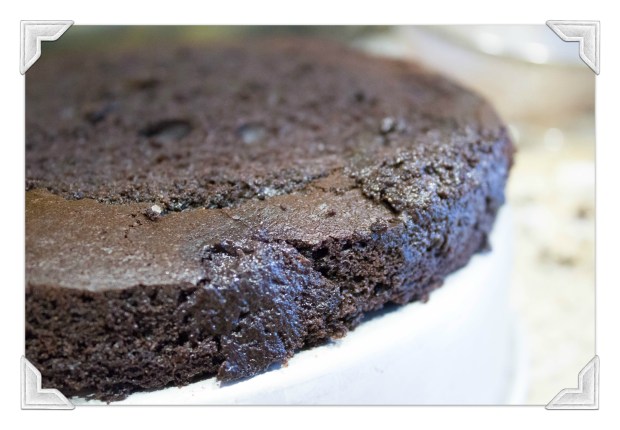
I was in a rush and wasn’t careful removing my 2nd cake from the pan and it broke in several places!

see how much of the outside broke off?!?!

But it’s okay! Just take those broken cake crumbs and mix it with your frosting and now you have chocolate cement to fill in the cracks. (This is also how you can make cake pops. crumble cake, mix in frosting, shape, and stick onto sticks)
Whew, there. Now the cake is good as new 😉
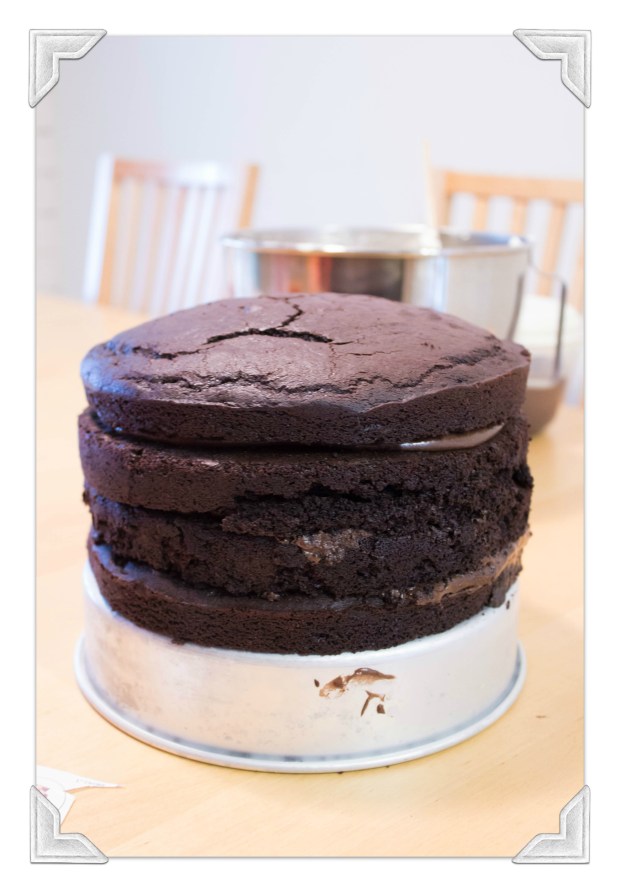
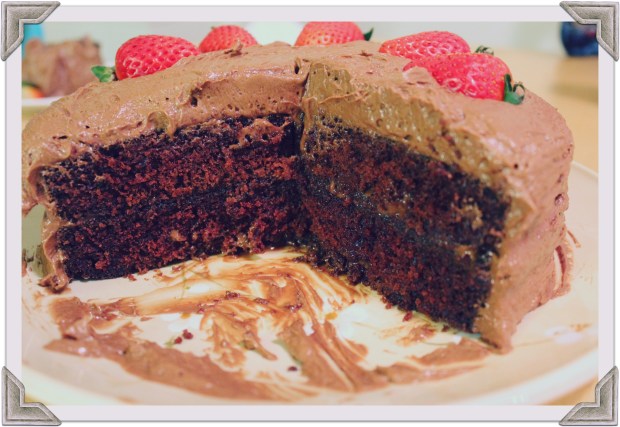
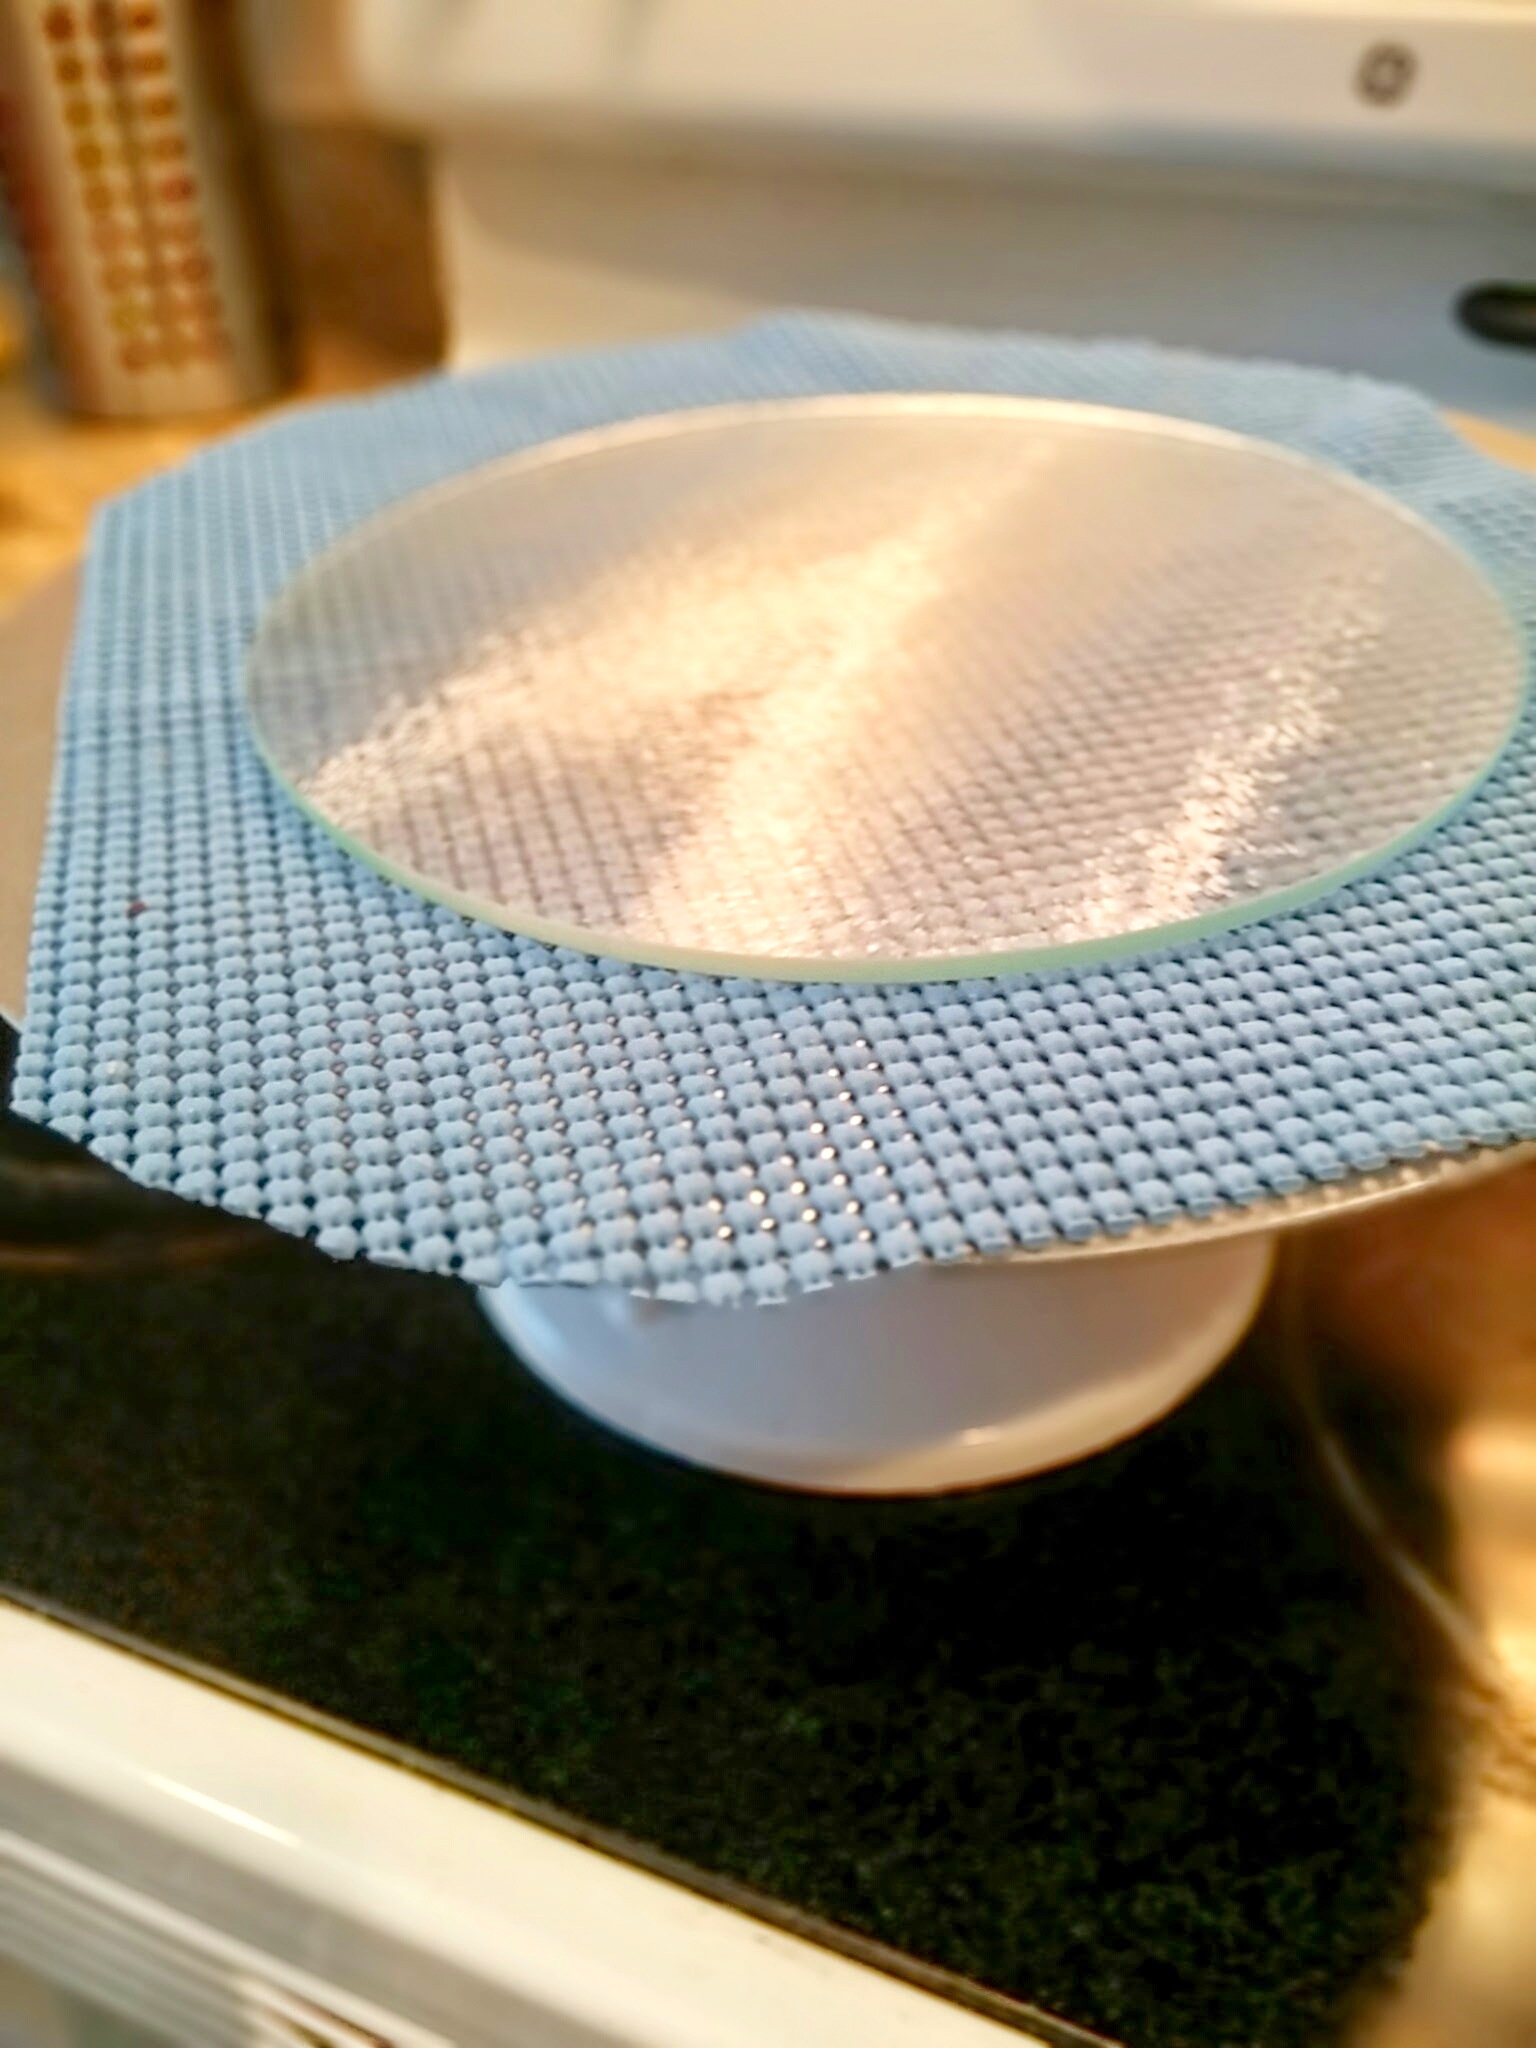
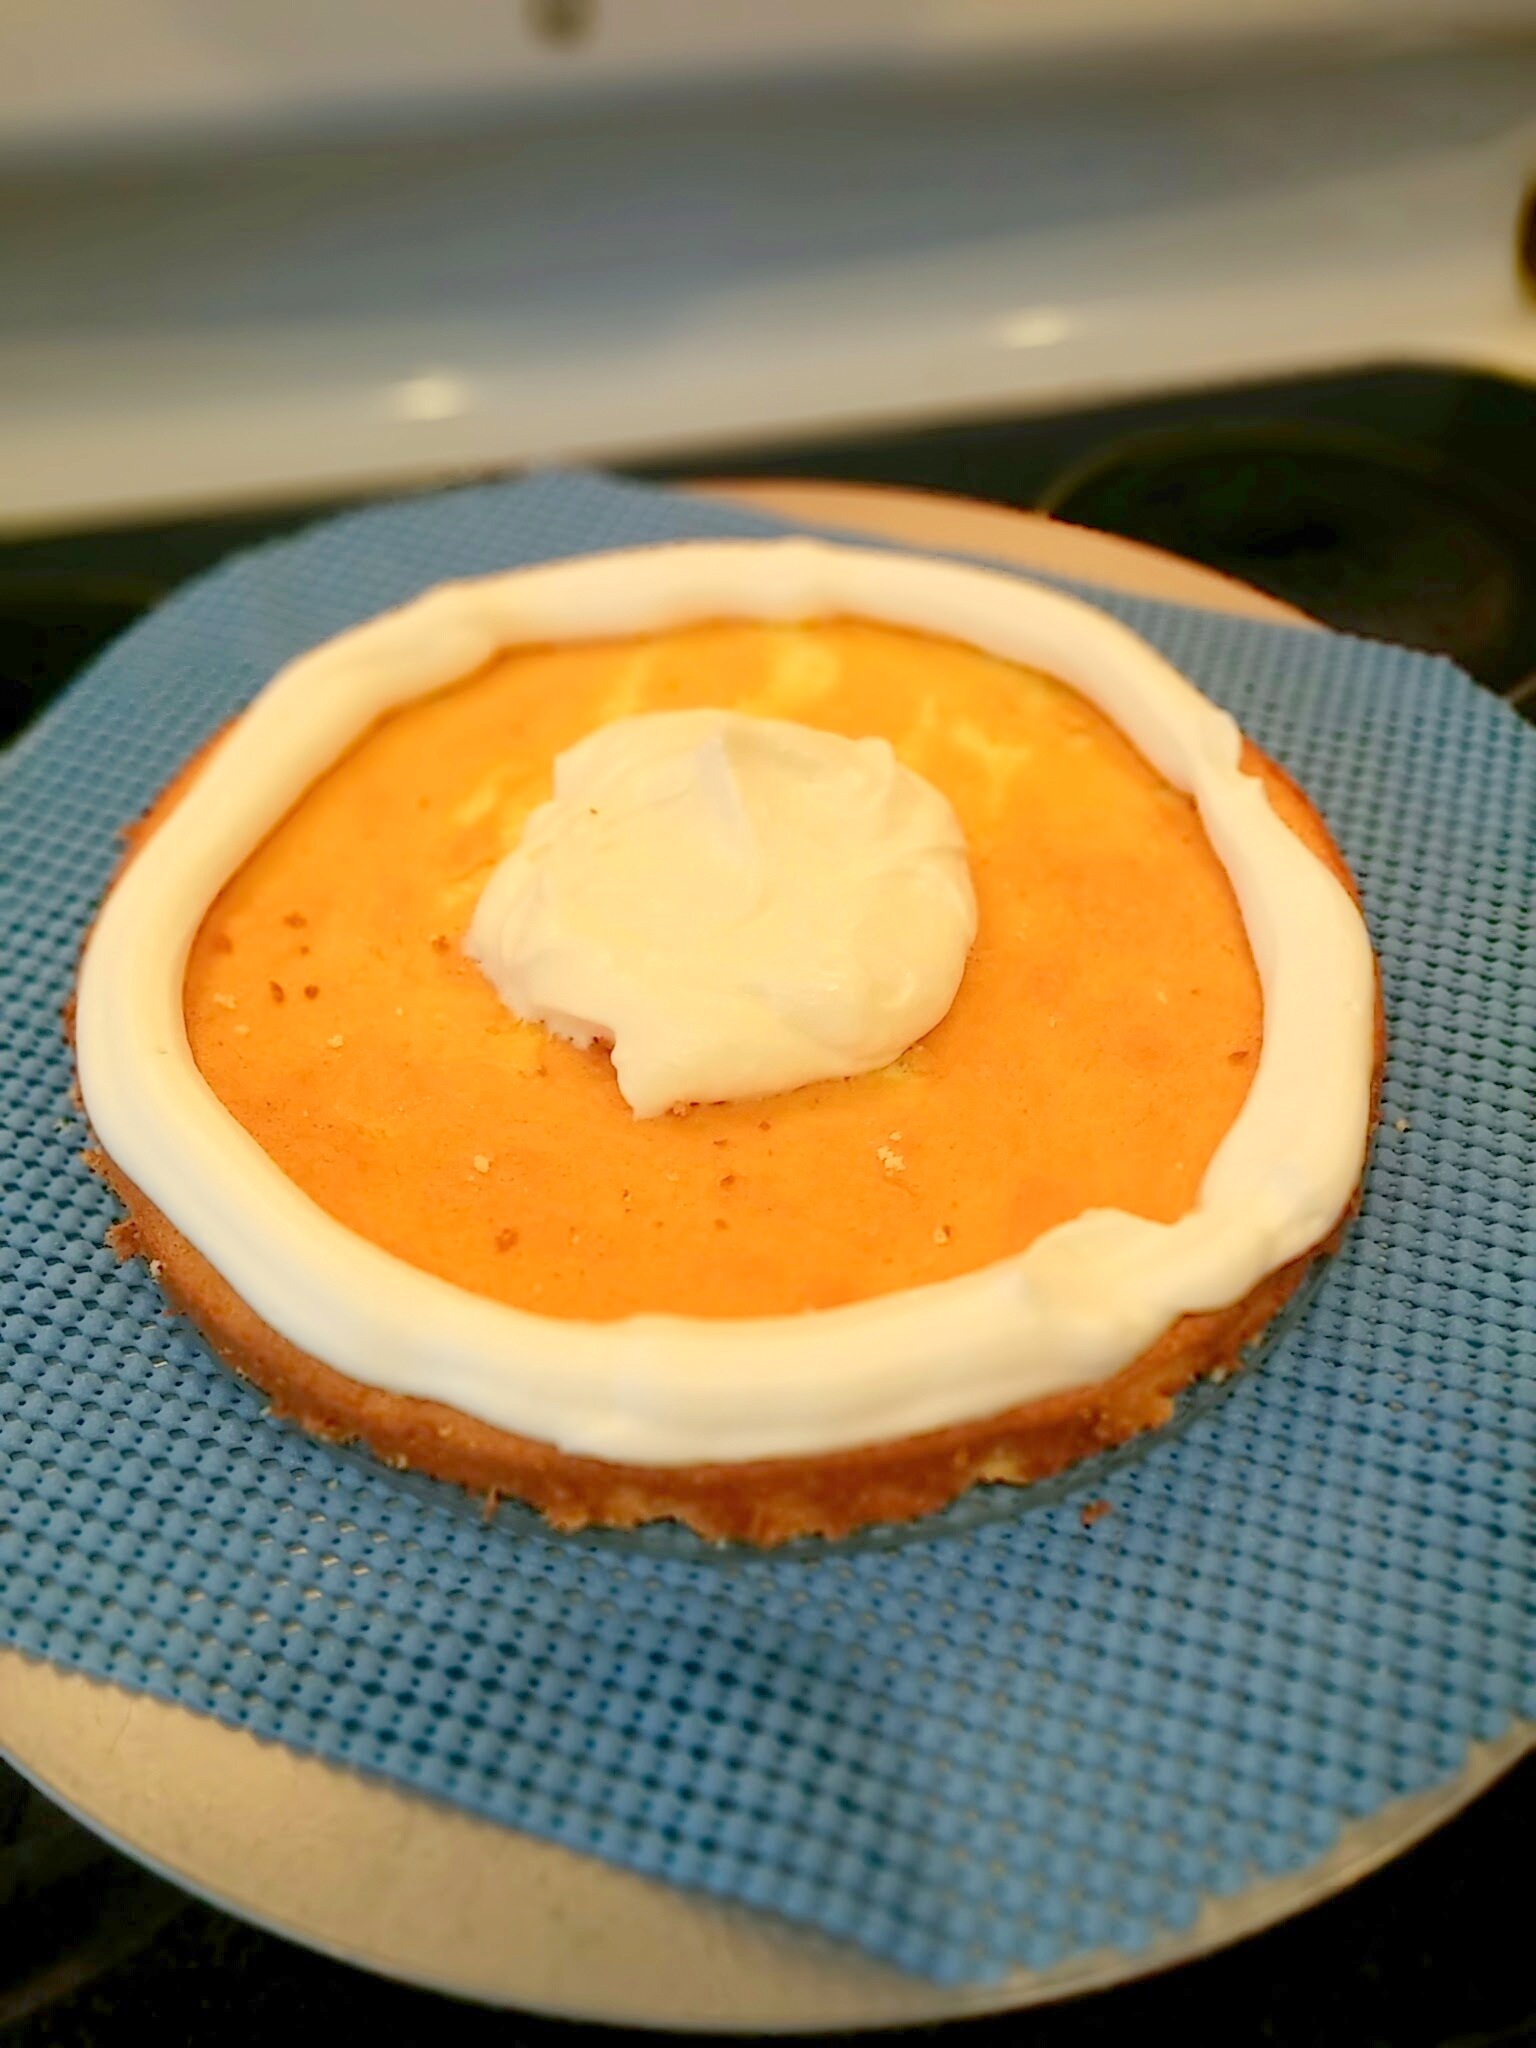
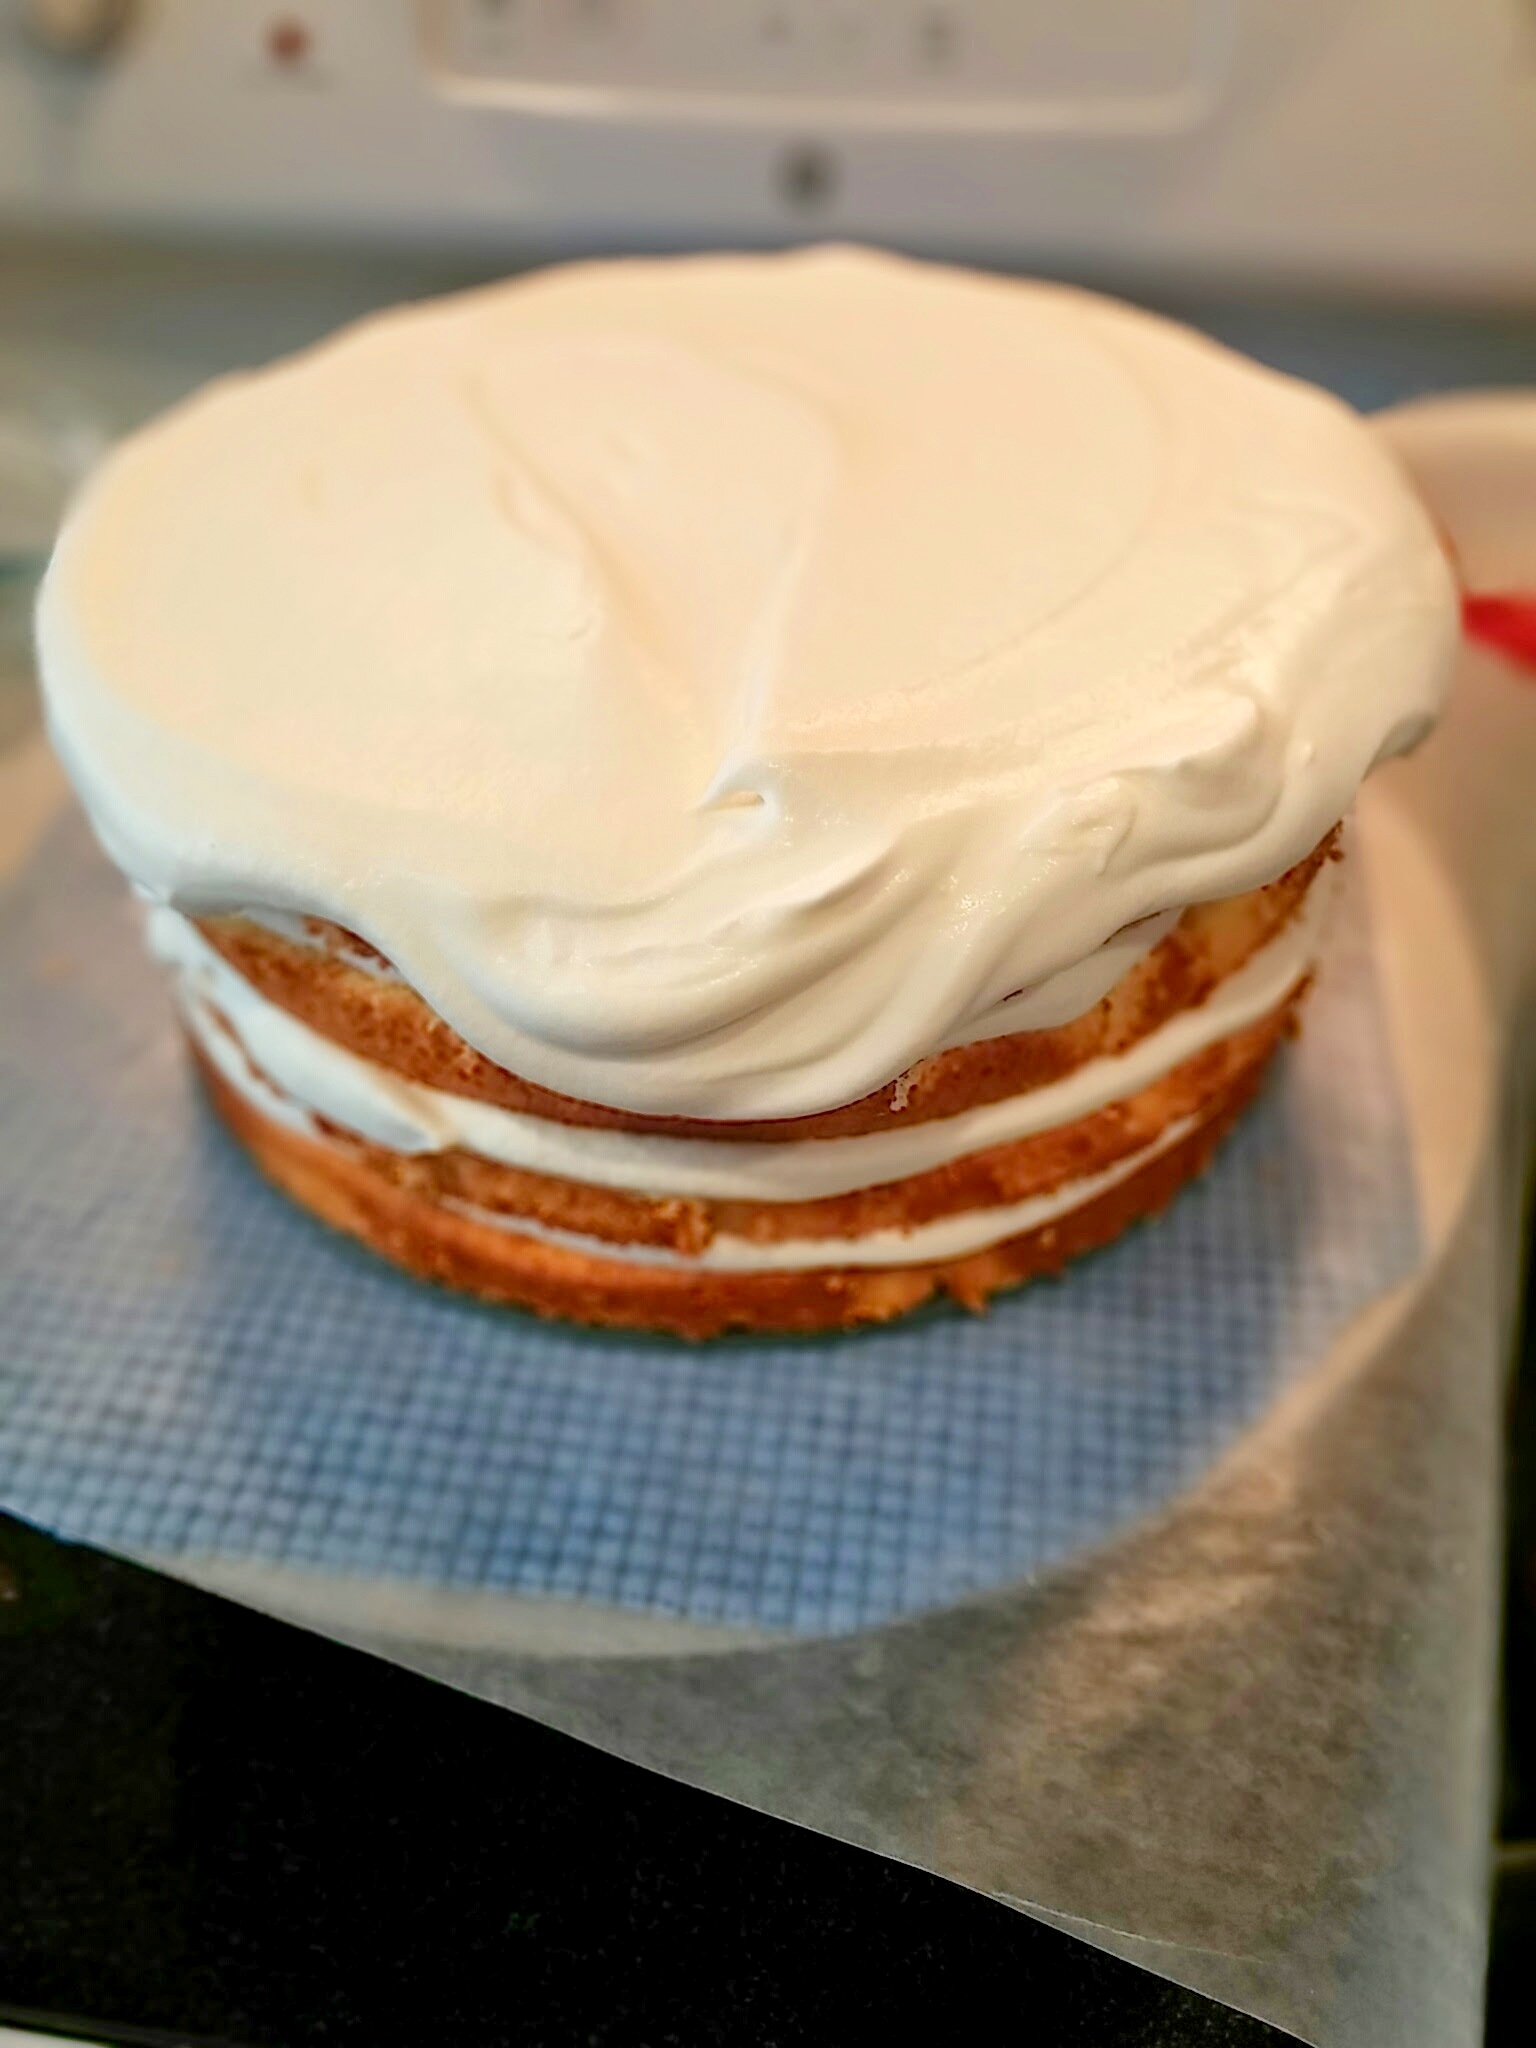
I split my 2 cakes in half so I got 4 layers. Put some frosting on my “fake” cake layer then stack cake, frost, stack cake, frost… you get the picture. I purposely left the top layer rounded since I wanted to keep the rounded look for the Shopkins Wishes cake. Refrigerate your stacked cake for about 30 mins so it’s easier to cover with frosting and doesn’t shift.

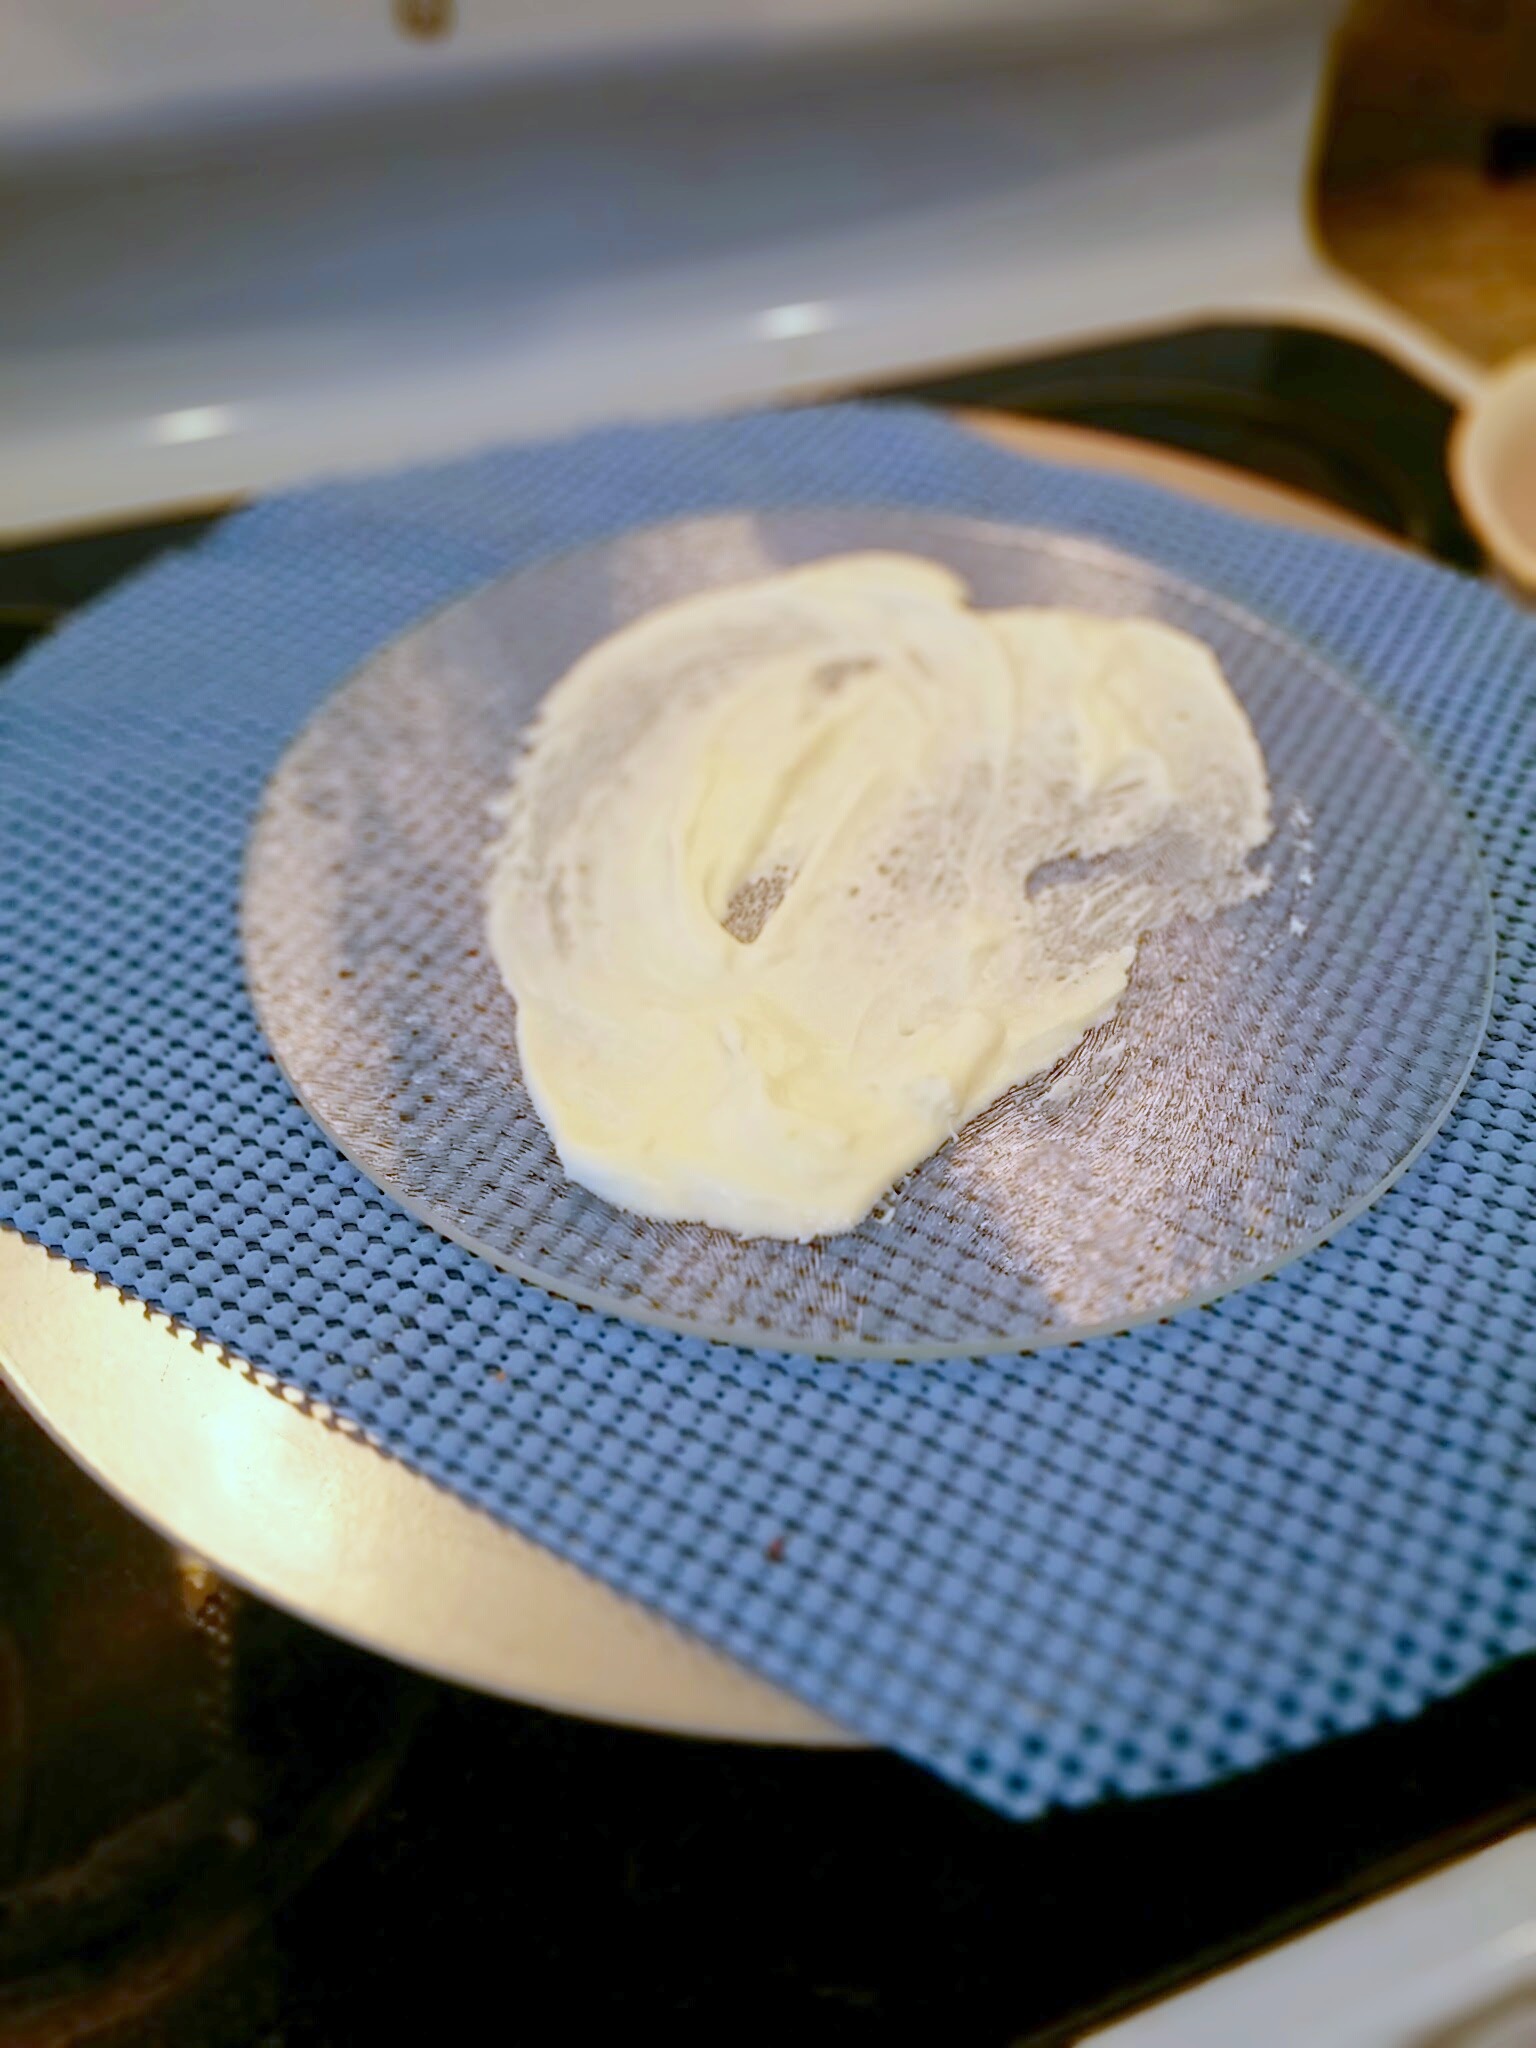
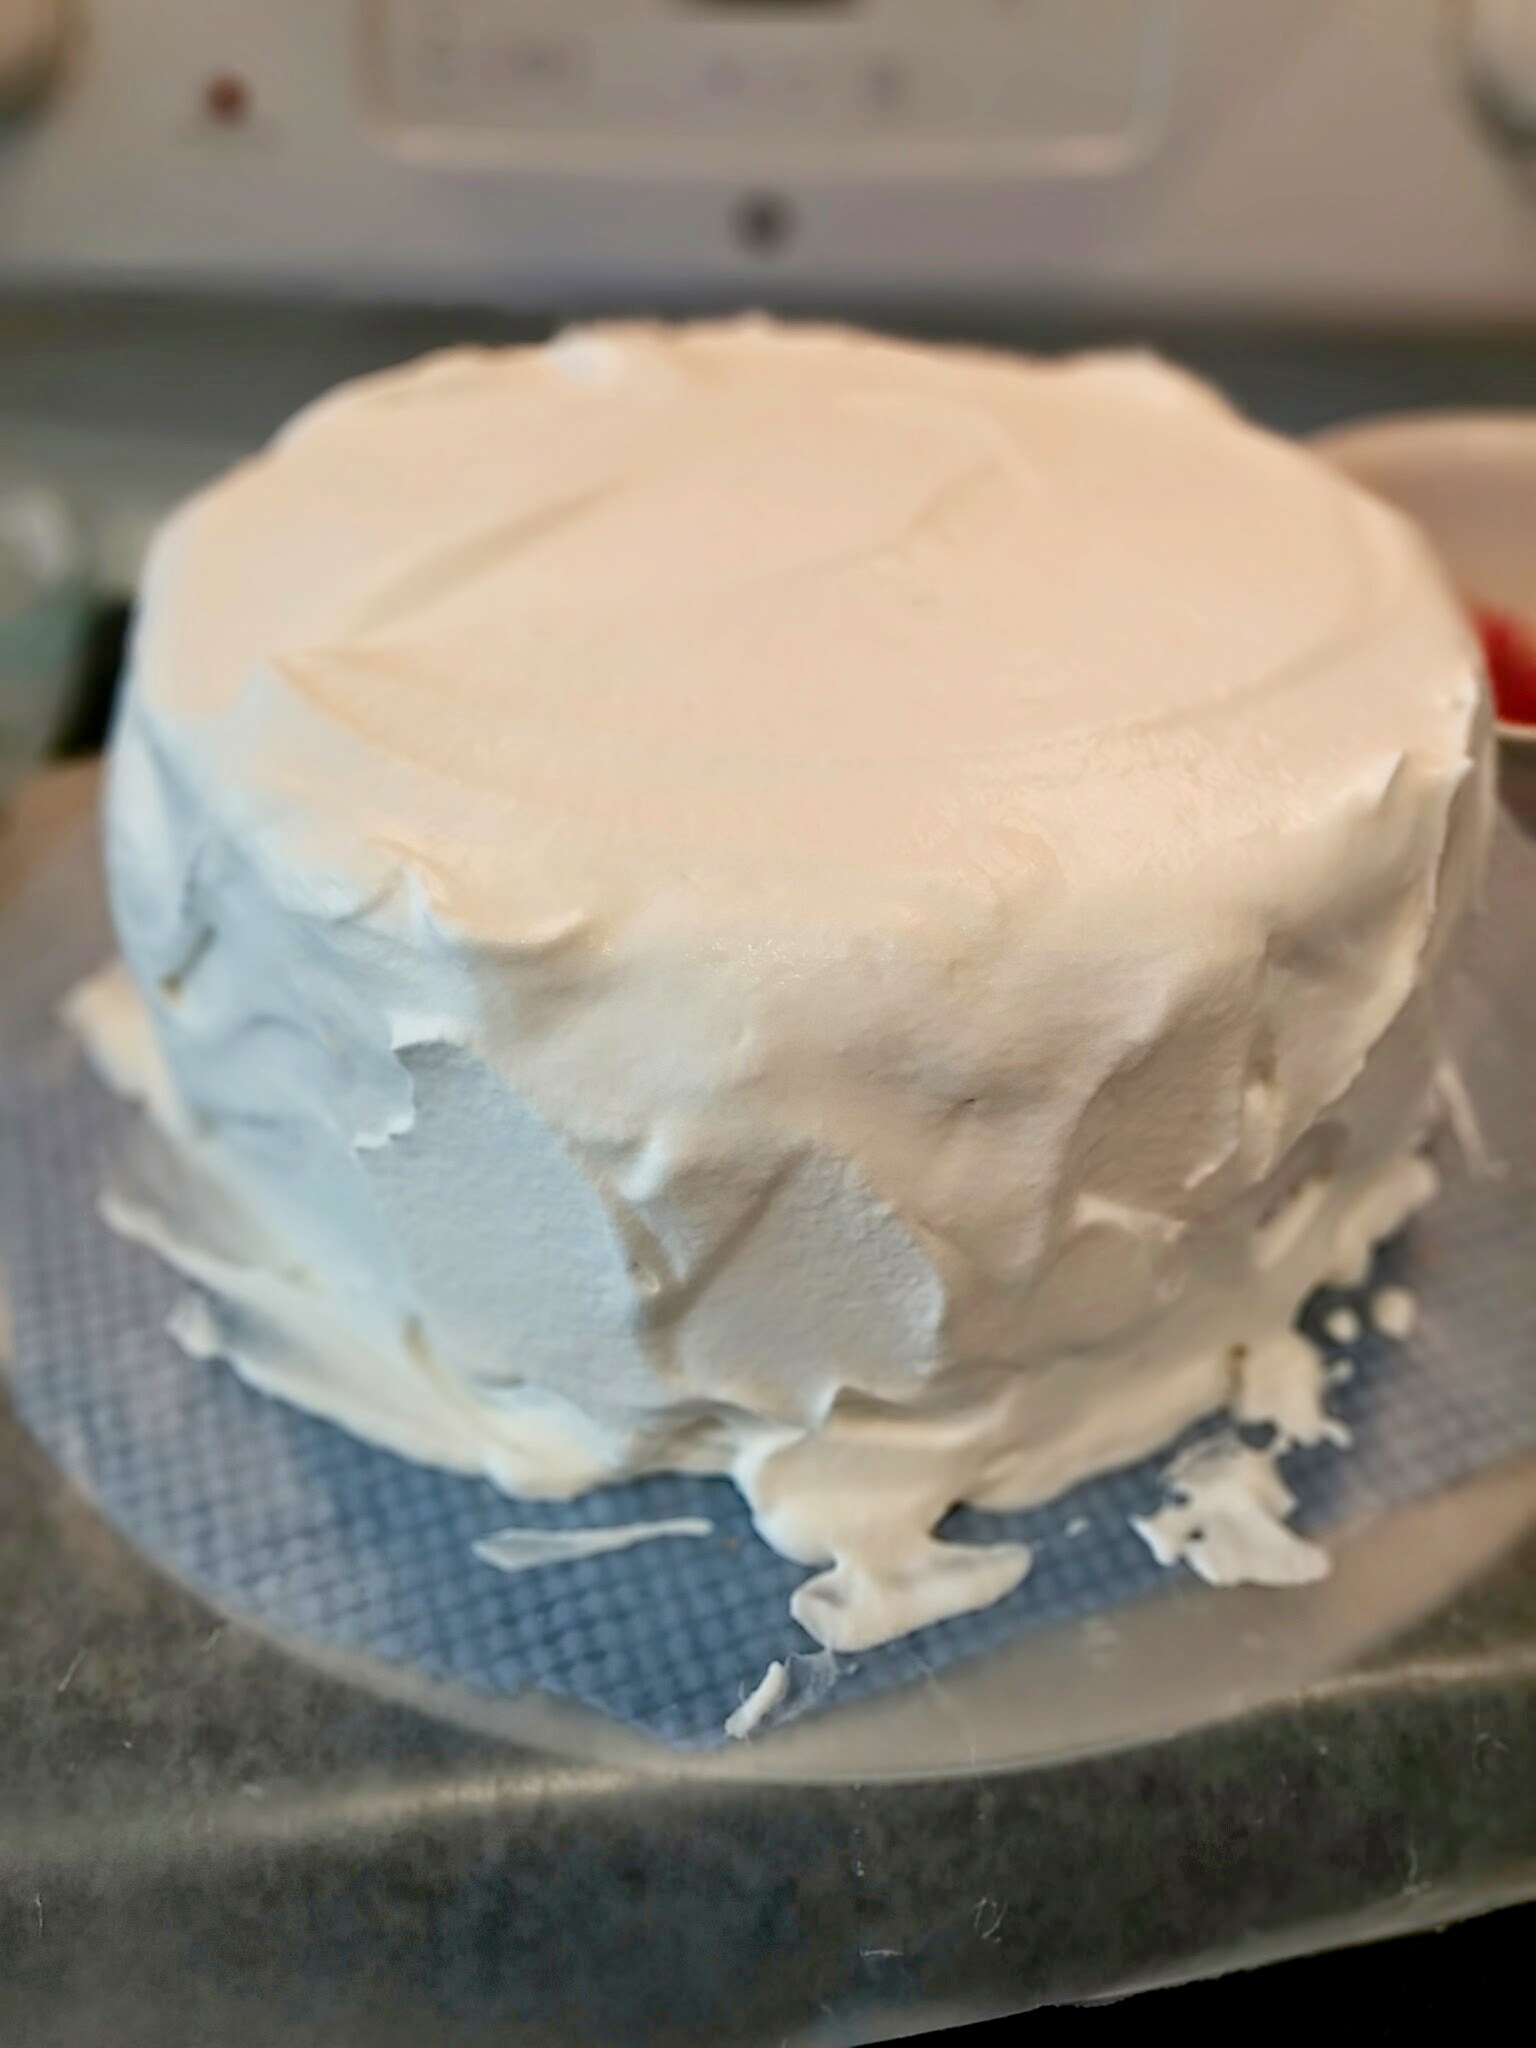
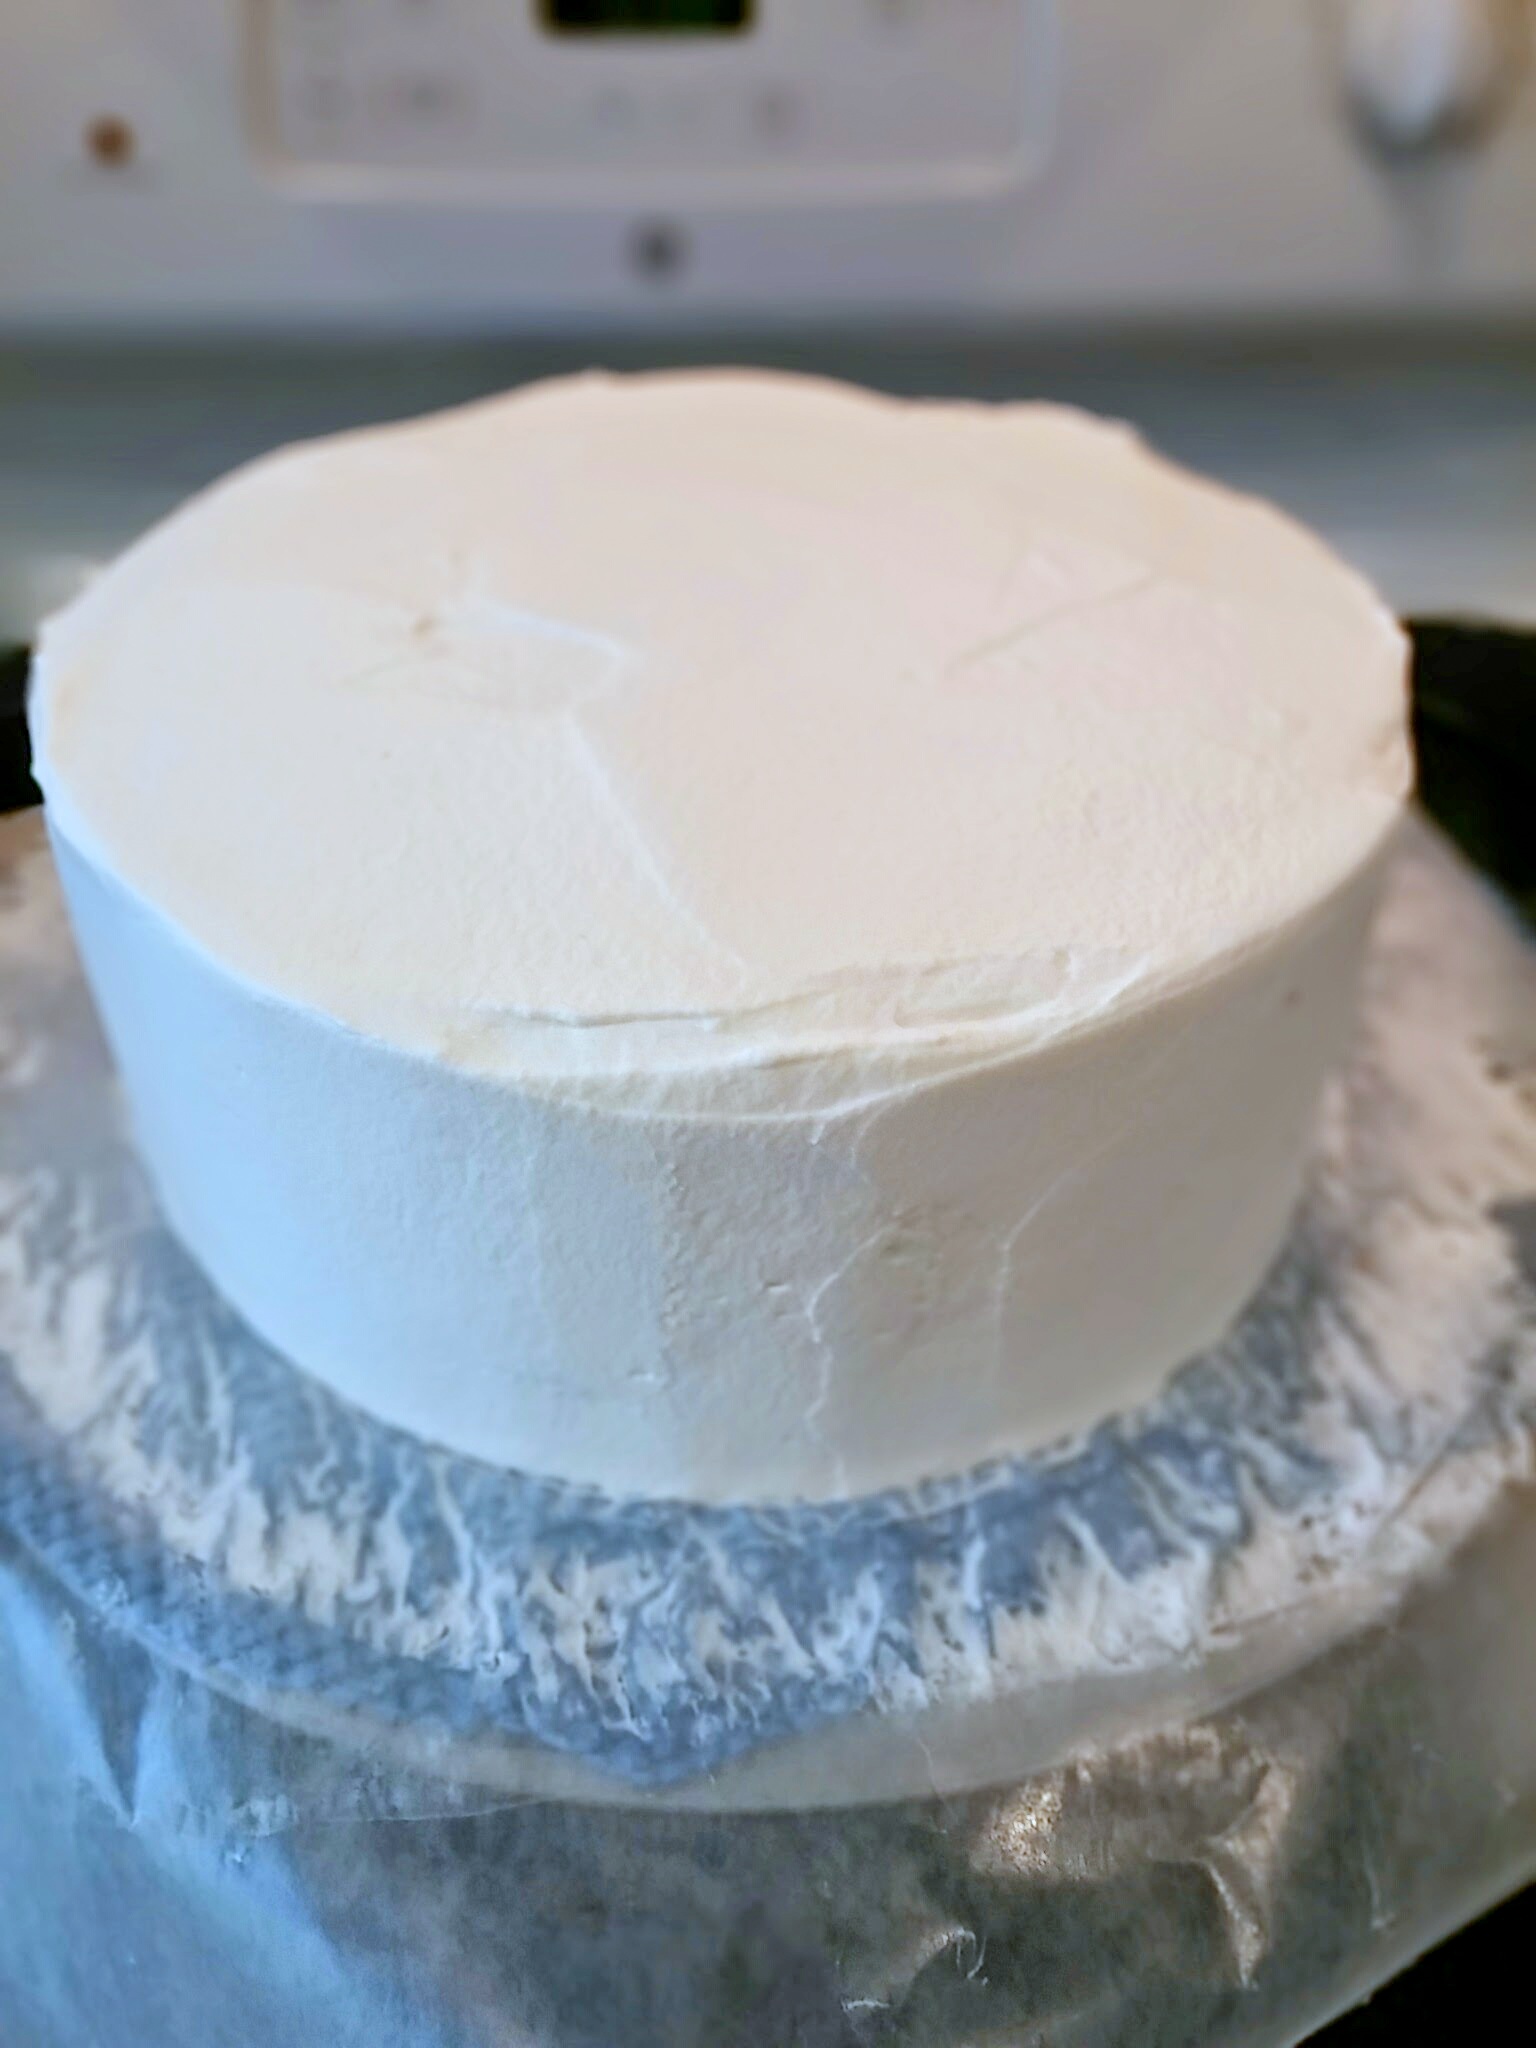
Smooth on your vanilla buttercream frosting with an offset spatula and refrigerate again while you work on rolling out some fondant. Notice how I frosted my cake pan, the bottom layer of my “cake”.

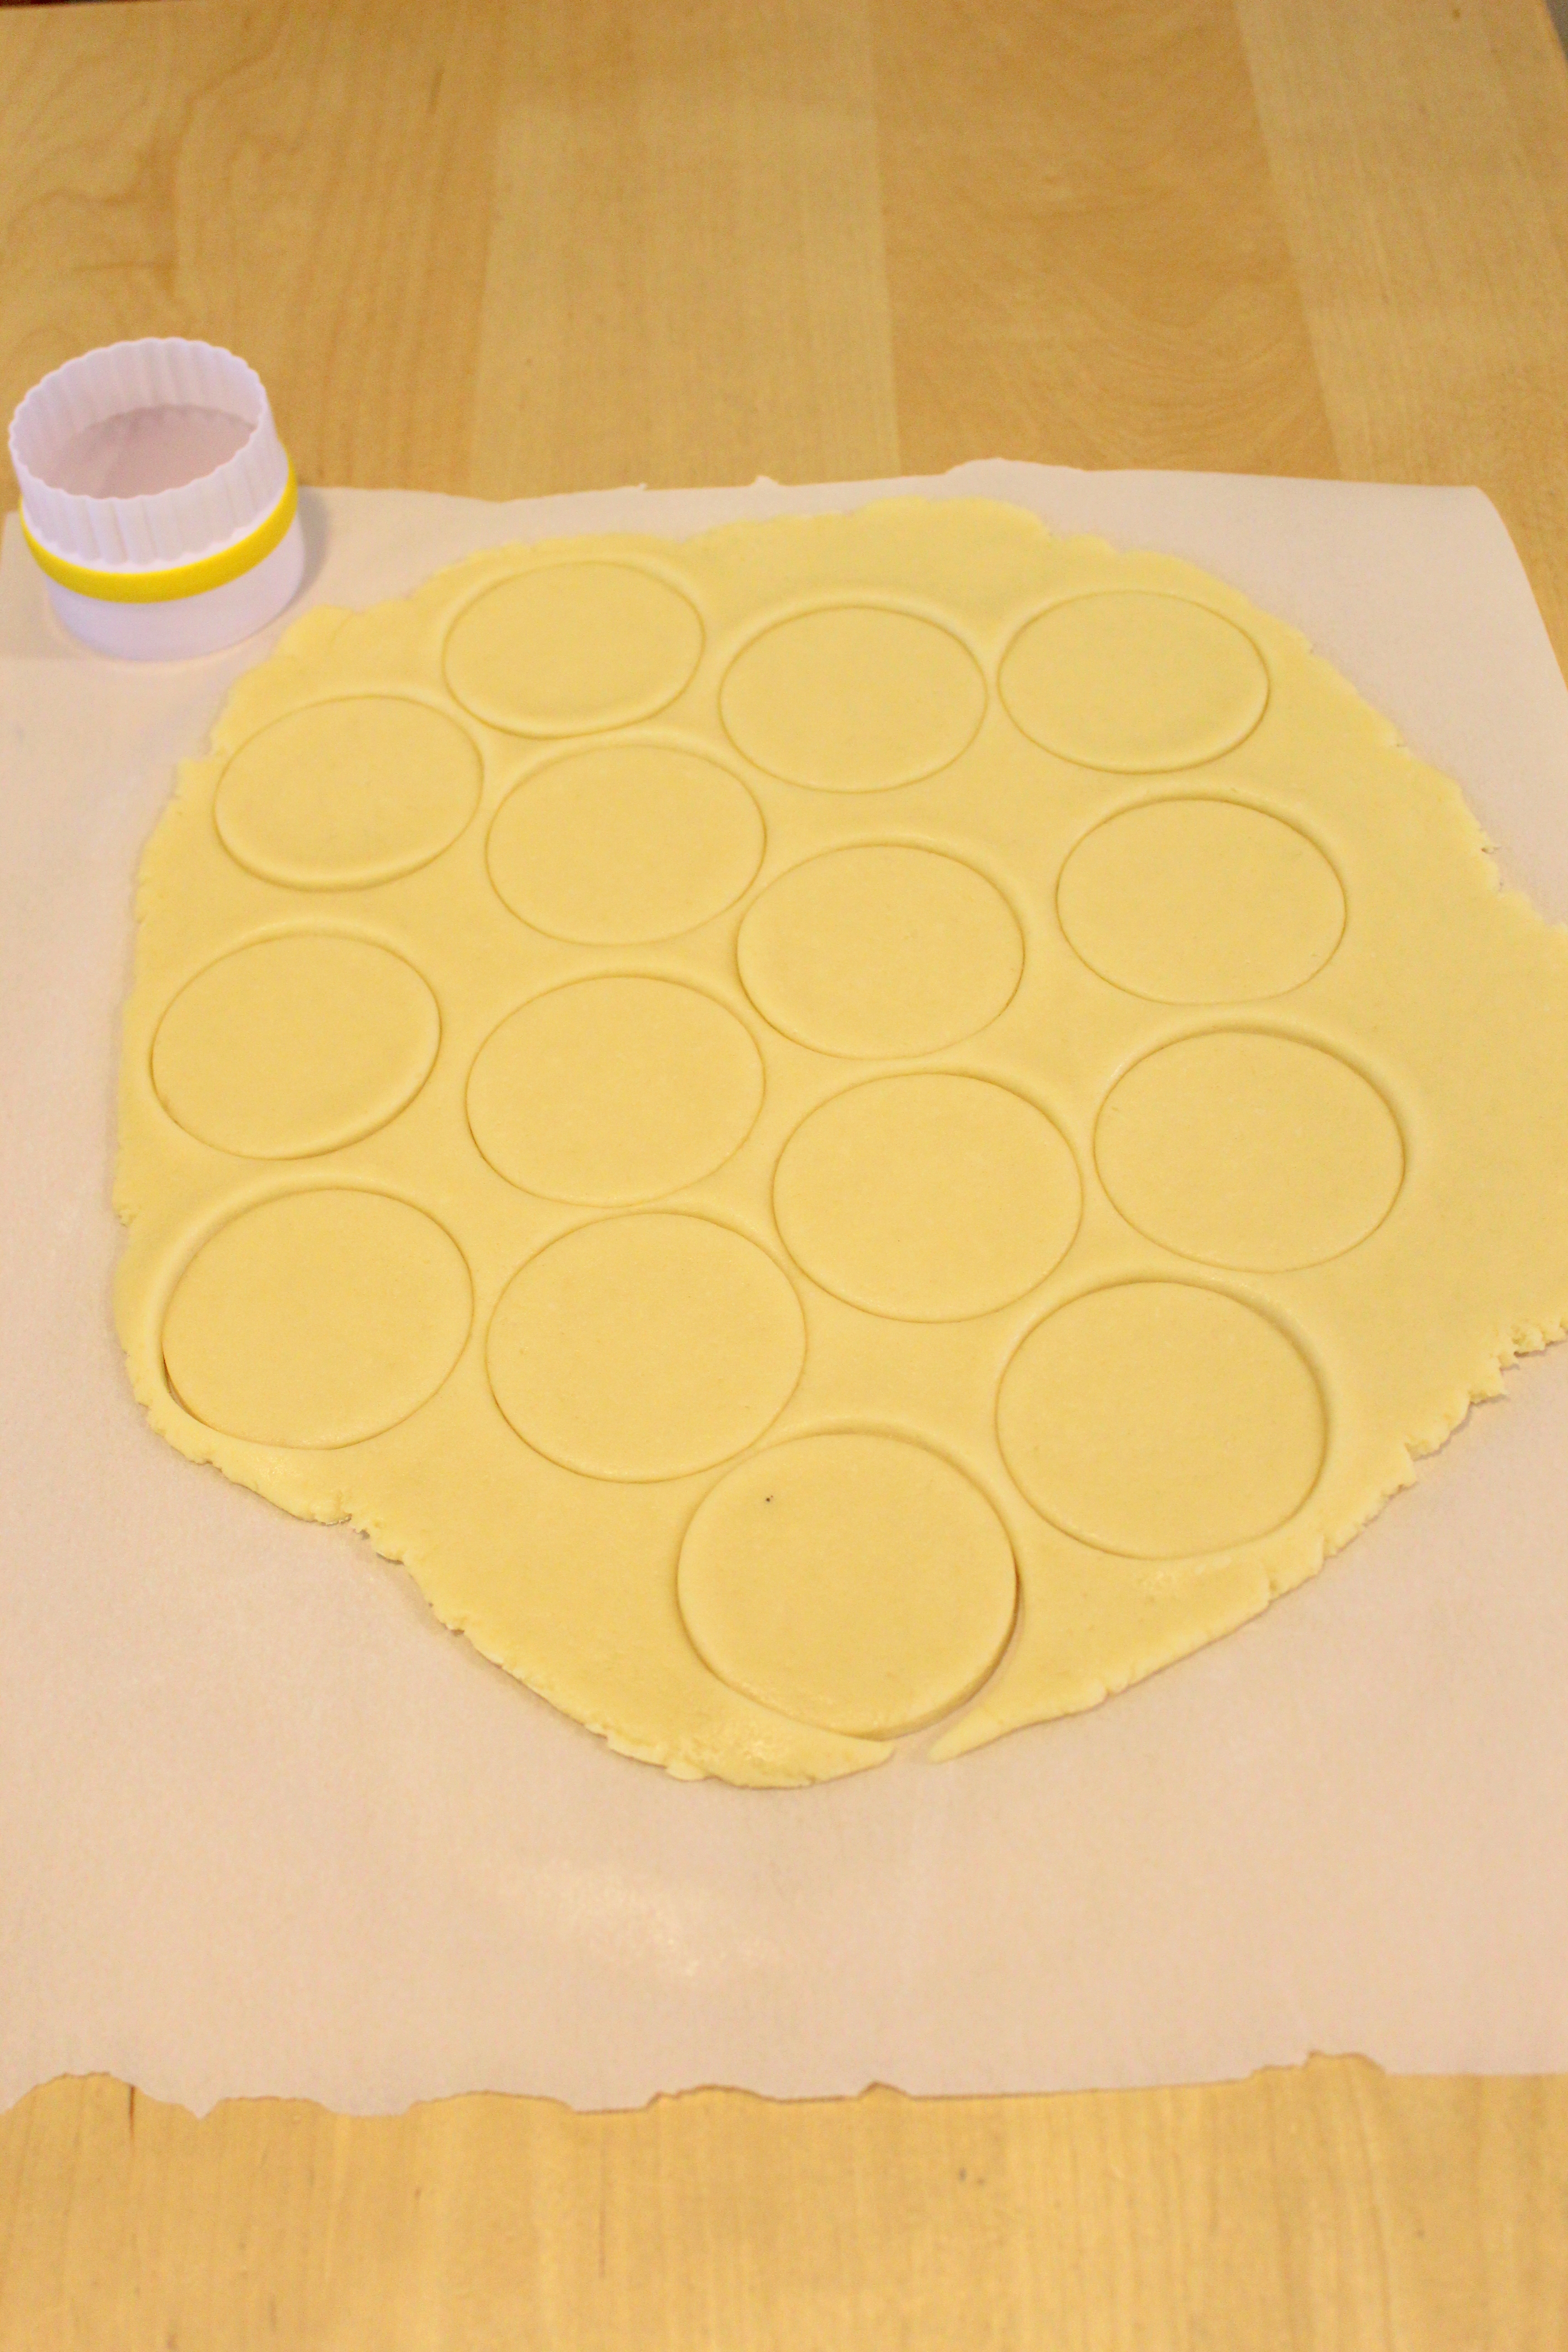
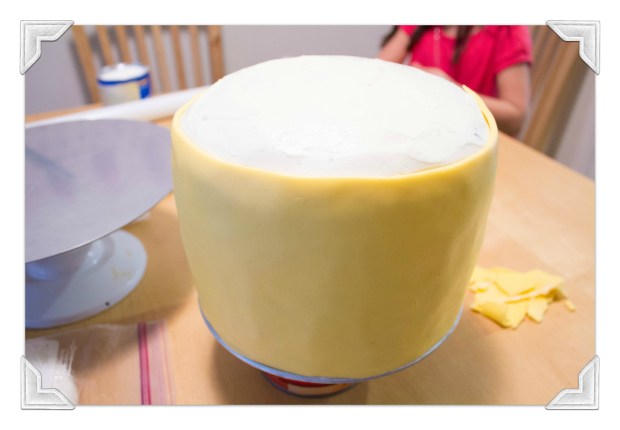
After you work your fondant with your hands to get it pliable again, roll it out as big as you can. I wasn’t able to get it big enough to drape over the entire cake, so I just cut out two 6″ strips (height of the side of cake) and stuck it on. Get a wet paper towel and run it over your fondant so it will stick to the cake. (dampen only the side that will be touching the cake)
Carefully smooth it out with your hands or a fondant smoother tool.
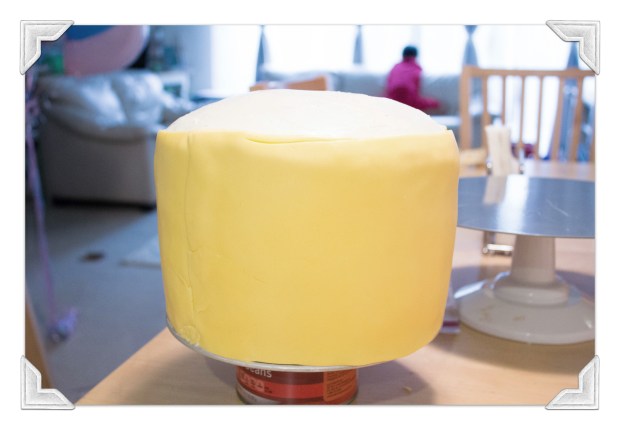
I used two strips to cover the sides of the cake. (you can see the small seam on the left) It’s okay, I’m going to add the arms there later.
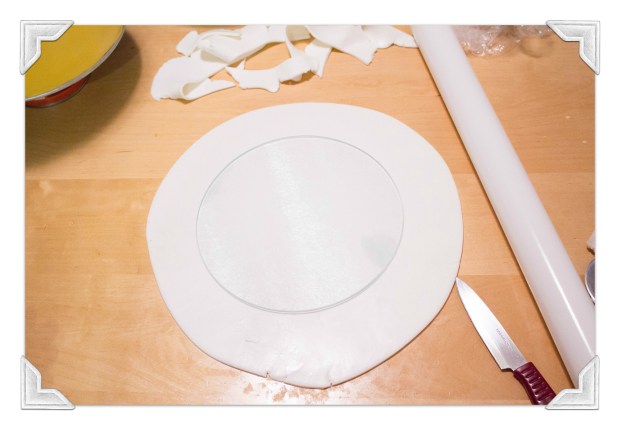
Roll our your white fondant, then use an 8″ cake base (cheese board from Dollar tree) as a guide to cut out a circle. You want enough of the white fondant to come over the side of the cake.
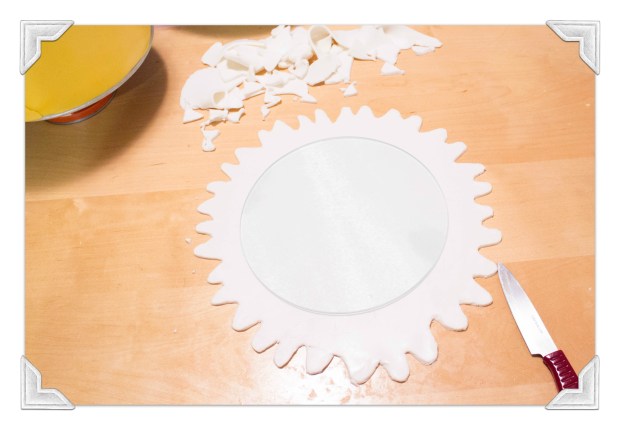
Use a sharp knife to cut around the fondant like above to achieve the look of icing drips.
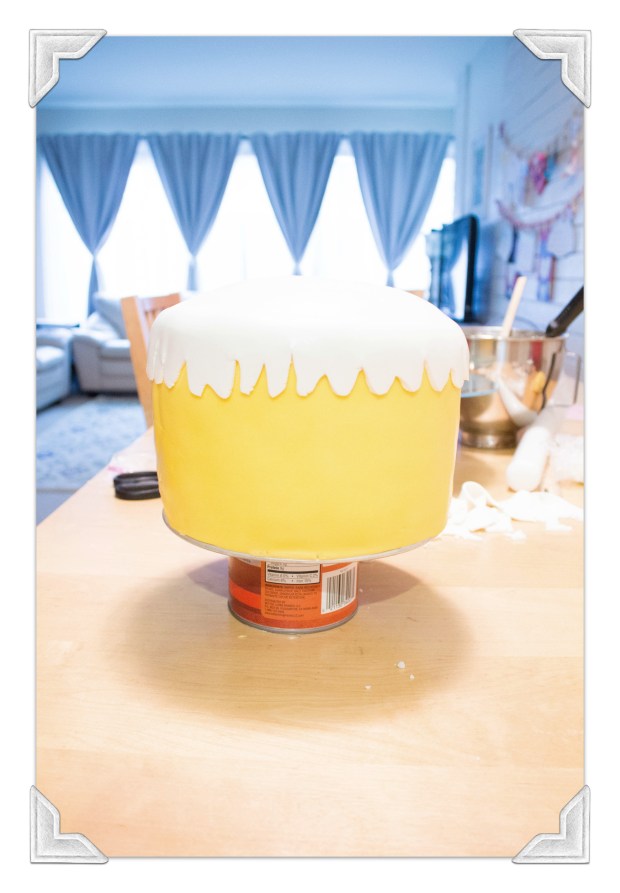
Again, dab a wet paper towel over the fondant, then carefully position over the top of the cake.
Now for the pink band around Wishes. Roll and cut out an appropriate sized band

Stick it on with some water then use a blunt knife or I used a wooden skewer to make the slanted indent patterns on the pink band.

Now make your eyes, nose, arms, and lips and attach with some water! It already looks so cute!
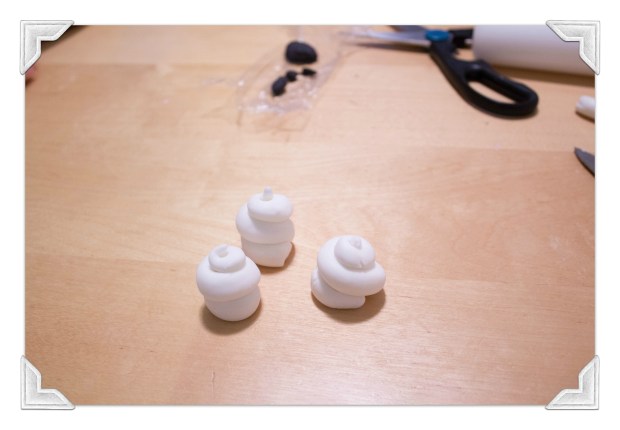
Make 3 white snakes then coil into these little swirls

Attach the swirls and make some white “sprinkles” and the cake is complete! She wanted a “6” on her cake and didn’t want just green candles (which is what Wishes has).

She loved her little party and was so excited she kept hugging me and telling me ‘thank you’. That’s what makes my Saturday spent on a birthday cake, all worth it!
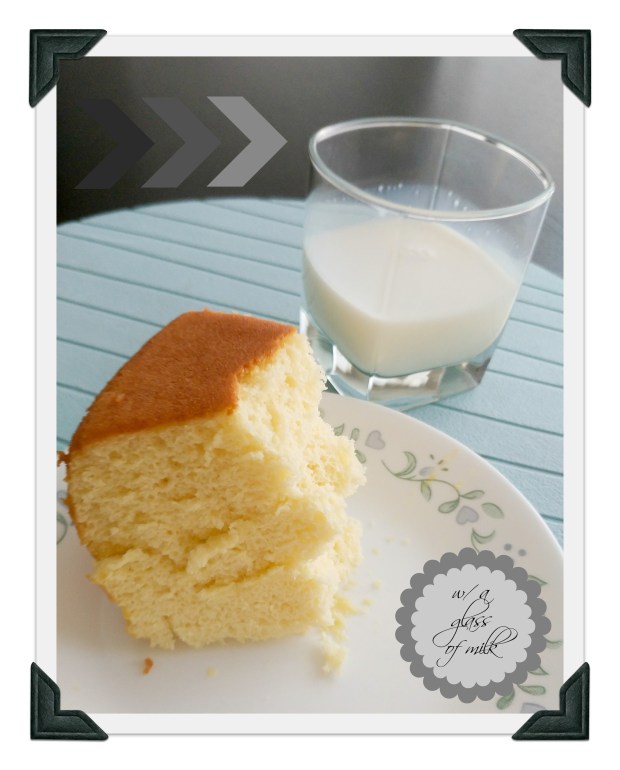
Eating a slice or two of cake helps, too.
Chocolate Fudge Cake
adapted from Toba Garrett’s “The Well Decorated Cake”
Ingredients
- 1 cup (2 sticks) unsalted butter
- 1 1/4 cups granulated sugar
- 3/4 cup dark brown sugar, packed
- 2 1/2 cups all-purpose flour
- 1 cup Dutch processed cocoa powder
- 2 1/4 tsp baking soda
- 1 1/2 tsp salt
- 2 large eggs, room temp.
- 1 1/2 tsp pure vanilla extract
- 2 1/4 cups buttermilk
- 6 oz. melted semisweet chocolate (good quality), melted
Directions
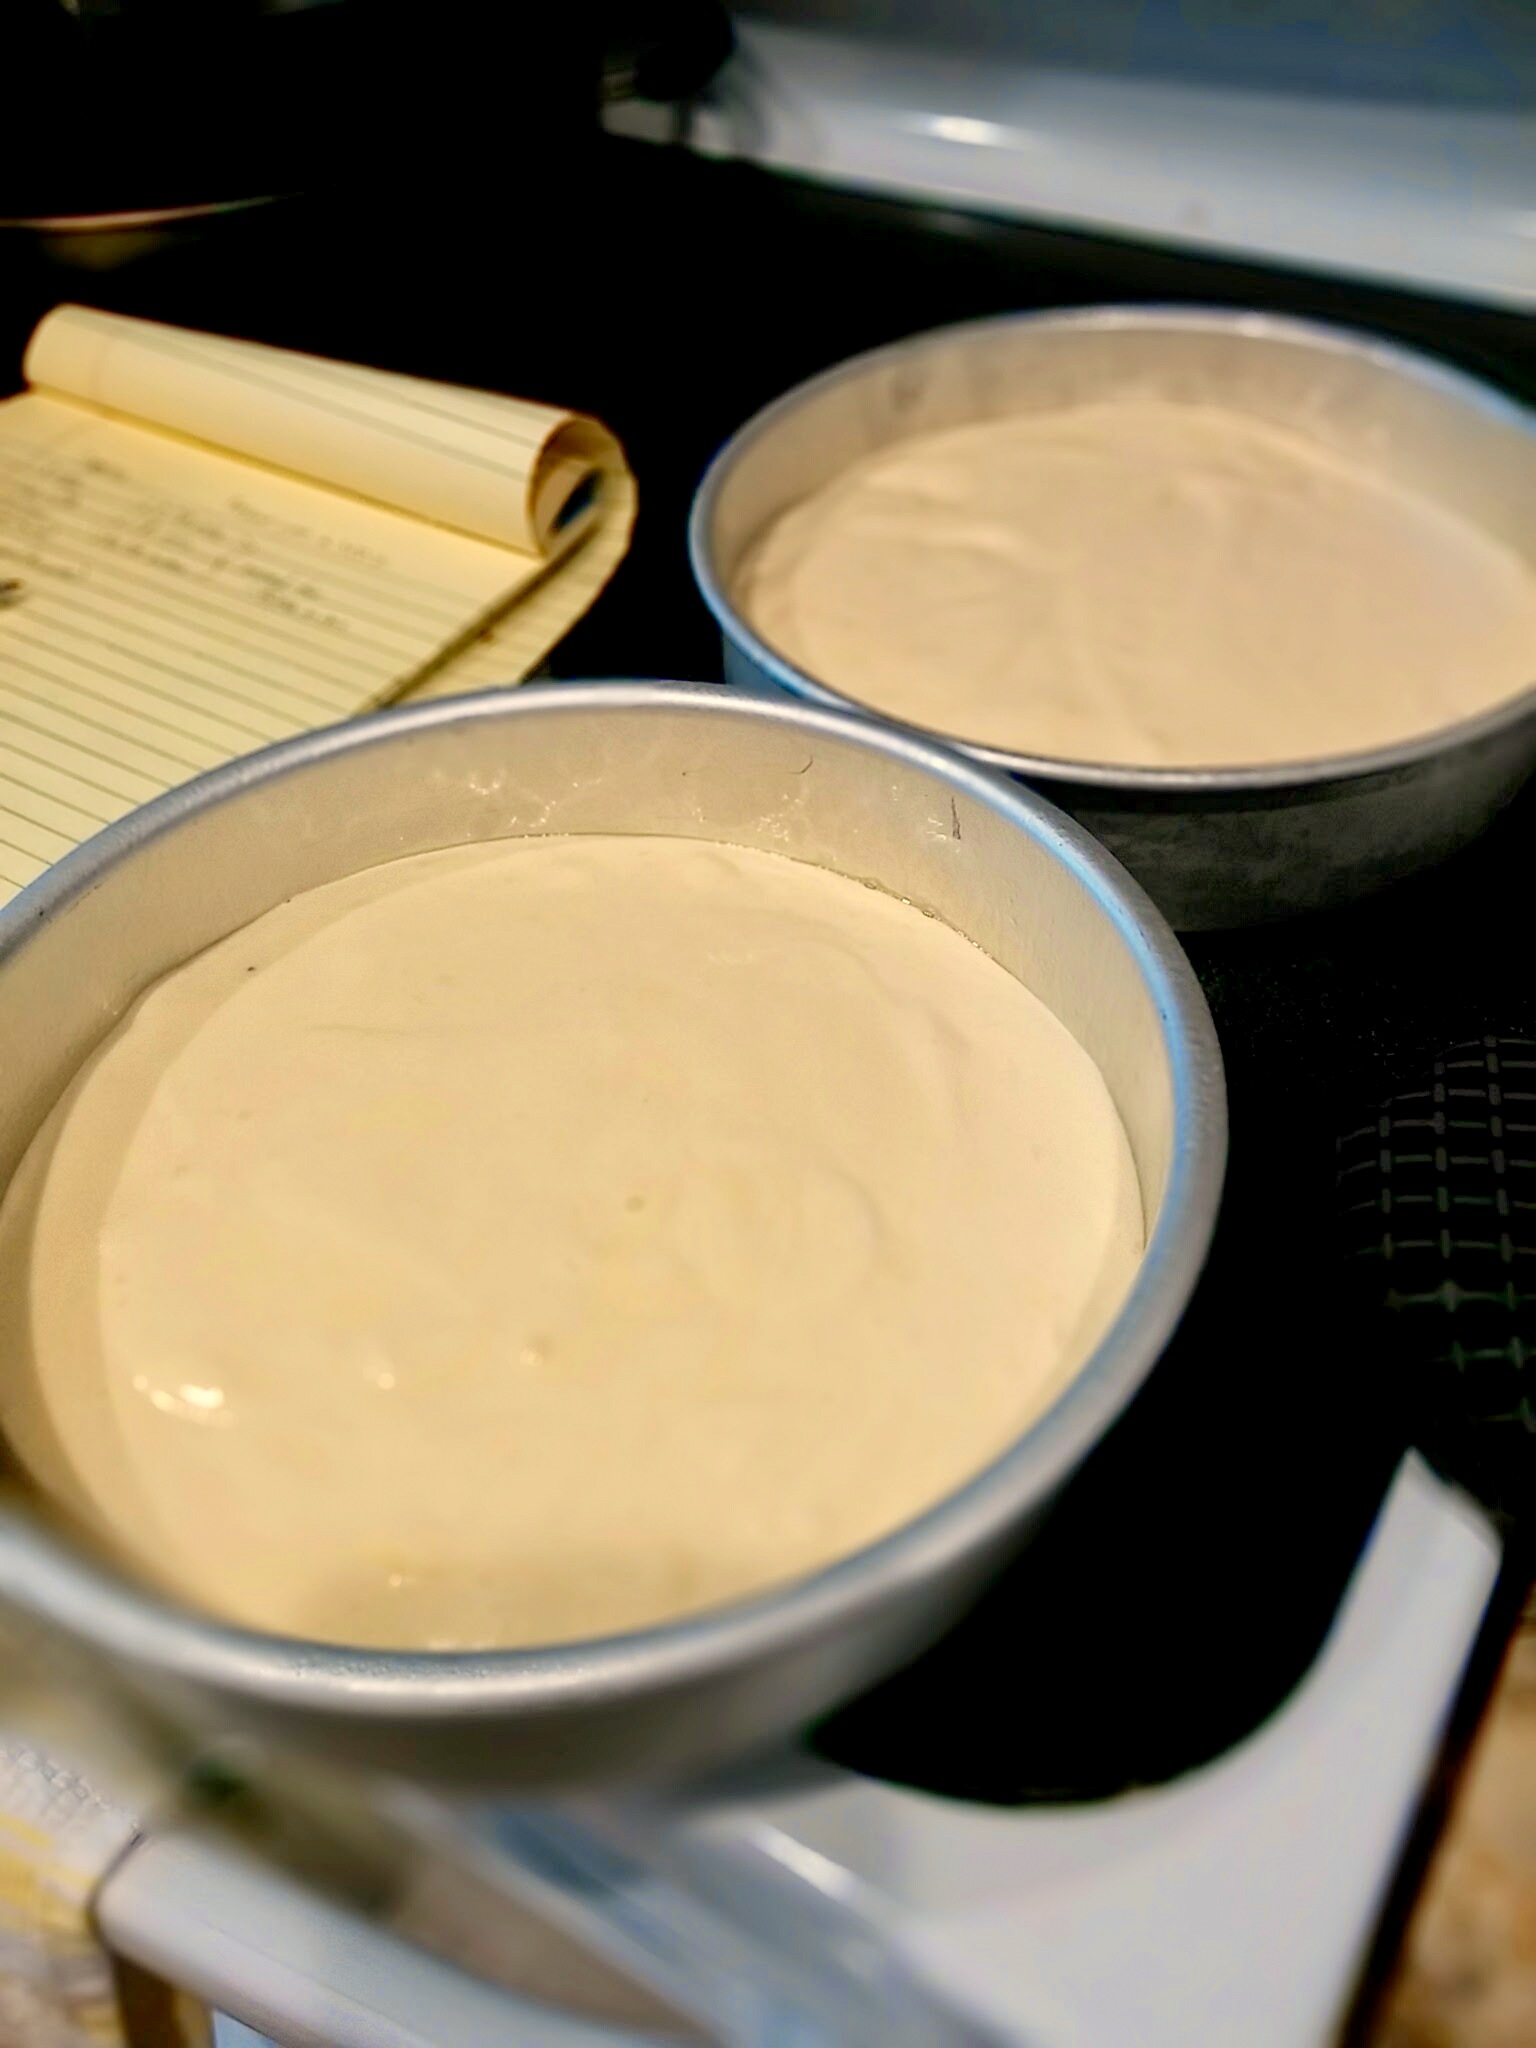
- Preheat oven to 350 F. Grease and parchment line two 8″ cake pans (2″ high). Melt chocolate, set aside.
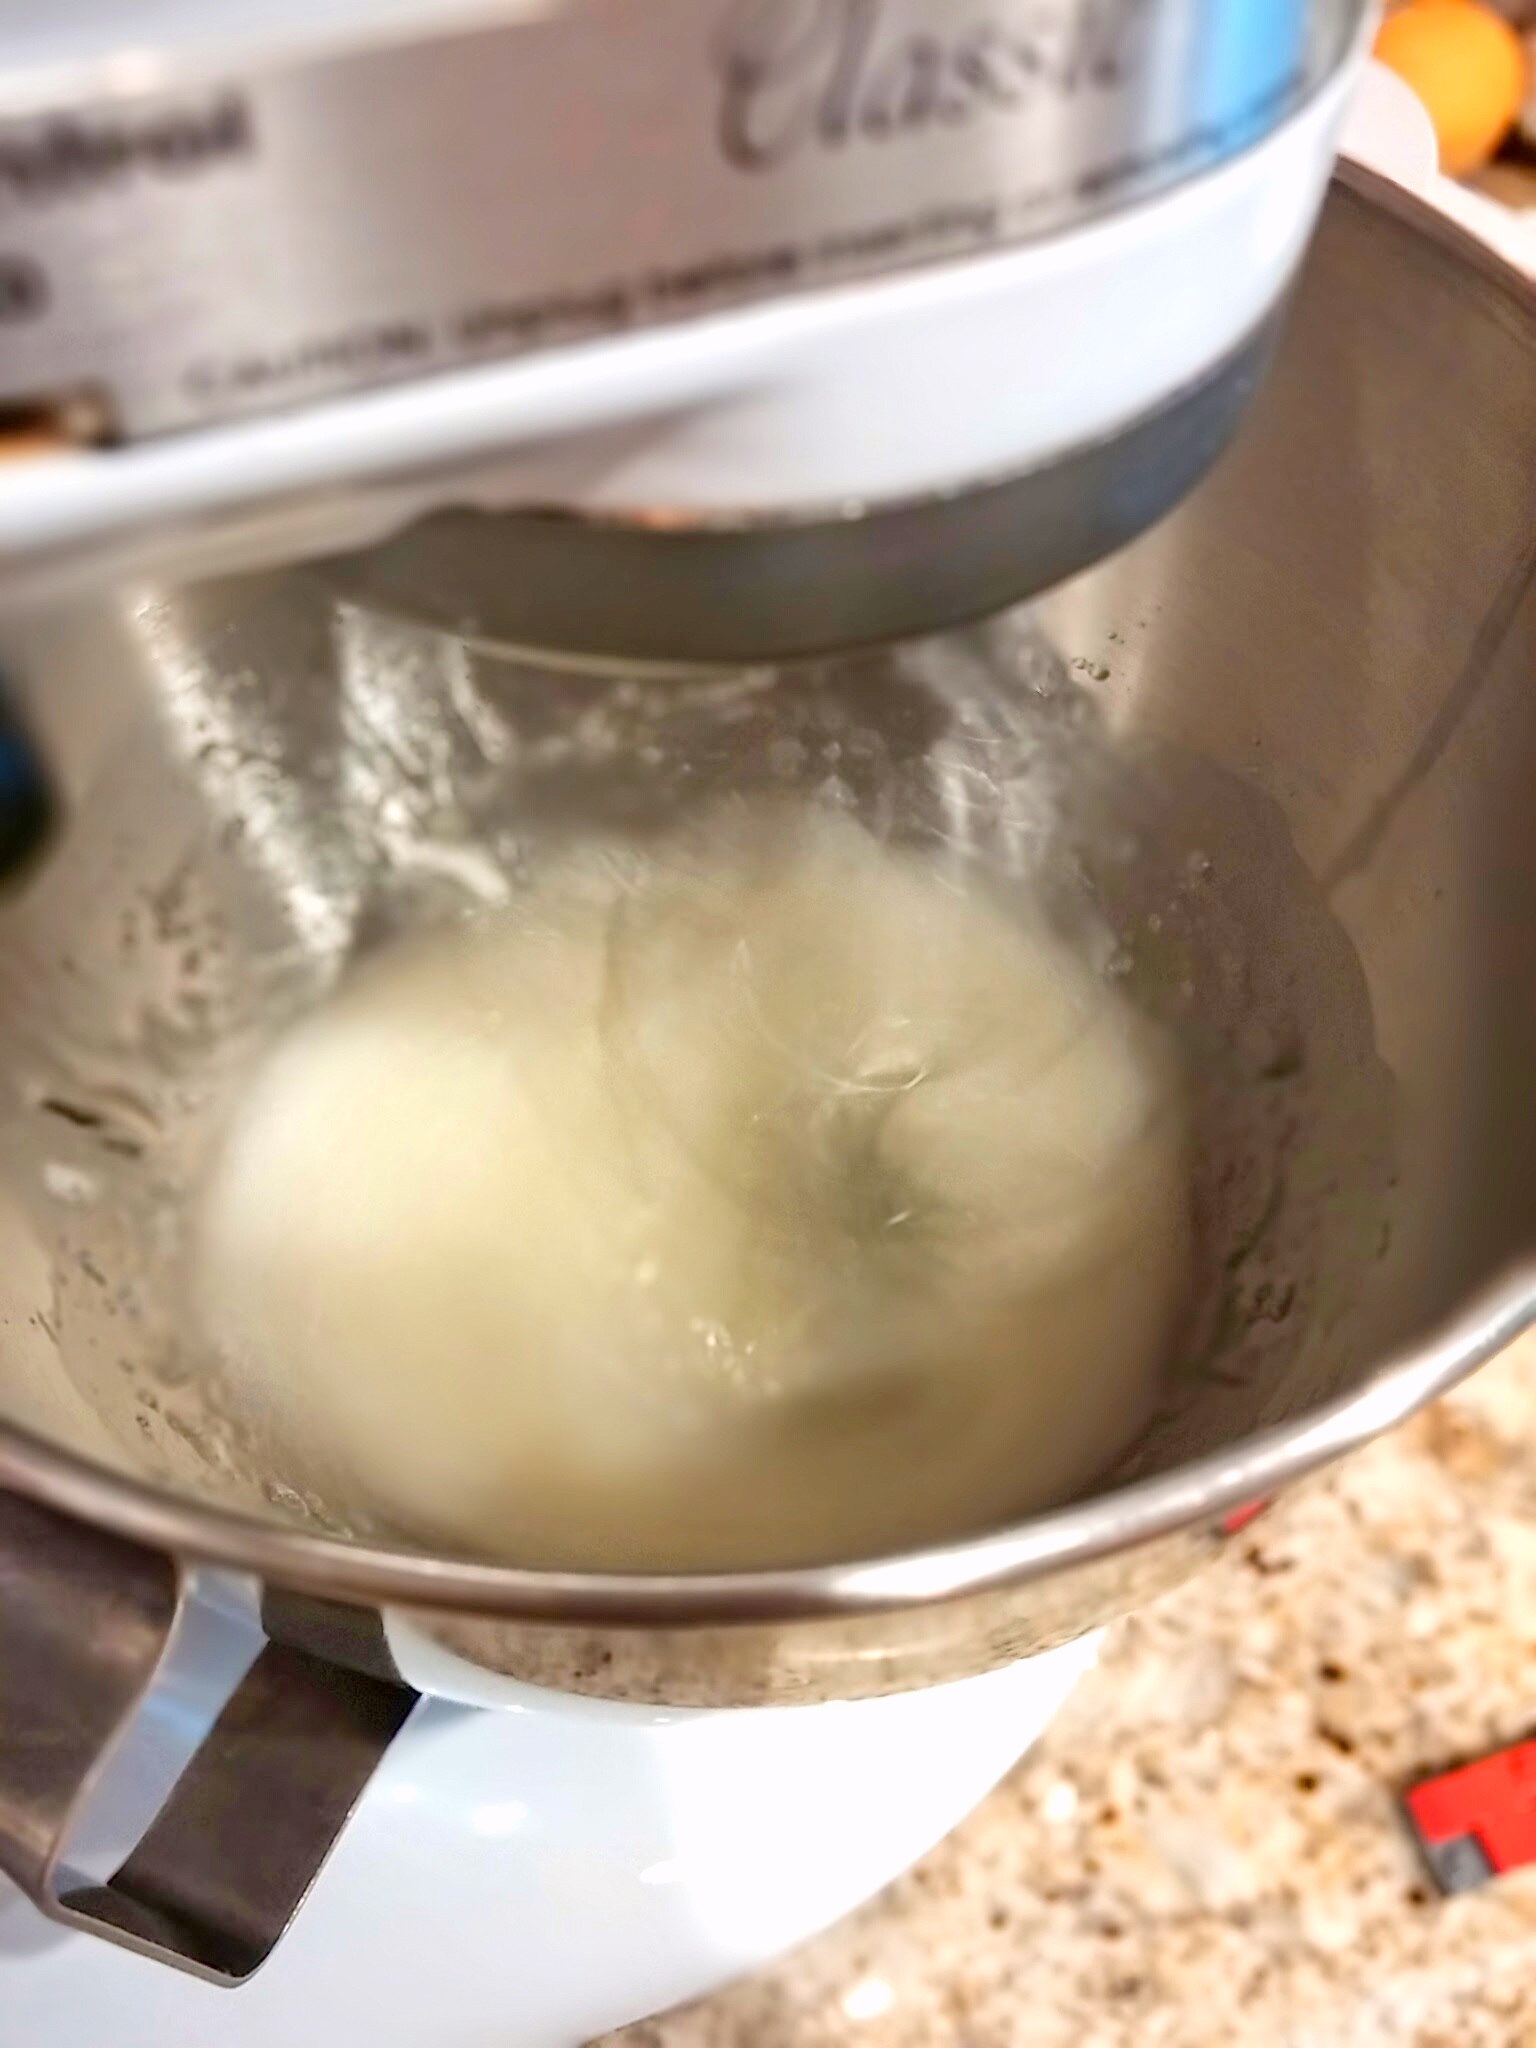
- Beat butter and sugars together on med- low speed until fluffy.
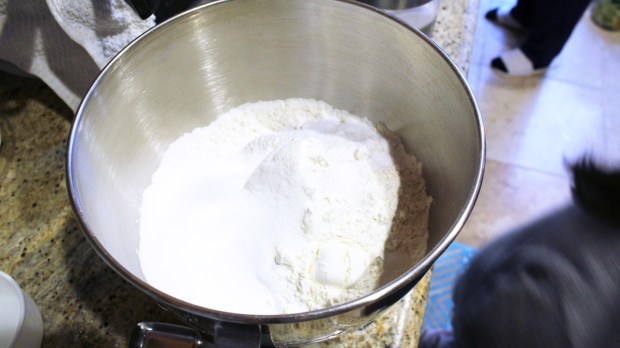
- Mix together the flour, cocoa powder, baking soda, and salt together in a separate bowl, set aside
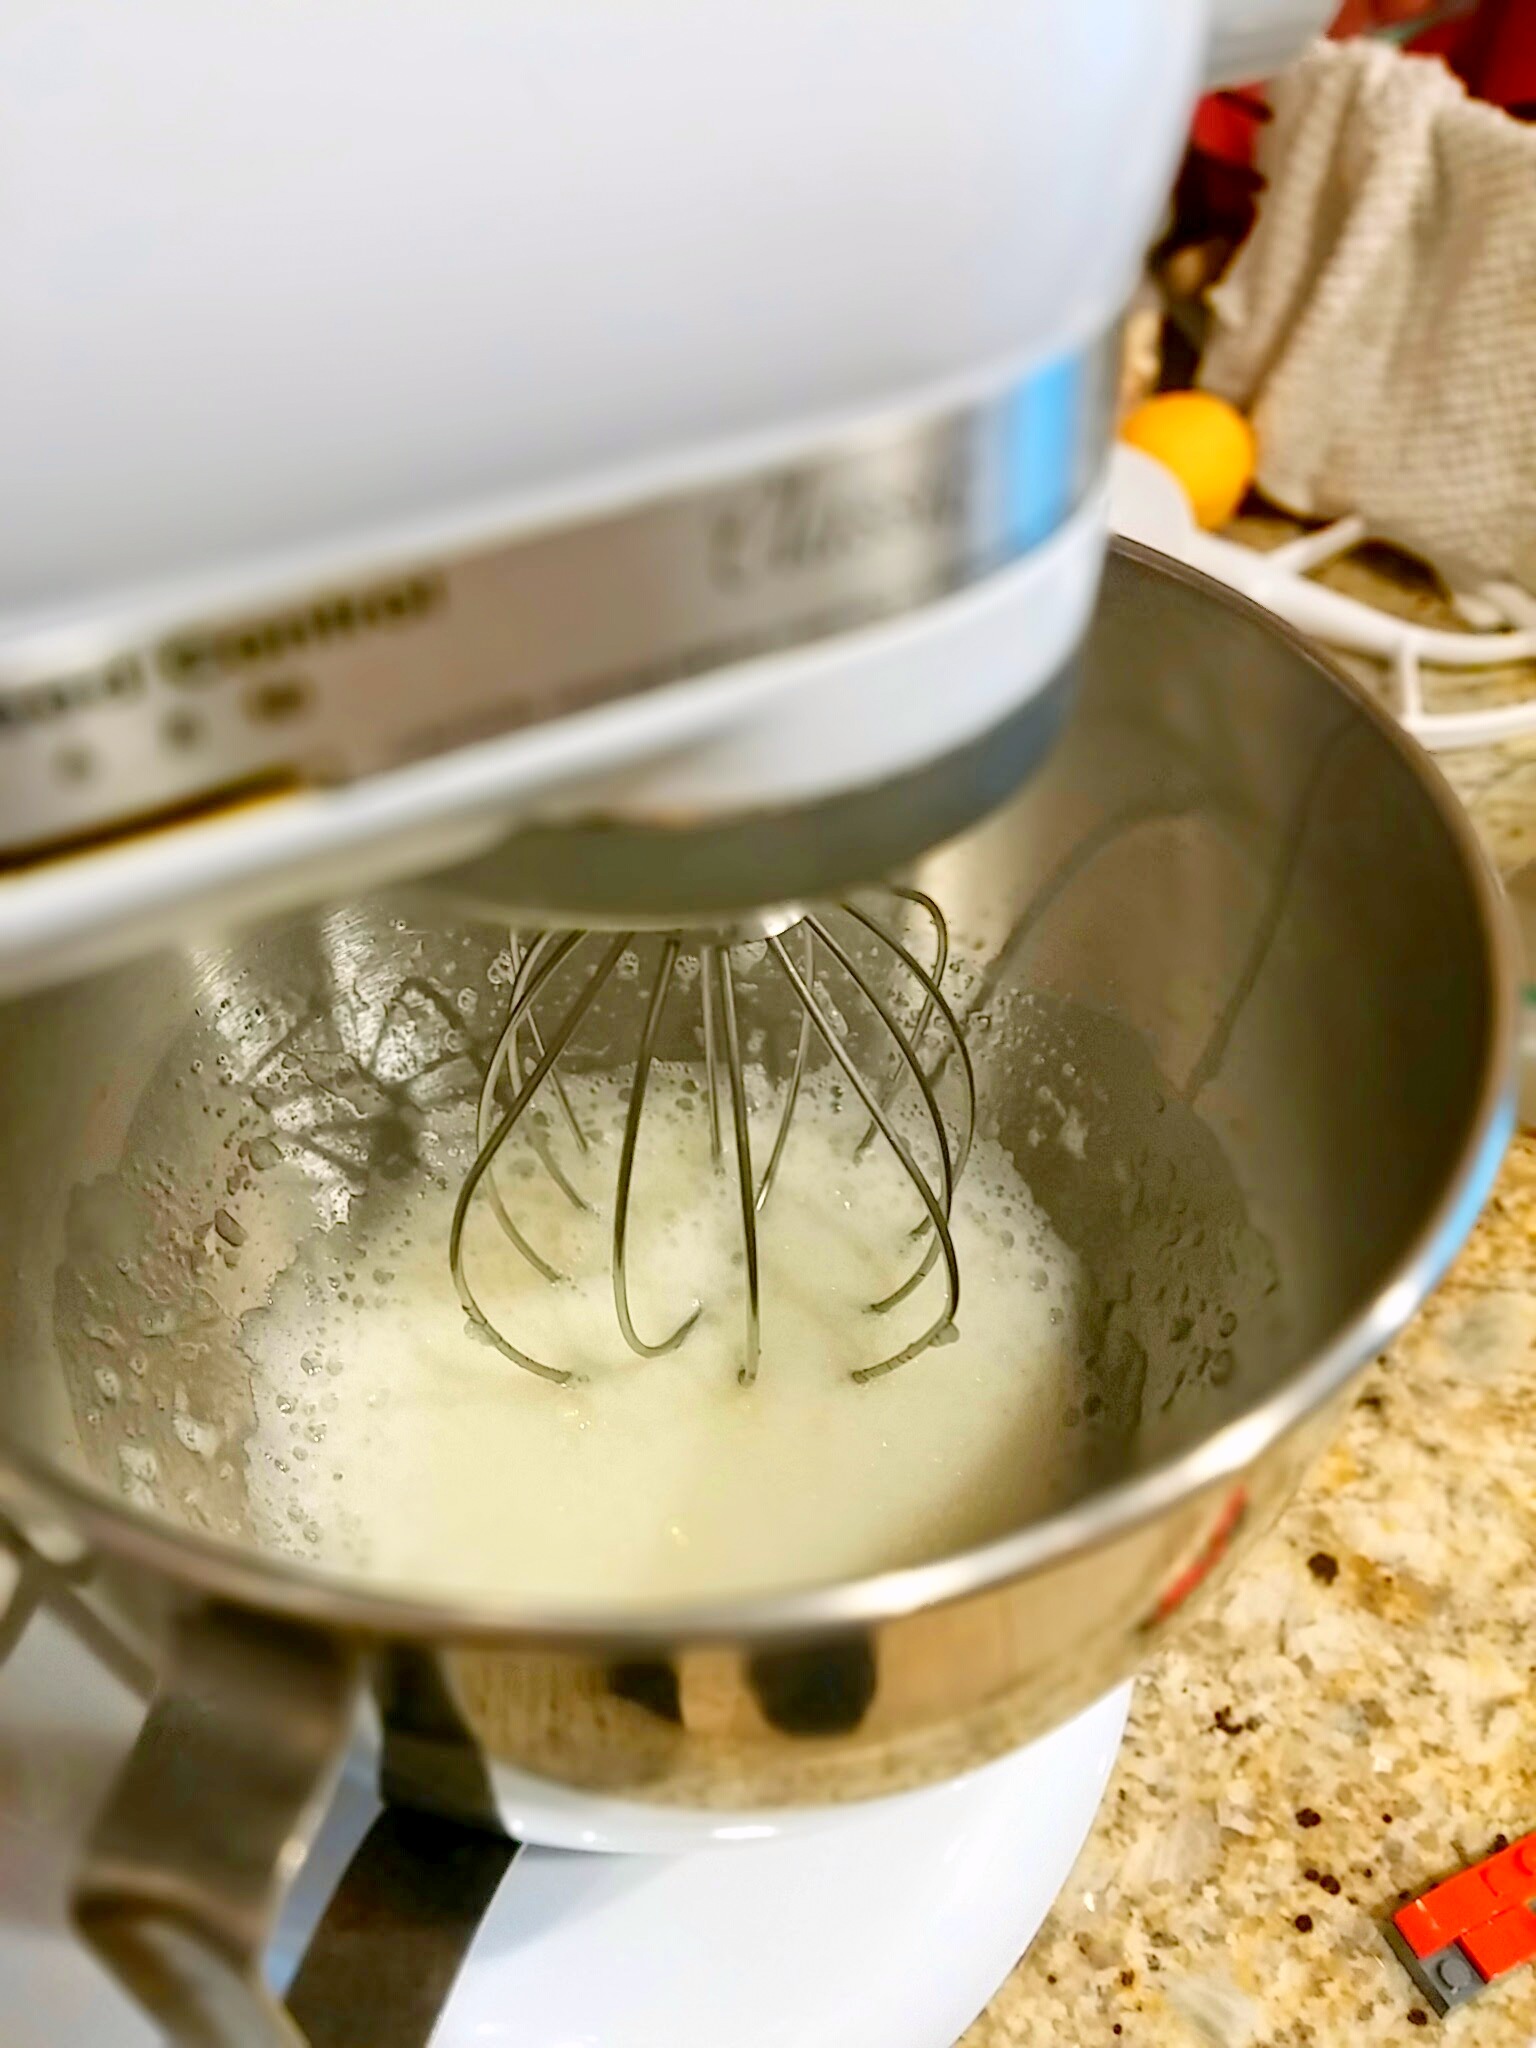
- Add eggs into the butter mixture, scraping bowl as needed. Add vanilla.
- Add in a third of the flour mixture, mix. then a half of the buttermilk. Mix and scrape bowl. Repeat until you have ended with the rest of your flour mixture. Scrape bowl.
- Add in your melted chocolate and beat on med-high until well mixed. Scraping bowl as needed.
- Pour into your prepared cake pans and bake in preheated oven for about 50 mins or until toothpick comes out clean.
- Cool in pan for 10 mins then remove carefully onto cooling rack.
- Frost cake after completely cool.
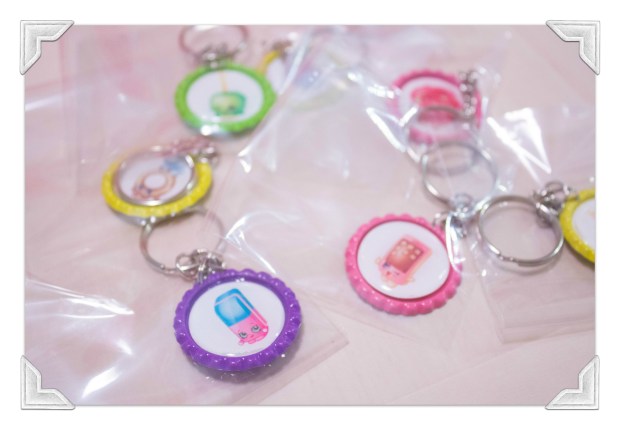
Her friends got to go home with these cute Shopkins keychains from the supplies I had left from a past party where I had bottlecap necklaces.
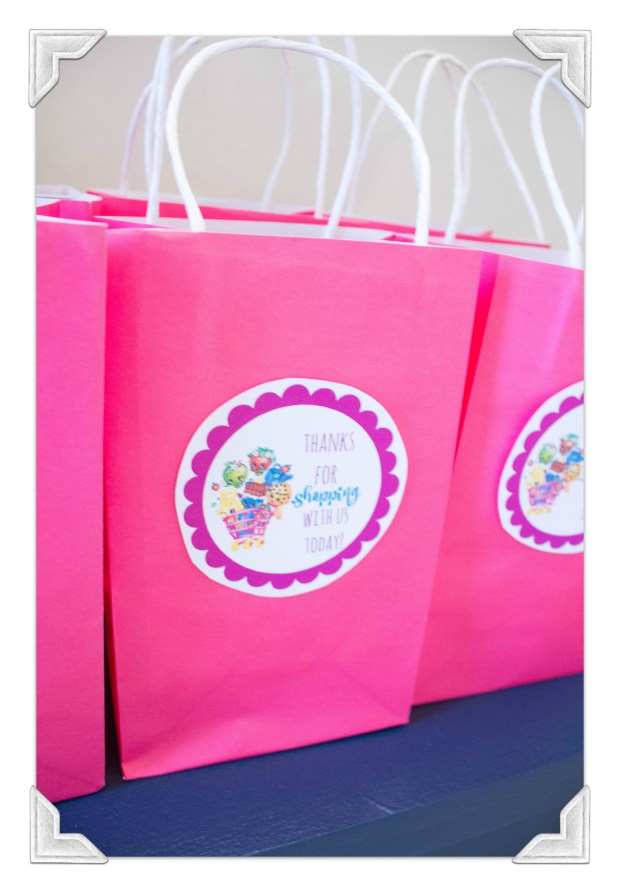
I found that printable for free on pinterest and taped them onto pink craft bags. My girl is into word searches so they got a word search booklet and mechanical pencil (from Dollar Tree) and a pretzel rod dipped in white chocolate w/ sprinkles, plus the keychains.
Good luck with your baking adventure! Thank you for reading and please subscribe!
-Flora


 In a large mixing bowl, mix together the flour, baking powder, yeast, sugar, salt, and dry milk powder.
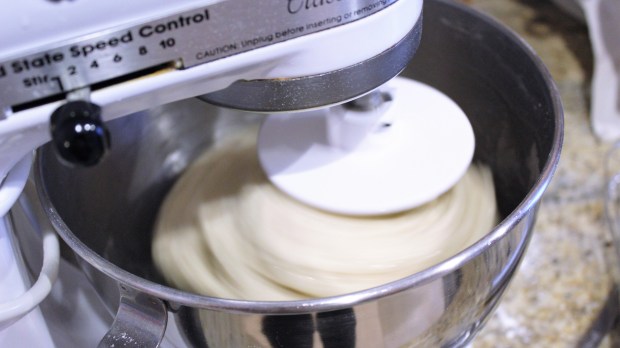 Add the warm water and mix/knead until dough forms. You can use a stand mixer with a dough hook attachment. Once you have a ball of dough, add in the oil and knead until you have a nice, shiny dough that isn’t sticky.
 Divide the dough into little balls (60 gram balls, about the size of a golf ball). Place on a baking sheet lined with wax paper, cover with clean cloth and let rest for 15 mins.
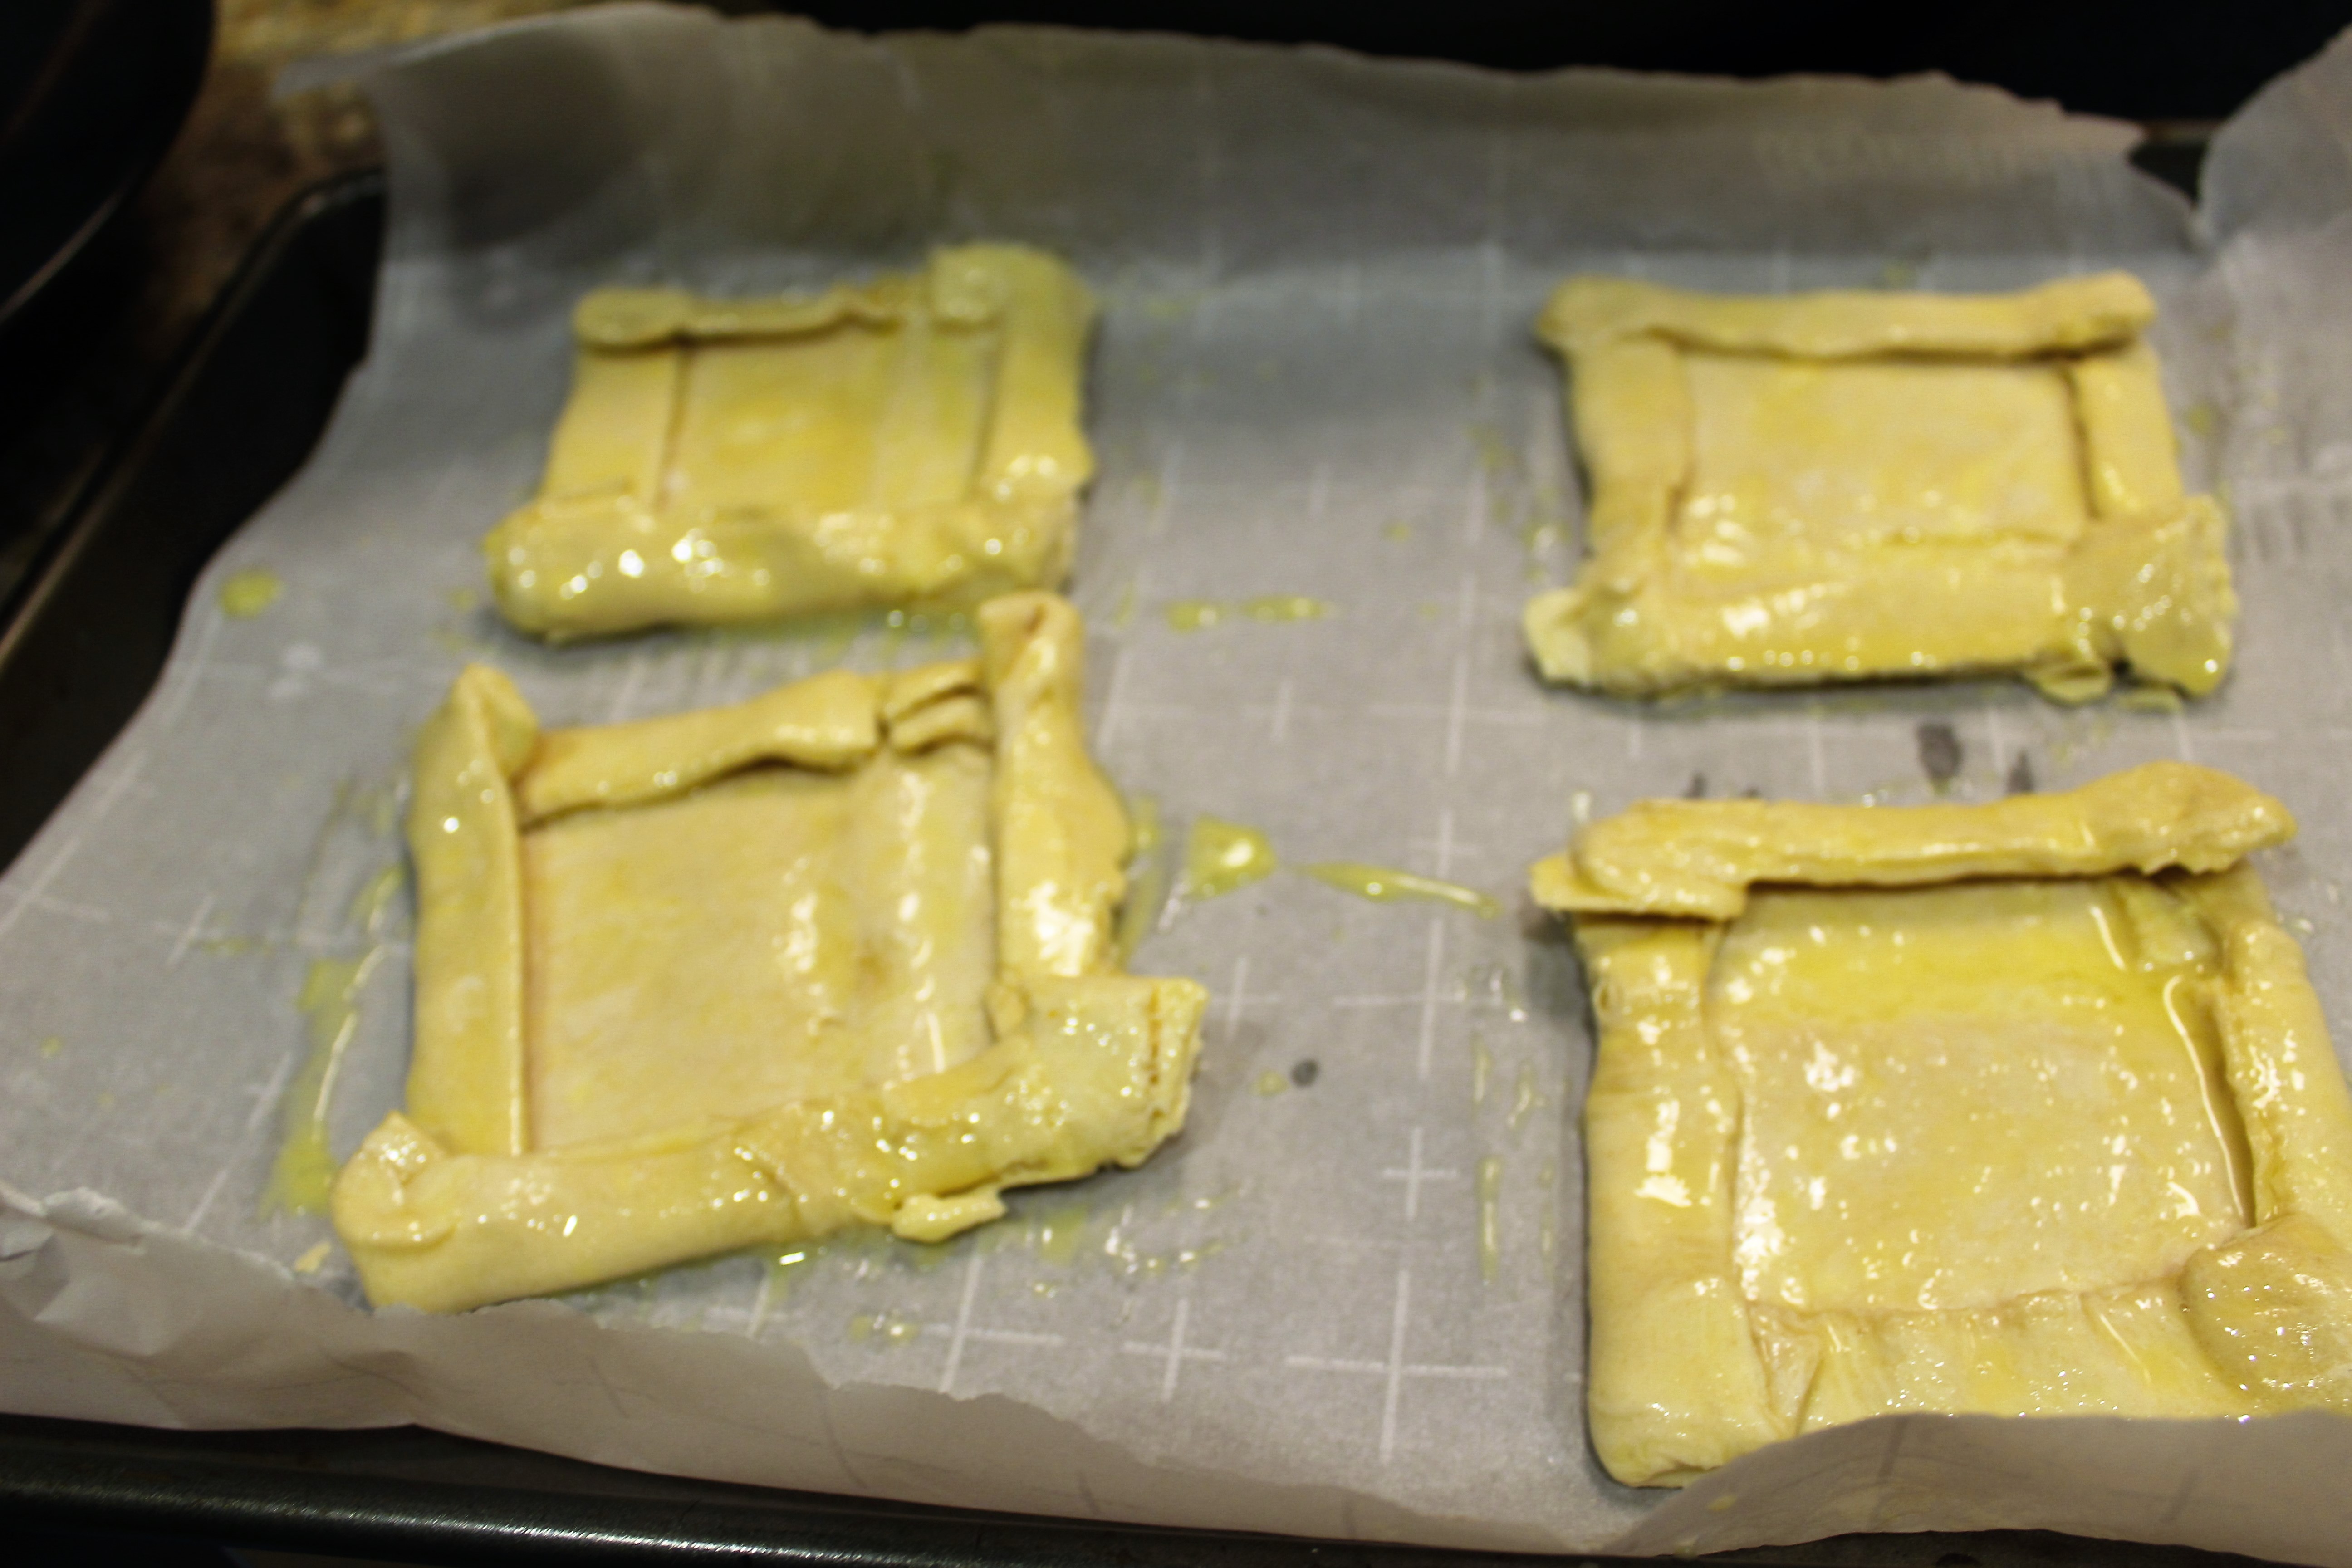
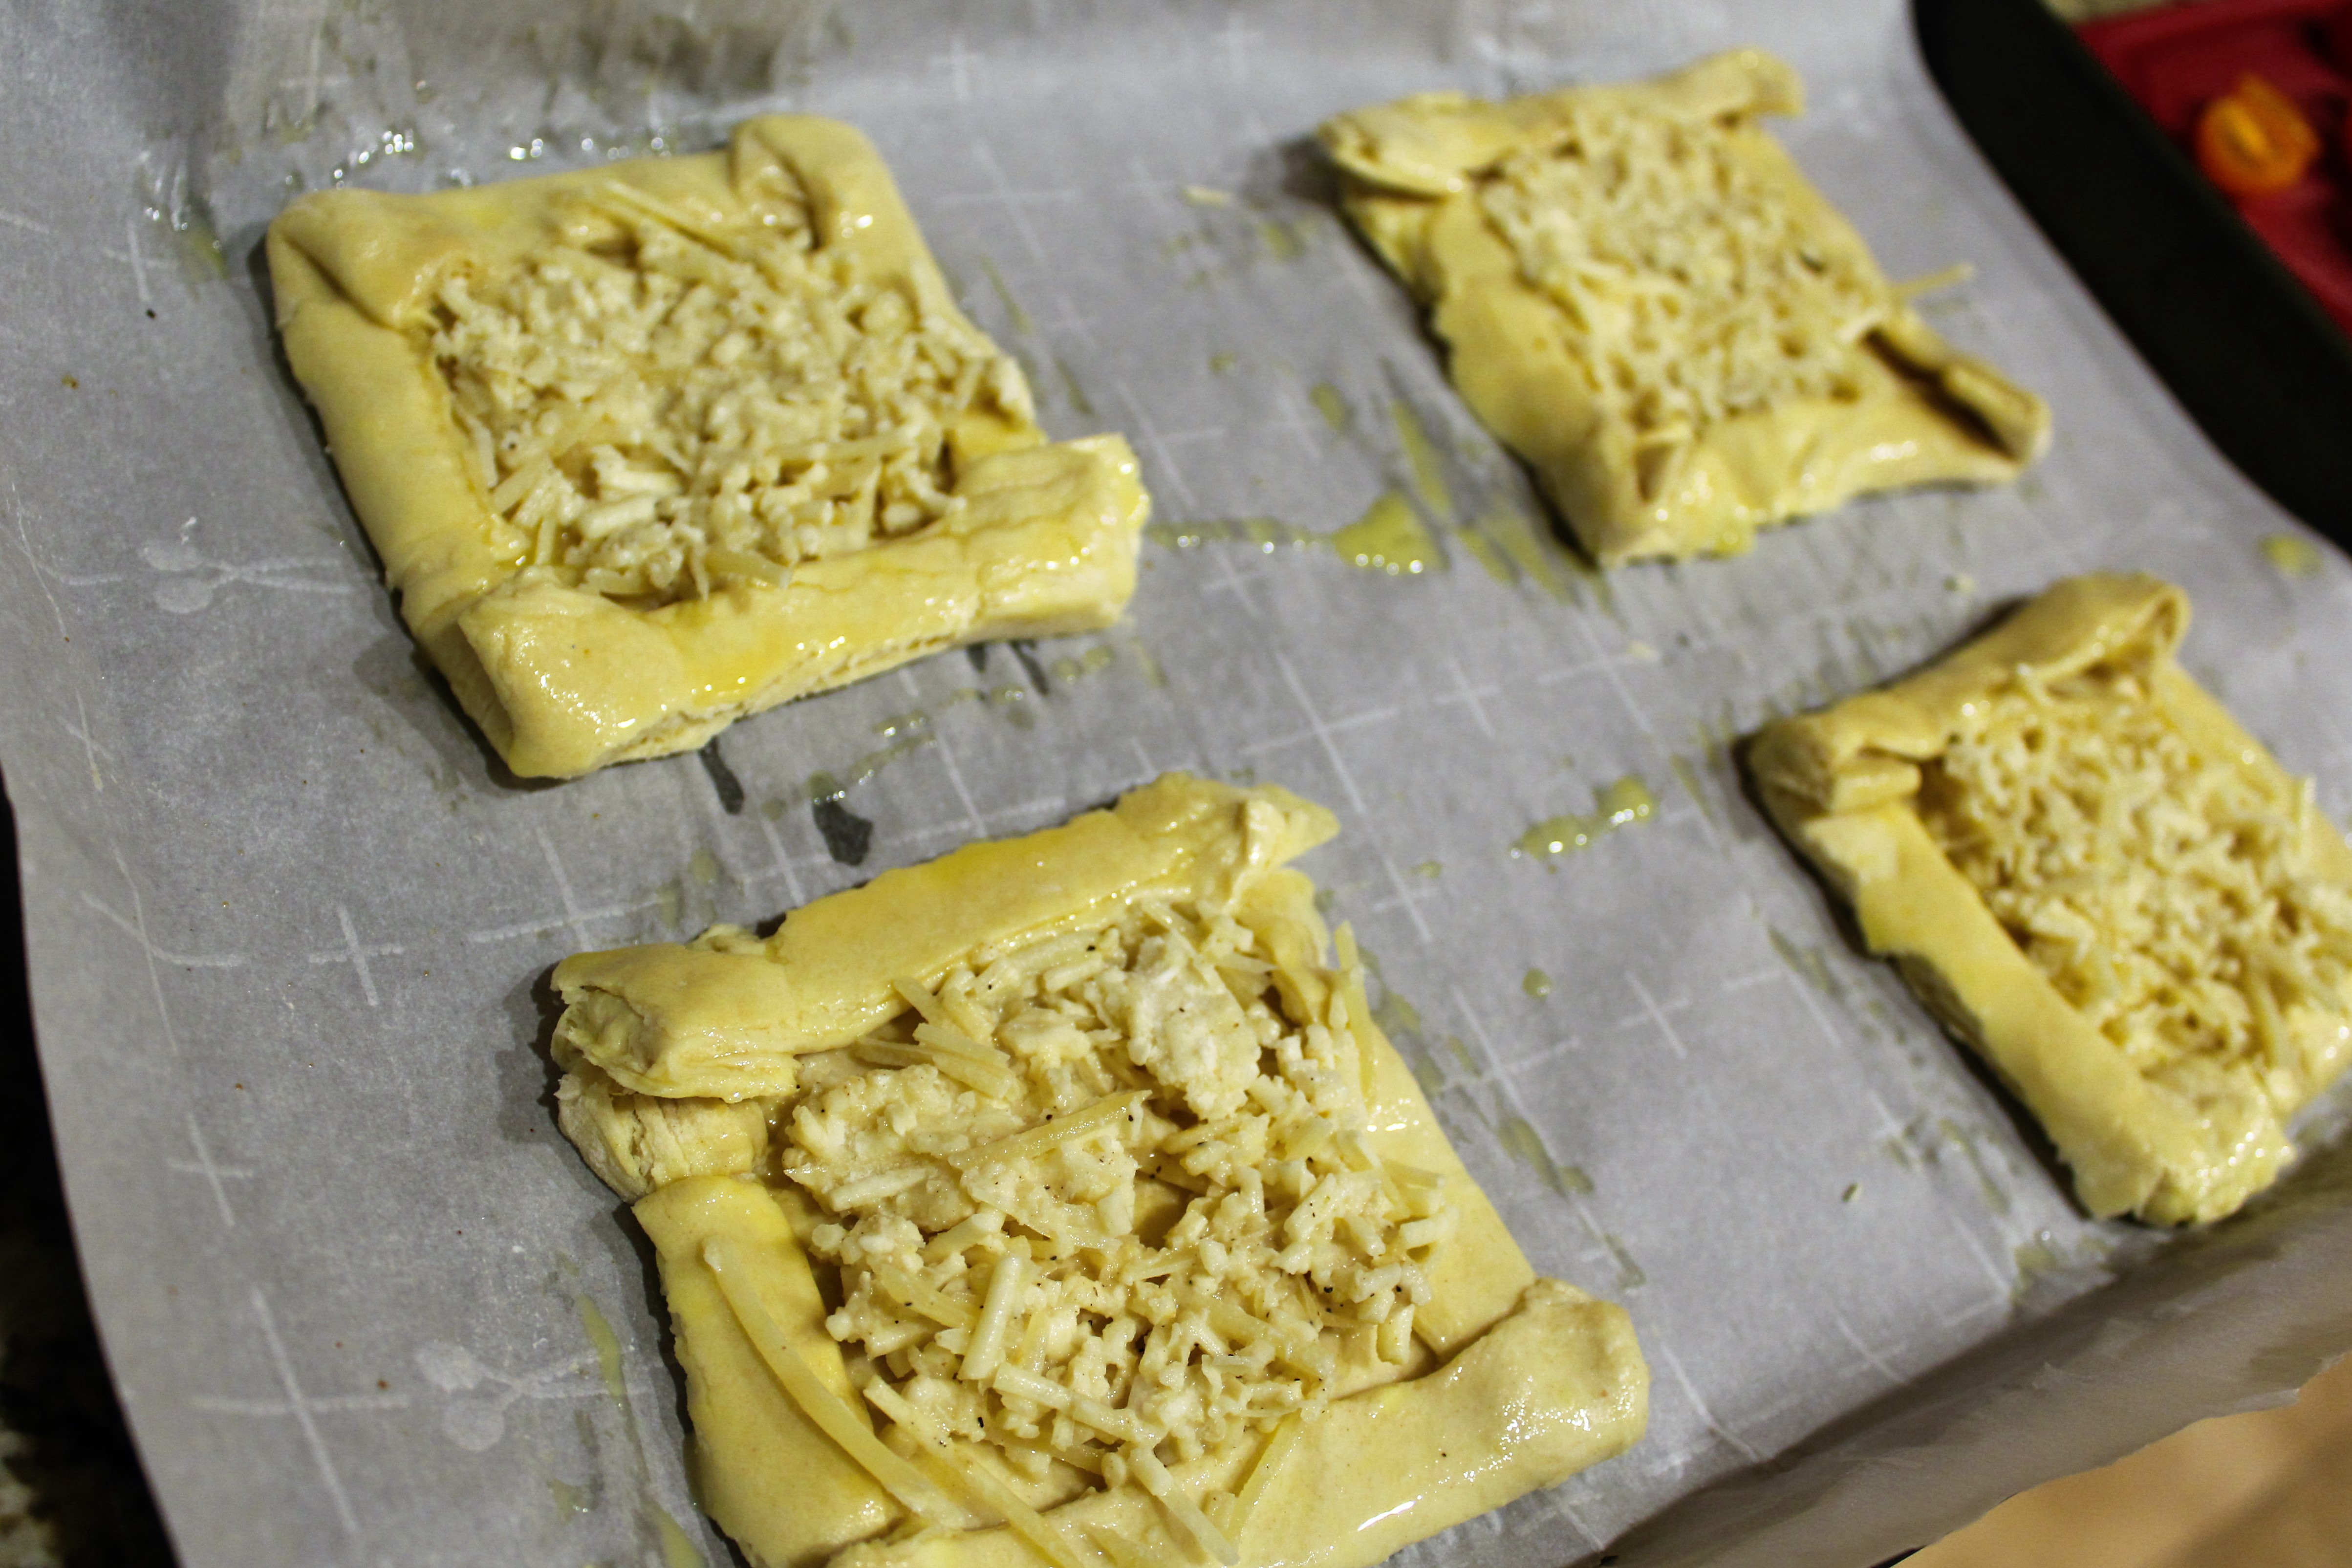
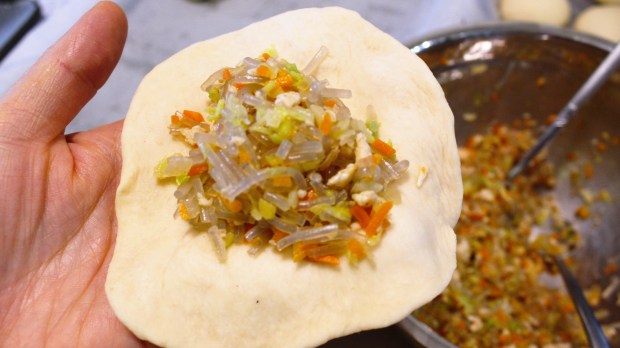 Flatten a ball of dough and fill with desired filling of choice. Pinch ends closed then place onto a square of wax paper. (If not using filling, just place ball of dough onto wax square)
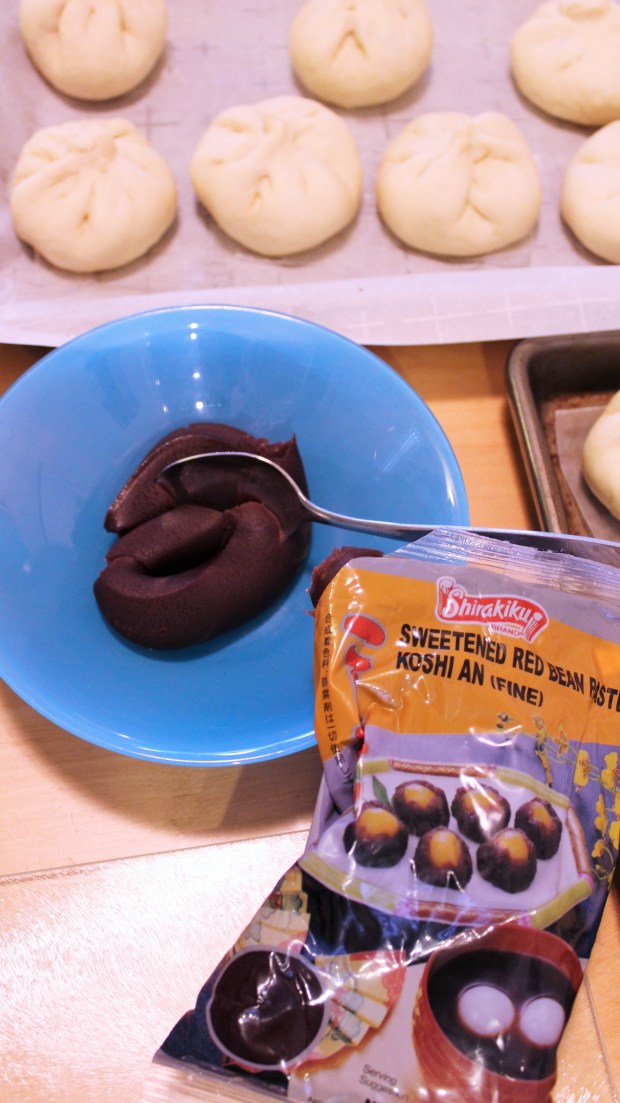
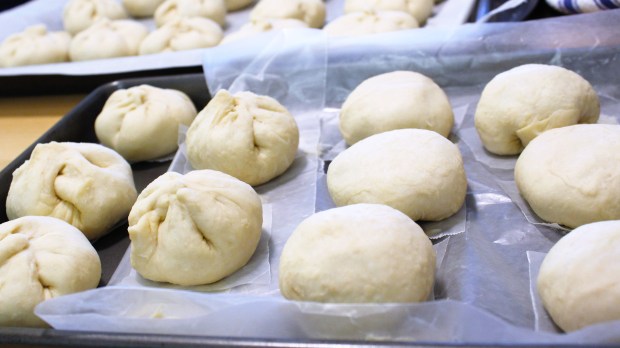
 Let dough rise in a warm place for 30 mins
 While the dough is rising, start heating your pot of water for the steamer over med high heat
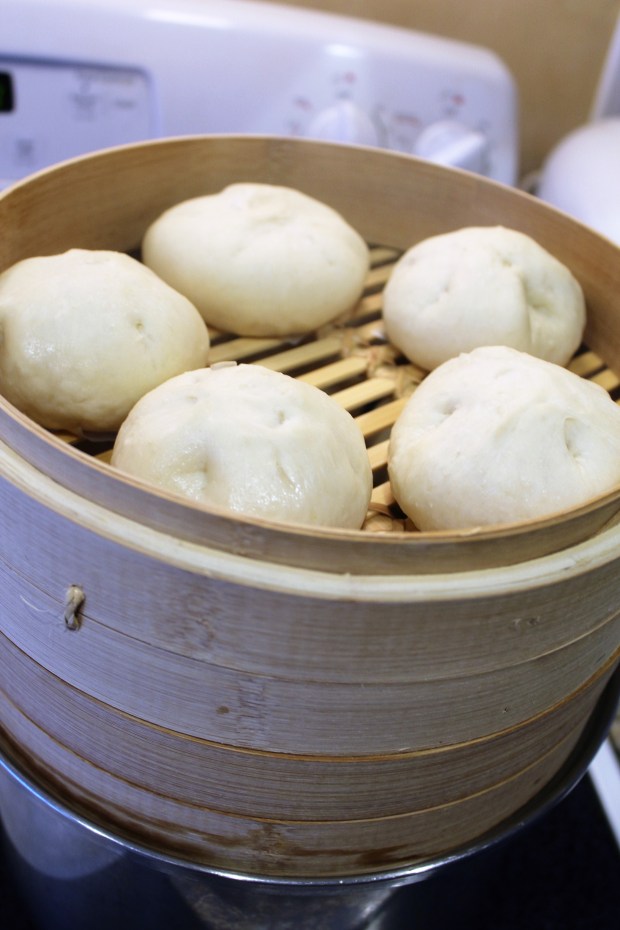 Place the dough into the steamer (don’t over-crowd, they will grow) once the water is boiling and you see steam rising. Steam for about 10 mins. Don’t open the lid while steaming.