I hope you all had a wonderful holiday season! This is going to be a quick post on an easy and quick recipe that I saw today and just HAD to try right away. I was browsing FB and saw this video: https://www.facebook.com/dingo.food/videos/854615187974792/
Bake a cake in a rice cooker???? say what???
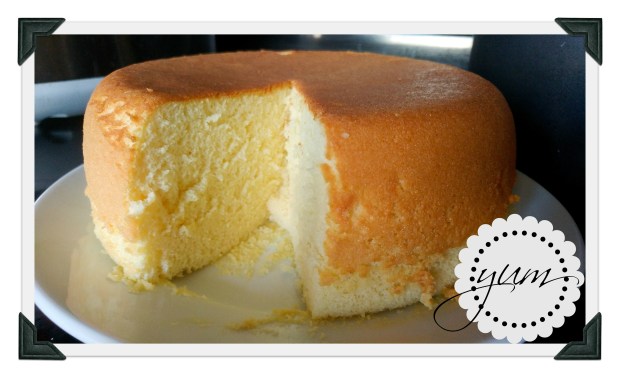
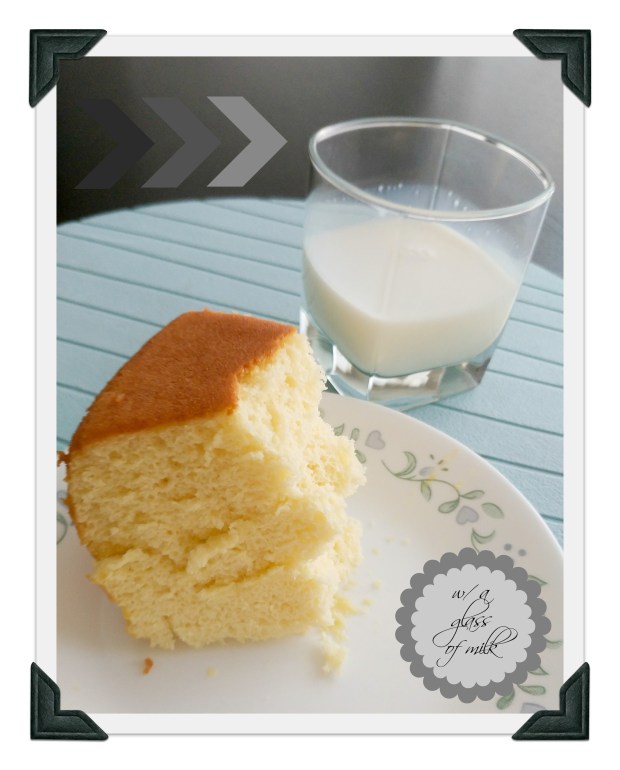
I always wondered why my Zojirushi Rice Cooker had a “cake” button and who would be crazy enough to bake a cake in their rice cooker… I guess I was crazy not to try it sooner! At least with this Castella recipe, the rice cooker was just the right amount of heat and steam to make a fluffy, light, and airy Castella cake, which is basically a type of sponge cake, but a far cry from those dry sponge cakes that need to be soaked with syrup. It’s a childhood favorite growing up and now my own children have adopted a love for them as well. Try it with a tall glass of milk! You’re welcome.
And without further adieu, here are my converted measurements for the ingredients which were all in grams. (If you know Korean and you watched the video, you may have noticed I substituted Mirin for Soju, since that’s what I have in my pantry and we don’t have soju in our home.)
Quick Rice Cooker Castella
Ingredients
6 large eggs, separated
1 cup granulated sugar, divided into 1/2 cups
1 TB Mirin
1/3 tsp salt
2 1/2 TB honey
1 1/2 cups cake flour
4 TB oil (canola, vegetable)
scant 1/4 cup milk
Directions
Grease your rice cooker with Canola oil spray.
Whip 6 egg whites in a clean stand mixer with whip attachment and add 1/2 cup sugar in 3 increments until stiff peaks form. Set aside.
Whip 6 egg yolks with 1/2 cup sugar. Add the Mirin, salt, and honey and whip. Add the cake flour and mix.
Fold in a third of the meringue (egg whites) into the yolk batter and carefully fold in. Add another third and fold. Finally, add the remaining meringue and fold.
Mix the oil and milk together then fold into the batter.
Pour the batter into greased rice cooker pot and push your “cake” button or the video says “steam” setting for 60 minutes.
carefully invert the cake out of the pot onto a plate, cool, and eat!
*Note: the top of the cake will look pale when you open the rice cooker and you may wonder if the cake is “cooked” through. You’re welcome to try the toothpick test, but it was nicely browned on the bottom of the cake (which becomes the top when you invert it).
Now go and try it yourself!!! I’m never baking my Castella in the oven again!!!
It’s a cold, rainy day here and I’m enjoying just shuffling around the home and being grateful for the warmth, shelter, and food in our tummies. I’ve got a little slot of time before the Thursday afternoon madness resumes so I thought I would post an old-time favorite snack of mine that we made a while back but I never got around to posting. If you noticed my last post was some time ago … there’s been some crazy real estate swapping that went on which kept me just a bit preoccupied. I’m the type that likes to concentrate on one thing at a time and feel frazzled if I have too much going on and of course I ended up starting a part-time job at the same time we decided to sell and buy… so there’s my excuse 🙂
Back in SoCal, I loved walking through our big neighborhood Korean grocery store and walking to the back of the store where they made “Wang Mandoo” and sneaking a pack into the grocery cart. “Wang” means king and “mandoo” means dumpling. So you can imagine they were giant, softball-sized dumplings filled with my favorite “Japchae” or glass noodles. The slightly sweet steamed bun exterior mingled with the savory beef and veggie japchae interior was perfection that would leave you feeling like the “after” of a Snickers Bar commercial.
I found this recipe for steamed Korean buns many years ago on a Korean baking site, and it’s just perfect when you live 30 mins from the nearest Korean store (compared to 5 mins growing up) and you do not want to do the Caldecott Tunnel but you want some “Wang Mandoo”. Plus, homemade is always better, right? The recipe was all in grams so I measured all the ingredients into volume measurements for my own sake and I’m sharing them with you. I didn’t notice any difference in the result when I used my converted volume measurements to make them again and again.
I made two different fillings for my buns: “Wang Mandoo” with Japchae filling and “Hobbang” with sweet red bean paste filling.
You can use my Japchae recipe here for the “Wang Mandoo” and the red bean paste filling was purchased at my past Korean store excursion. You can really put anything you want inside the bun, Spam and kimchi is super yummy, too! Or you can just make buns without any filling! I made both japchae filling and the red bean paste filling and they were both so delicious! Would be perfect for this cold, rainy day… wish I had some right now.
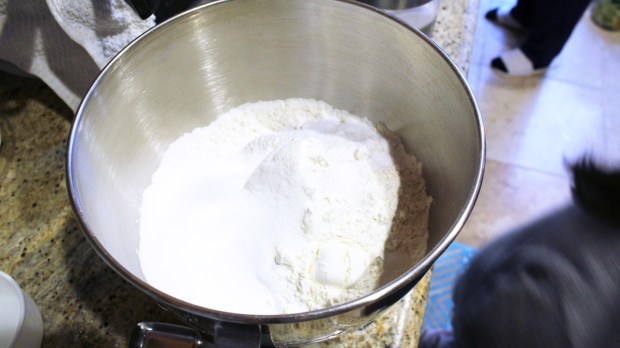
In a large mixing bowl, mix together the flour, baking powder, yeast, sugar, salt, and dry milk powder.
Add the warm water and mix/knead until dough forms. You can use a stand mixer with a dough hook attachment. Once you have a ball of dough, add in the oil and knead until you have a nice, shiny dough that isn’t sticky.
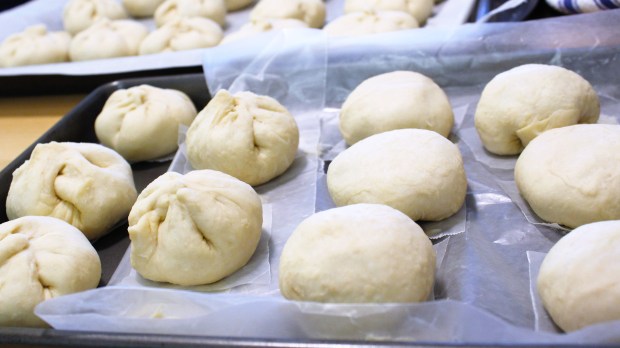
Divide the dough into little balls (60 gram balls, about the size of a golf ball). Place on a baking sheet lined with wax paper, cover with clean cloth and let rest for 15 mins.
Flatten a ball of dough and fill with desired filling of choice. Pinch ends closed then place onto a square of wax paper. (If not using filling, just place ball of dough onto wax square)
Watch my mom pinch and close the dough for the bun. Apologize for the static background noise. watch with sound off 🙂
This is my store-bought Red bean paste
Traditionally for the “Wang Mandoo” you place the seam side facing up and for the “Hobbang” you place it seam side down.
Let dough rise in a warm place for 30 mins
While the dough is rising, start heating your pot of water for the steamer over med high heat
Place the dough into the steamer (don’t over-crowd, they will grow) once the water is boiling and you see steam rising. Steam for about 10 mins. Don’t open the lid while steaming.
And Voila~ beautiful, fluffy, warm, delicious buns!!!
Steamed Korean Buns Recipe (왕만두/호빵)
Makes: about 2 dozen buns
Ingredients (Bun)
scant 3 cups all purpose flour
3/4 TBS baking powder
1 1/2 TBS dry yeast
1/3 cup granulated sugar
1 tsp salt
2 TBS non-fat dry milk powder
1 cup warm water (more or less)
1/6 cup vegetable or canola or grapeseed oil
Filling
Japchae Recipe or store-bought Red Bean Paste or be creative! 🙂
Directions
Prep: cut out 24 little 3″x 3″ squares of wax paper.
In a large mixing bowl, mix together the flour, baking powder, yeast, sugar, salt, and dry milk powder.
Add the warm water and mix/knead until dough forms. You can use a stand mixer with a dough hook attachment. Once you have a ball of dough, add in the oil and knead until you have a nice, shiny dough that isn’t sticky.
Divide the dough into little balls (60 gram balls, about the size of a golf ball). Place on a baking sheet lined with wax paper, cover with clean cloth and let rest for 15 mins.
Flatten a ball of dough and fill with desired filling of choice. Pinch ends closed then place onto a square of wax paper. (If not using filling, just place ball of dough onto wax square) Traditionally for the “Wang Mandoo” you place the seam side facing up and for the “Hobbang” you place it seam side down.
Let dough rise in a warm place for 30 mins
While the dough is rising, start heating your pot of water for the steamer over med high heat
Place the dough into the steamer (don’t over-crowd, they will grow) once the water is boiling and you see steam rising. Steam for about 10 mins. Don’t open the lid while steaming.
Carefully remove and enjoy your steams buns!!!
Before my mom devoured hers 🙂
I’m going to get my butt out to the Korean store soon. My stock of Korean ingredients is dwindling… probably when it stops raining. Yes, I’m spoiled with good weather here and don’t go out when it rains… and my parents live in WA… ha.
Thanks for reading and stay dry and warm out there!


 In a large mixing bowl, mix together the flour, baking powder, yeast, sugar, salt, and dry milk powder.
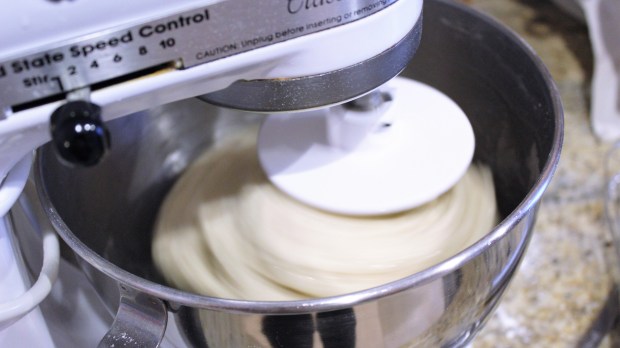 Add the warm water and mix/knead until dough forms. You can use a stand mixer with a dough hook attachment. Once you have a ball of dough, add in the oil and knead until you have a nice, shiny dough that isn’t sticky.
 Divide the dough into little balls (60 gram balls, about the size of a golf ball). Place on a baking sheet lined with wax paper, cover with clean cloth and let rest for 15 mins.
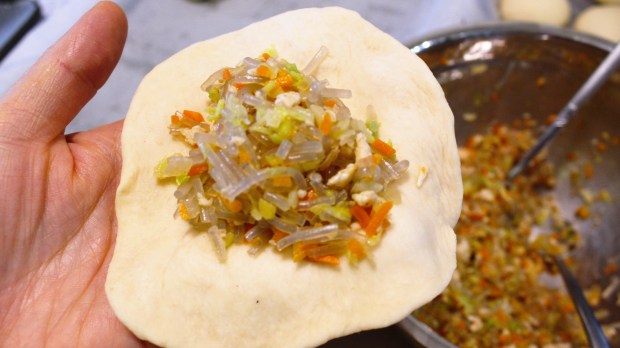 Flatten a ball of dough and fill with desired filling of choice. Pinch ends closed then place onto a square of wax paper. (If not using filling, just place ball of dough onto wax square)
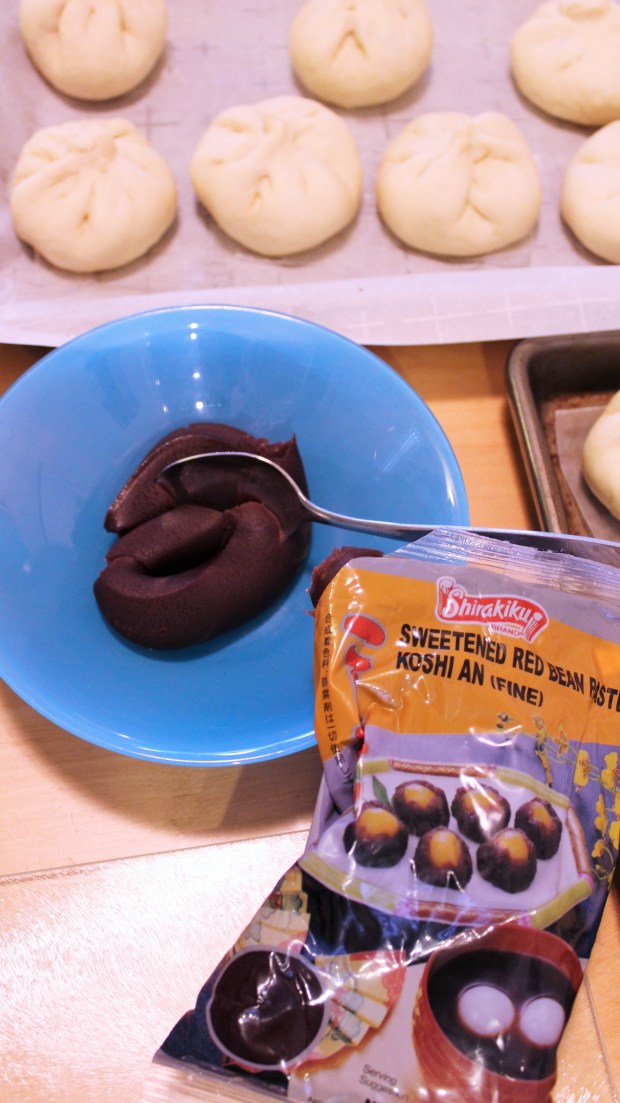
 Let dough rise in a warm place for 30 mins
 While the dough is rising, start heating your pot of water for the steamer over med high heat
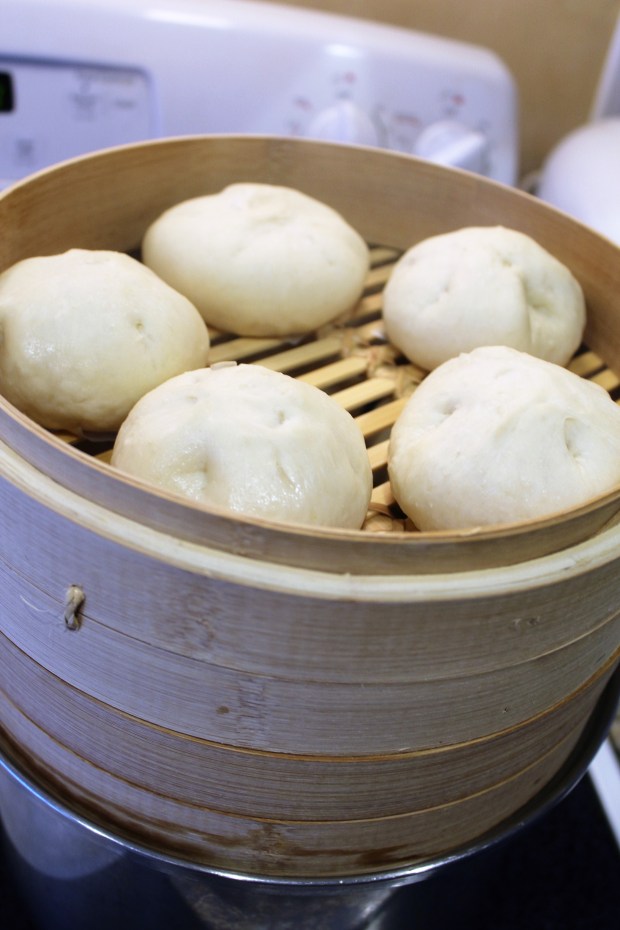 Place the dough into the steamer (don’t over-crowd, they will grow) once the water is boiling and you see steam rising. Steam for about 10 mins. Don’t open the lid while steaming.

