

The mornings and evenings are starting to become sweater weather and before we know it, I’ll be turning our rooms upside down looking for the cold weather clothes I had packed away hurriedly at the beginning of summer. So this week, I have decided to get a leg up on some cold weather clothes by making some from fabric and old clothes I had on hand. I made a couple leggings with leftover fleece from the kids’ Halloween costumes I made (which I will post soon), and saw these two old-but-perfectly-good shirts that would coordinate perfectly together to make a cute little shirt for my not-so-little-anymore girl.

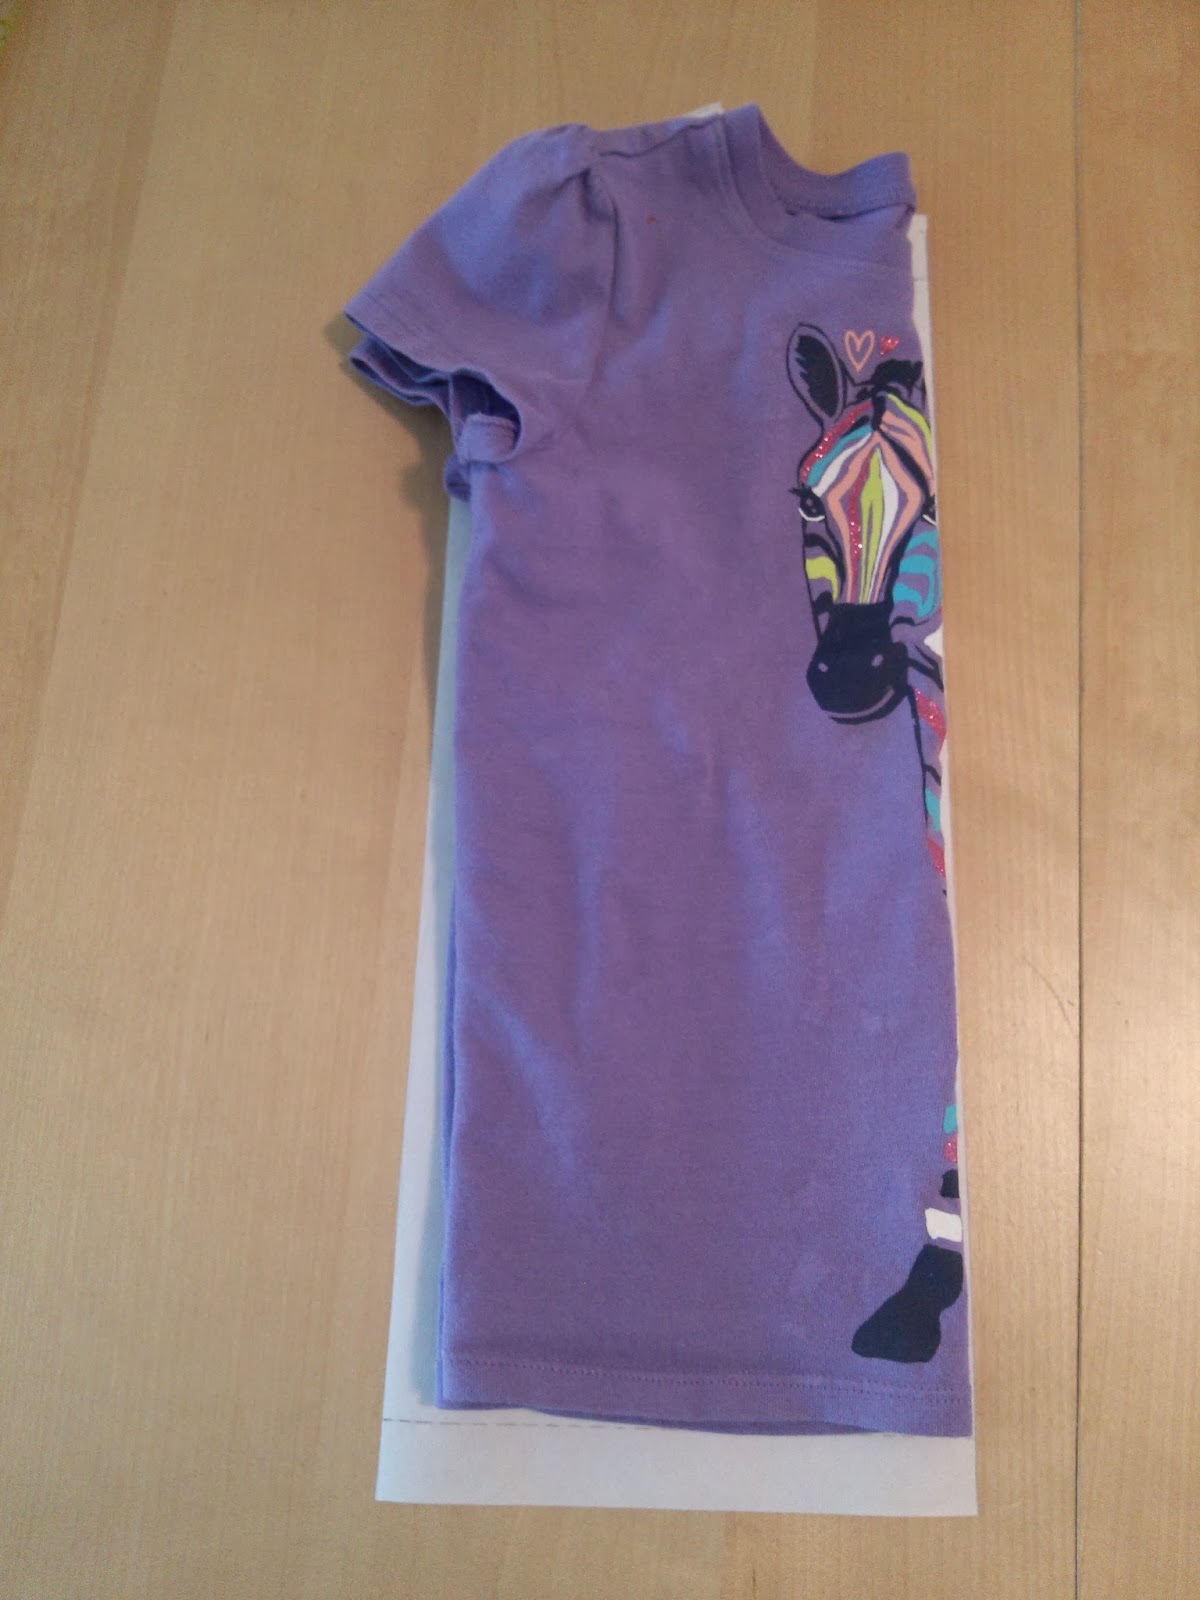
So first off, I got a 4T size shirt that fits A but is just a tad loose on her since she’s 3 yrs old and on the smaller side. I folded in half vertically then traced a pattern for the front and back adding a little seam allowance.
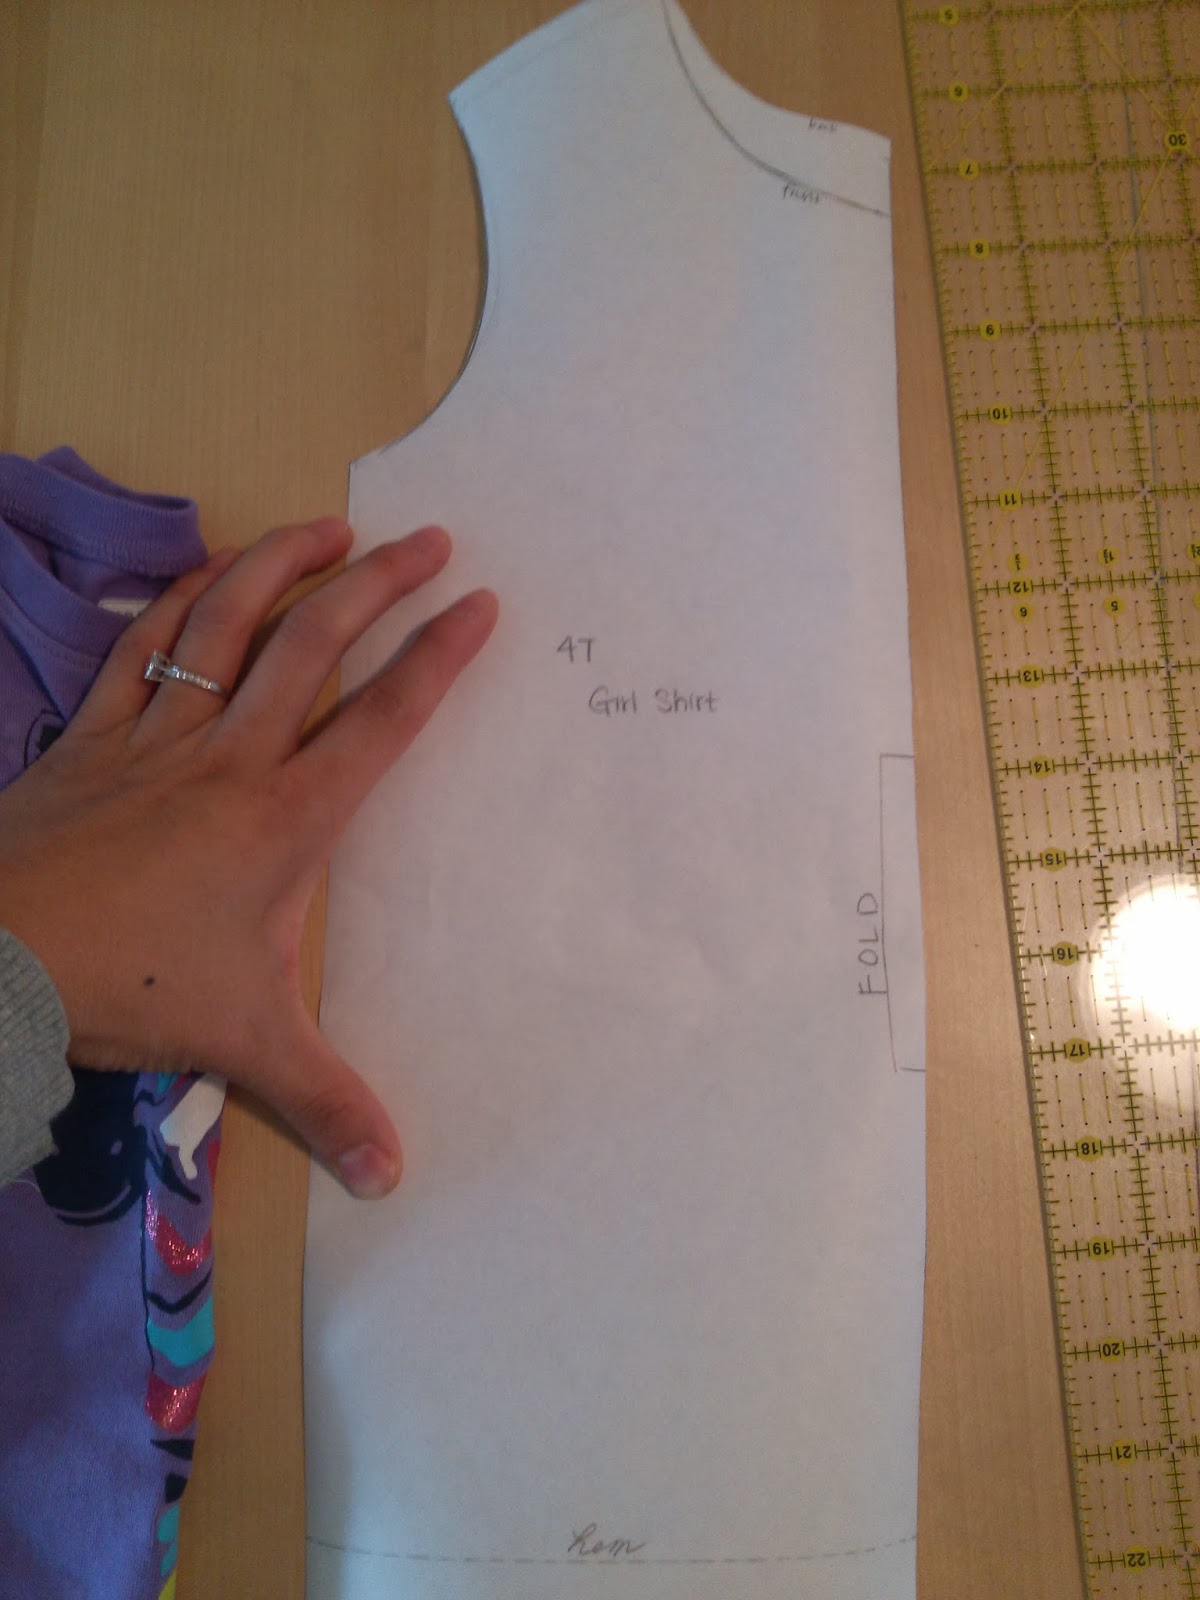
I like to make one pattern piece for both the front and back and just draw another neckline which I find is easy to trace by lifting the paper a bit.

And made a rough pattern piece for the long sleeve, note how I drew above the shoulder line for the sleeve so I can gather it a bit and fit it into the armhole. *the sleeve ended up being a bit too fat/wide, so I sewed it thinner later*

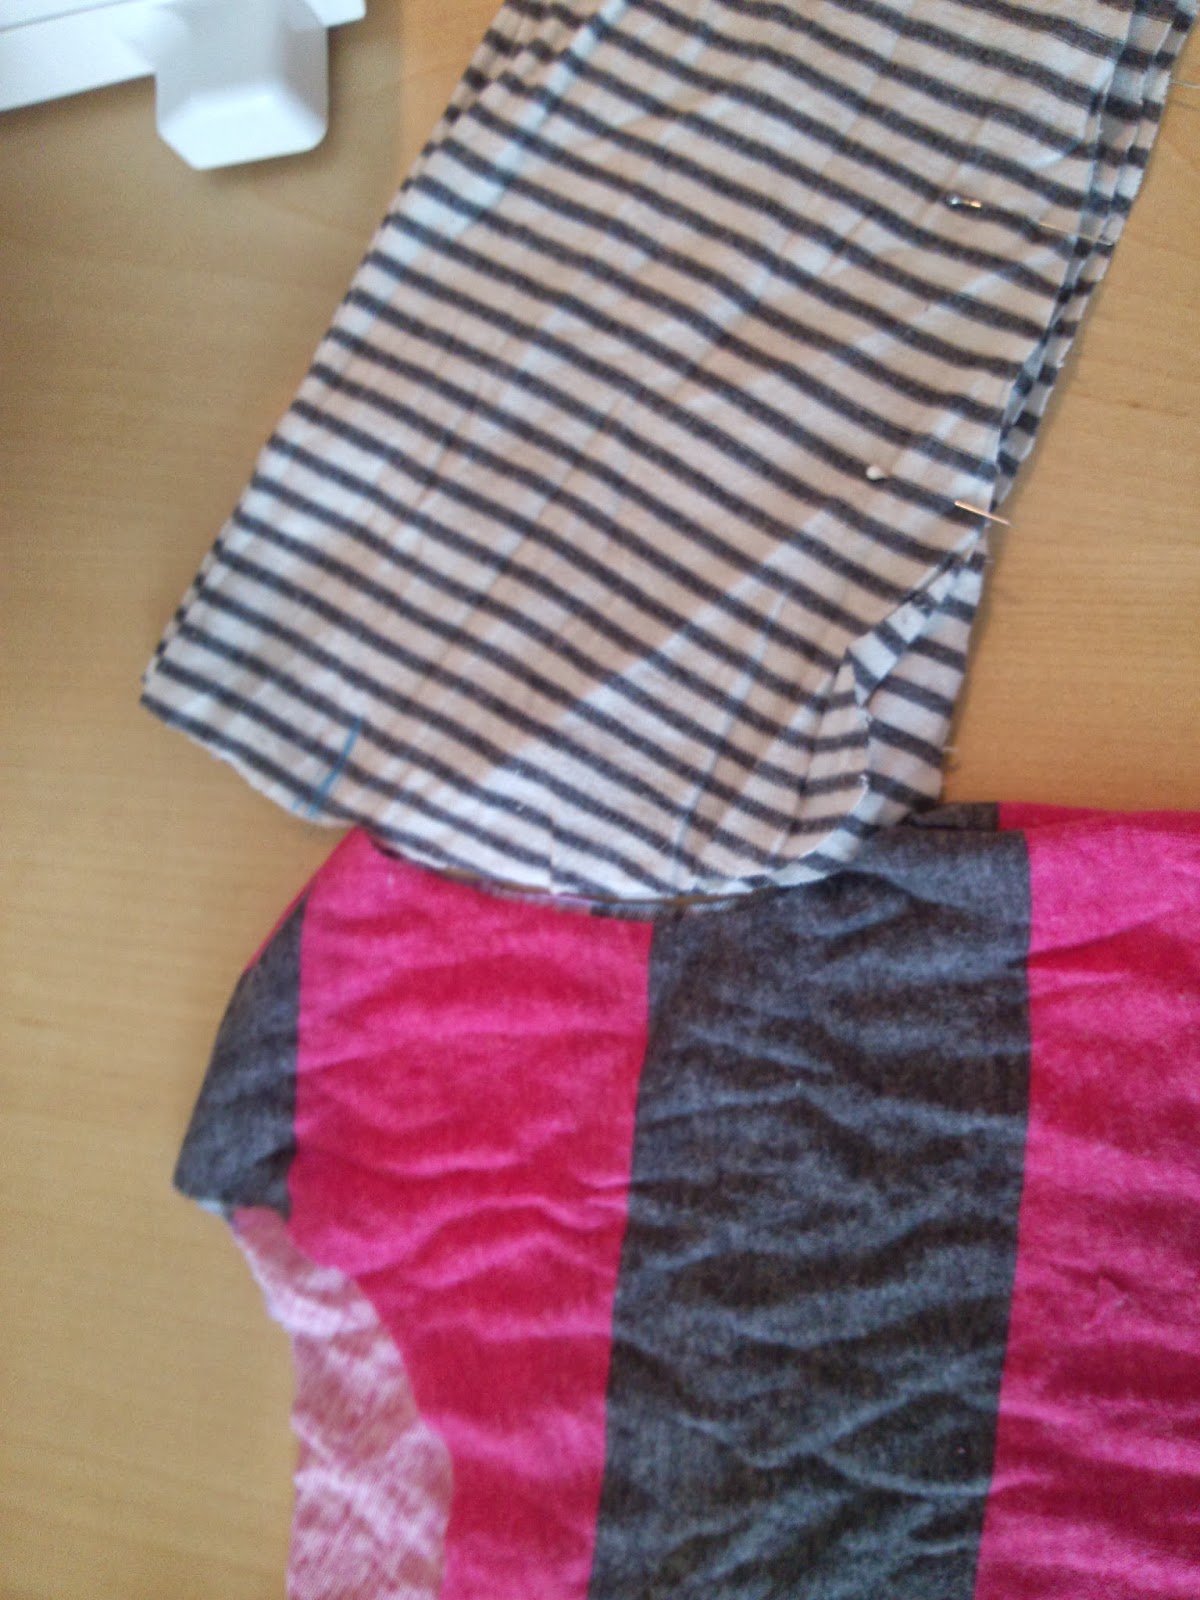
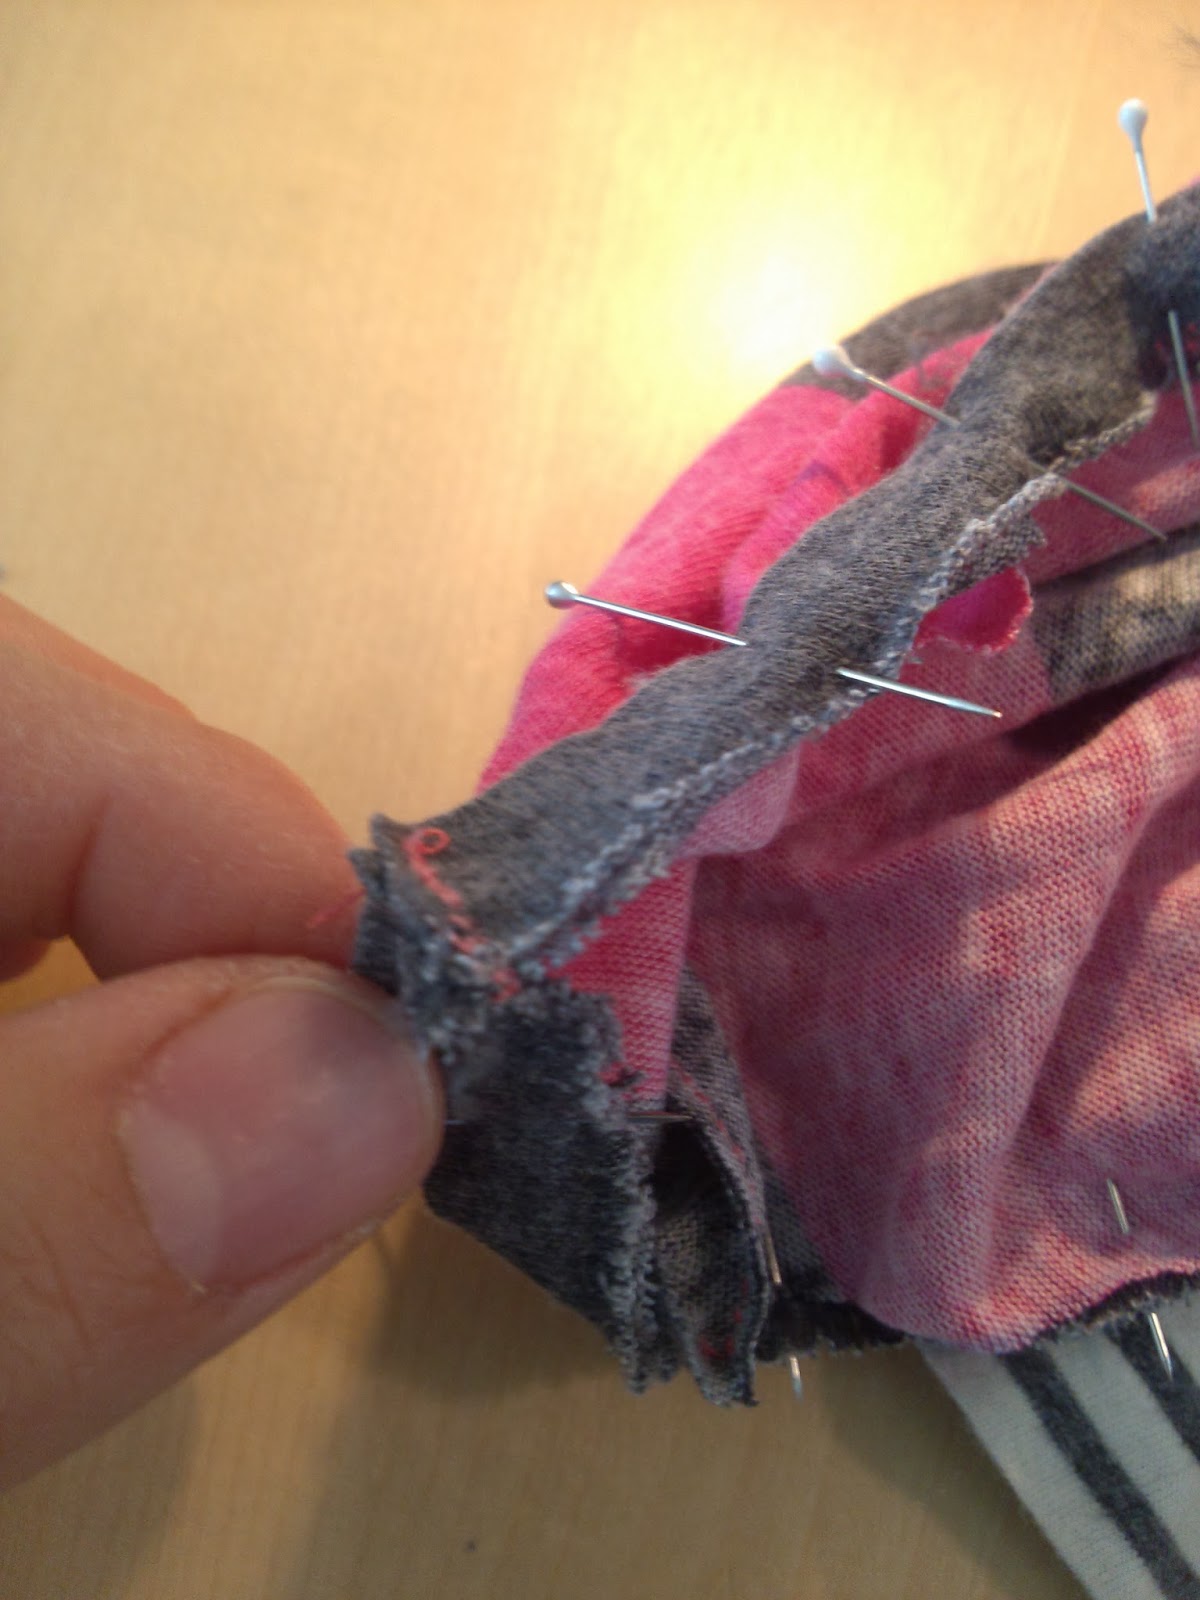
Cut out your front and back pieces and sew at the shoulder and side seams with right side of fabric facing each other. *I cut the fabric to use the already hemmed bottom portion of the shirt and the sleeve so I don’t have to hem later. *

Prepare your sleeves by folding in half and sewing up the open, long side.


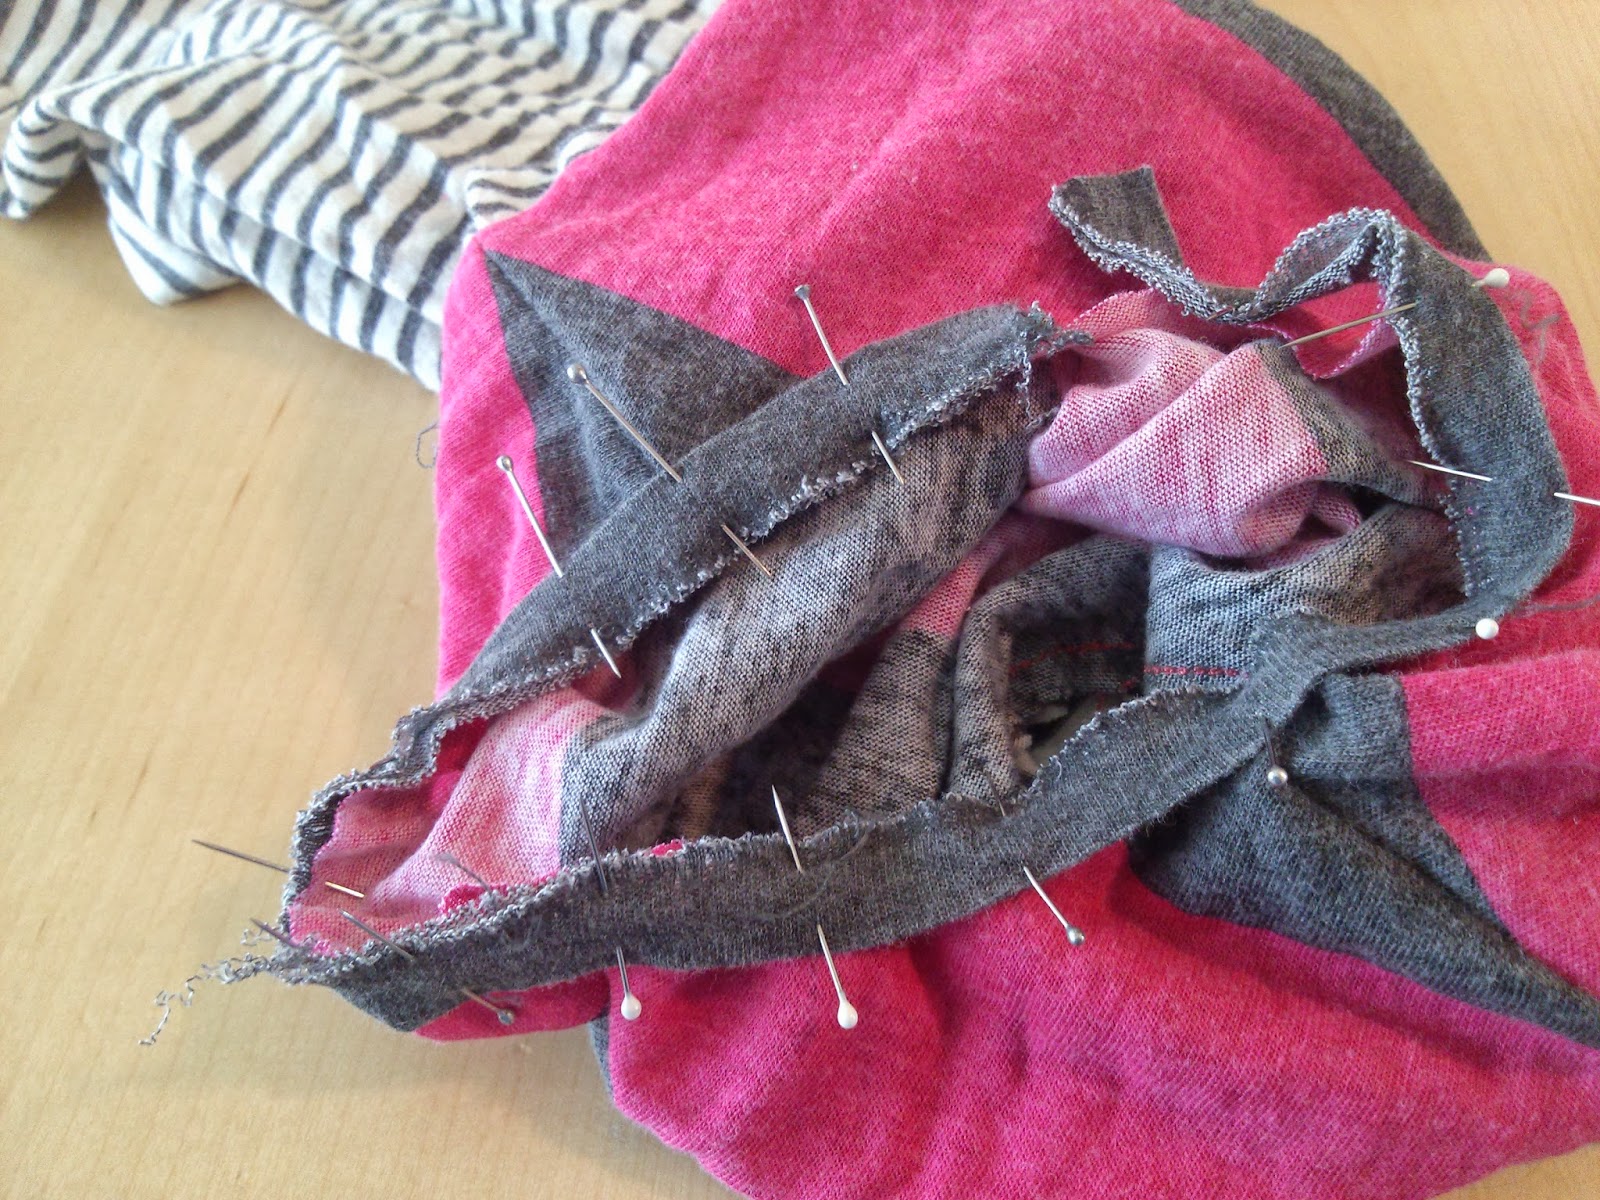
Now for the neckline, I just cut off the neckband from my pink and gray shirt, roughly stretched it across the neckline to see how long it needed to be, then sewed the ends together to make a circle of the neckband.


I think it turned out cute and is a nice fall weather piece. And the fabric I used was really soft knit fabric that is sort of loose and drapey.
