Handmade Hanbok for My Girls

img_2952-18pmEvery year at the new cycle of the lunar calendar, there ensues in our household, a discussion between my Korean self and my Chinese husband about the ‘political correctness’ of calling the New Year holiday “Chinese New Year” vs. “Lunar New Year” (instigated by me, of course).  My husband is all for calling it “Chinese New Year” which is not THAT big of a deal, since the Chinese do celebrate it so extensively, (but then it sort of is) so I’m left wondering why my children are bringing home art and “Times” pamphlets from school solely about “Chinese” New Year  and how it’s celebrated by the Chinese, when there are over 20 other countries that celebrate it as well. But I’m not here to start a debate on one or the other, we’ll save that for another time.  I AM here to share how my latest sewing project has turned out and I think they turned out nicely, if I say so myself.

0130171508a

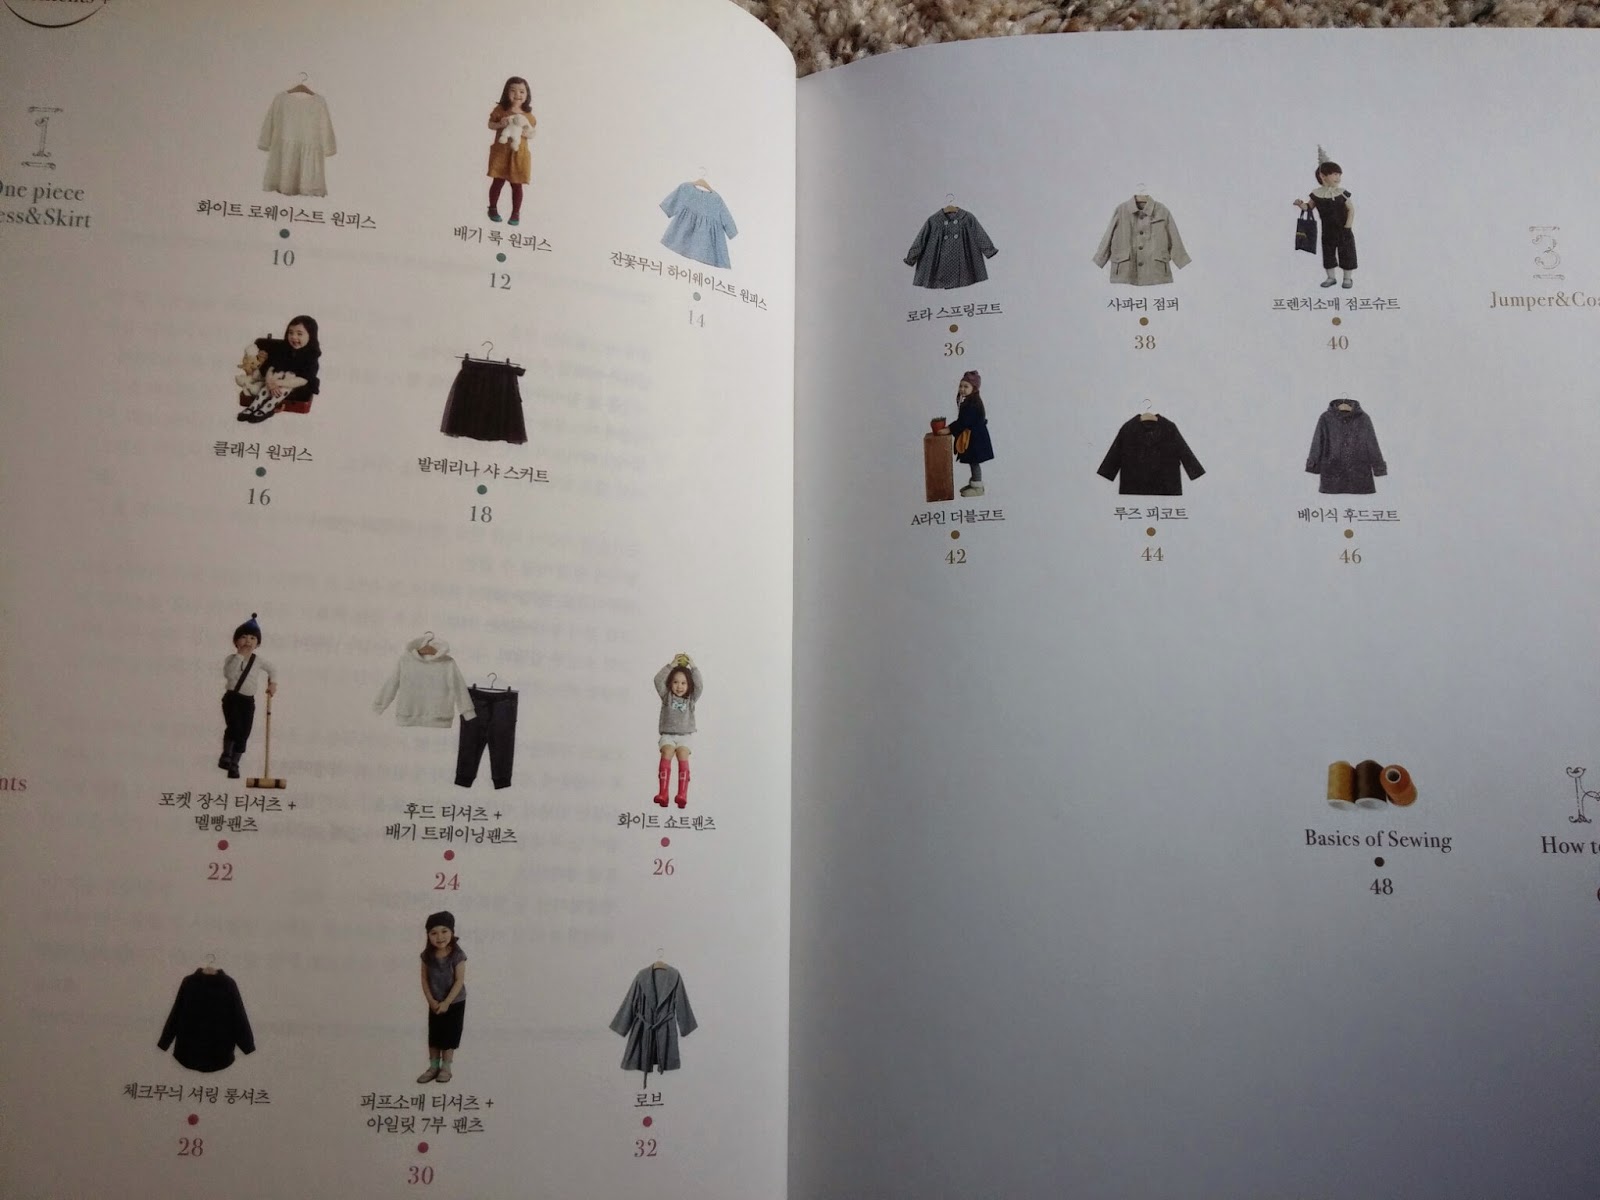
My “A” has long since grown out of her Hanbok (Korean dress) and my “C” probably wore her  First Birthday Hankbok for the last time last year.  Last Lunar New Year 2016, my A wore her Chinese dress and my C wore her Hanbok, which nicely represented their Korean and Chinese heritage.  This year, the girls wore their Chinese dress on Saturday and wore their Korean Hanboks on Sunday.  I’d been wanting to make a hanbok for my girls for years now, but never got around to tracking down a good hanbok pattern until this past Christmas season when I pulled the trigger and bought a Korean Dress pattern book on Etsy.  It was mailed to me in California from South Korea and it took about 2 weeks to get the book.  I bought it here on Etsy

img_2894-1

I offered to make a Korean boy’s outfit for my son but he wouldn’t have it.  He said he would never, ever wear it… makes my life easier.  He also refused to wear a Chinese jacket sent from his grandpa in Hong Kong… But what can you do? You move on and make cute things for the girls while they’ll still wear it.

img_2938-10

I love the bright and vibrant color combination of C’s hanbok (right) with the little floral design top.  Hanboks are traditionally more vibrant in color and I wonder if I should have picked a bright, mustardish- yellow for A’s hanbok skirt (left) instead of pink to go with her mint top.

Did you notice that the girls’ hanbok bows are on opposite sides?   I made C’s hanbok first (left, below) and accidentally reversed the front bodice pattern pieces and ended up having to put the tie on the incorrect side.  I didn’t have enough fabric to fix the mistake so I figured I would just finish it and no one would really notice… unless you put side-by-side photos of them together like so…

hanbokcollageSo the mint/pink Hanbok has the correct tie placement on the right side of the Jogori (top) with the 1-bow pointing to the left.   (Yes, it does matter, but let’s just assume for C’s hanbok it doesn’t)

img_2905-1

This is the skirt portion of the hanbok that you wear under the Jogori (top).  It’s basically a wrap skirt/dress and you bring the ties to the front and tie to secure.

img_2967-26

The pattern book is all in Korean but it has good step-by-step photos that illustrate each step that made it fairly easy to follow along.  They do use specific vocabulary associated with the pieces of Hanbok that I had to look up, and the book does have a handy picture chart with labels and their corresponding names.

img_2966-25

I think I got the hair right… I recall from watching Korean dramas (yes, Korean dramas, an excellent source) set in the old Joseon time periods usually having a small braid on the side, woven into one long braid in the back for girls and I think it was buns for married women.  Regardless, the girls looks adorable with their braids and hanbok.

img_2964-23

A and C tried to convince me to wear my hanbok to church with them, but I didn’t really want to wear my hanbok from my wedding (which comes with a huge petticoat) to 3 hours of church.  Maybe next year girls… and that’s a BIG MAYBE.

Thanks for reading and Happy Chinese, Korean, Lunar New Year !!!

-Flora

Upcycle: Men’s Dress Pants to Simple Boy’s Dress Pants

IMG_0334

Finally, something for my only boy!  If you haven’t noticed, my sewing projects usually consist of cute dresses or tops for my two beauties and the last time I sewed something for my son was… … … I’m ashamed.  My boy’s go-to wardrobe consists of two pairs of jeans (that he NEVER wears), sweatpants, a few “dress” pants (more like chinos and khakis), “comfortable” shorts (that he ALWAYS wears), graphic T-shirts, long-sleeved graphic shirts, some sweaters, a jacket, and a coat.  Throw in some baseball pants, caps, and jerseys and he’s all set for the year.  I’ve been wanting to add some handmade items to his wardrobe but when given the choice of making basketball shorts vs. a cute dress… well… the dress would call my name.

Recently Updated1

When my friend’s hubby fell off his bike and ripped his pants (no one was hurt in the process of acquiring these pants), she gave them to me and challenged me to give it new life.  I guess it’s happened more than once 😉 since she gave me 3 pants with holes in them.  I’ve never made pants with a zipper and fly and I wasn’t going to attempt to try just yet, so I used a shorts pattern from My Child’s Closet and made pants with a flat front and gathered, elastic-back waistband.  The back of the pants don’t look very sleek and tailored, but it’s acceptable for a 6 yr old boy to wear to church.  For those of you who don’t speak Korean, that sewing pattern book may be a challenge (to say the least), but I remember Dana from MADE has shorts patterns like the one I used, just make them longer to make pants.  You could also make your own pattern by using a pair of pants your child fits, trace it on freezer paper, and add a seam allowance.  Here’s a good tutorial on how to make your own pants pattern.

With the remaining two pairs of holey pants, I plan to make summer-dress-pants (aka: church shorts).  I know my boy will be thrilled to be able to wear “shorts” to church.

IMG_0330

Flat FRONT gives it a nice tailored look.


IMG_0344

The gathered BACK portion with elastic. See what I mean? Doesn’t look super sleek, but I pass it.

This pants/shorts pattern added a yoke to the back of the pants right under the waistband and I like the little detail that it adds.  The original pants had a lining halfway down the leg, which I kept and cut together with my pieces.  I zig-zag stitched the lining to the front leg pieces only and also zig-zag stitched all my pieces to keep the fabric from continuing to fray.  The pattern didn’t include belt loops around the waistband, but I just took a seam ripper to the belt loops on the original pants and snipped a little bit to fit a 6 yr. old’s 1-inch wide belt.

Recently Updated2

Click picture to see larger

  1. Use your pattern and cut out your pieces.  Remember to add seam allowance if it is not included in your pattern or if you are making your own pattern.
  2. Trace your pattern onto your fabric. Don’t forget to cut mirror images of your pattern pieces so you don’t have two front pieces for your left leg.
  3. My pattern added a little yoke to the back pieces which added a nice detail. Iron seam towards yoke then top-stitch the yoke.
  4. With ride sides together, pin your front and back piece together and sew along the non-curved, outside edge of the piece.  Iron seam open. Repeat for the other leg.
  5. With ride sides together, pin the curved, inside edge of the pieces and sew. Iron open seams.
  6. Turn one leg piece right-side out and tuck it into the other leg piece so right sides are together and the curved edges are matching.  Double-check to make sure your fronts and backs are matching.
  7. Pin the curved edges of the pieces together and sew only along the curved edge, not the waist!
  8. Turn right-side out and admire what’s starting to look like pants!
  9. Add a strip of interfacing to the waistband (looking back, I may not add it next time to the gathered back portion of the waistband).  Fold and press in half then fold and press the raw, long edges, about 1 cm, for seam.
  10. Pin the waistband, right sides together, to the waist of the pants with interfacing portion of the waistband closer to the pants.
  11. Sew along the seam fold right below the interfacing of the waistband.
  12. Measure your child’s waist and add elastic accordingly.  (I used about 9 inches of elastic for my 6 yr old).  The elastic only goes in the back half of the waist.
  13. Sew the elastic on one end of the back half, then stretch it across and sew the other end of the elastic to the opposite back, half of the waistband.
  14. Fold 1 cm seam under to conceal the elastic and make a casing then carefully sew across the back and front of the waistband without catching the elastic.
  15. You will have to pull the elastic while you sew the back half of the waistband.
  16. Hem the pants by pressing in onto the wrong side about 1 cm
  17. Fold and press again to get desired length of pants.
  18. Machine stitch hem or to get a more tailored look, hem by hand.
  19. I think it looks fine with machine stitching.
  20. You are done, unless you want to add belt loops, which I decided to do as an afterthought.
  21. I salvaged the belt loops from the original pants then snipped it to the right size and used fray check to prevent fraying.
  22. Pin it to the waistband with right sides together and spacing (5 loops) around the waistband.  Two in the front, three in the back with one centered in back. Sew.
  23. Fold the other edge of the belt loop under and pin
  24. Carefully sew as close to the edge with a machine or hand stitch.

IMG_0343

He’s a natural model.  🙂  I love my B and I plan to make more handmade items for this little boy.  They grow so fast…

Thank you for reading,

-Flora

On the Hunt for Korean & Japanese Sewing Patterns

It’s a week from Easter and here I am sewing a dress in a green that looks like it would be more fall appropriate.  But I don’t care, I love the color, the fabric, and the design of the dress.  It really is simple in construction, but it took a lot longer to finish this garment due to some language stumbling blocks which sent me searching the Korean-English online dictionary for words in Korean I have never heard before (I never learned “topstitch” or “interfacing” in Korean!!!).  Despite the hiccups, I was determined to finish the dress and am going to make almost every pattern in the book.  I’ll have to think about the little capri pants with a sideways uni-suspender though.
I’ve been wanting to get my hands on a few Korean and Japanese children’s sewing patterns books for a while and found them extremely difficult to get without having to pay 2x the price of the book for international shipping.  I know there are quite a few Japanese sewing books that have been translated into English and are available for purchase on Amazon, but they didn’t have the same draw that this book did.  I was able to see sample pictures of the book on a Korean e-bookstore and even tried drafting my own pattern (still in the works) after a cute and simple girl’s tunic from one of the books, but I still wanted the other patterns… Well, I found a copy of the book on Etsy in Korean and ecstatic is an understatement to the joy I felt when I finally got it in the mail; international shipping needs to be quicker.  I did have to pay a bit more than I would have liked in shipping fees, but it was better than other online bookstores shipping from Korea.
Direct translation of the title: My Child’s Closet
I know it’s hard to see the pictures of the patterns making up the table of contents, which is such a cute idea!  The book includes patterns for dresses, a tunic, shirts, pants/shorts/capris, tutu, and one too many jacket/coats; I will likely attempt no more than one coat pattern.  I learned the hard way that seam allowances are NOT included in the pattern pieces and you have to add seam allowances according to the book.  For example, you have a skirt, and it says to add 1 cm seam allowance on all sides except the hem, you add 4 cm.  Also another thing I wasn’t used to was the metric units and the different symbols they use for “fold” when you cut.  I’ve come to realize that I like having seam allowances already built into the pattern pieces.

This dress, “Baggy Look One-Piece”, is one of the first patterns I’ve tackled from this book and it just may be my favorite little girl’s dress design.  I love the loose, comfy linen fabric that’s shown in the picture, the colors, and the cute pockets.  I tried to find a linen-type fabric as close to the one in the picture as I could, but I think mine is a bit thicker and has a bit more structure than I would like.  I actually like the way the dress seems to be a bit baggy and drapey on the model…

My little A loves the dress (of course) and says it’s now her favorite dress, but then she says that every time she gets a new dress. My sweet little girl.  She says it’s her fave because of the pockets.  Come to think of it, I don’t think she has pockets in any of her other dresses.  I love pockets in my dresses too and I didn’t know some wedding dresses have pockets!

I cut the pieces out for the dress a week ago and finally got out my sewing machine last night to construct it.  I really thought I would be done in a couple hours, but like I mentioned before, I got stuck on the Korean…  and here I was pretty confident about my Korean… I guess what other opportunities do I ever have to brush up and practice my Korean?  The only other time I use Korean is when I talk to my mom (over the phone) and when I make a conscious effort to use Korean when talking to my kiddos (which I forget to do most of the time).  It’s hard to remember to talk to them in Korean and it’s also inconvenient because I know they’ll understand me right away when I talk to them in English…

I really do love this dress! I want one in my size!  Probably wouldn’t look to flattering on me though.  That’s why I love sewing for little girls.  They look so sweet and cute in almost anything.

Maybe a muslin-type fabric would give the dress the loose, baggy, look that I was going for.  Next time.

For now, thanks for reading!

-Flora