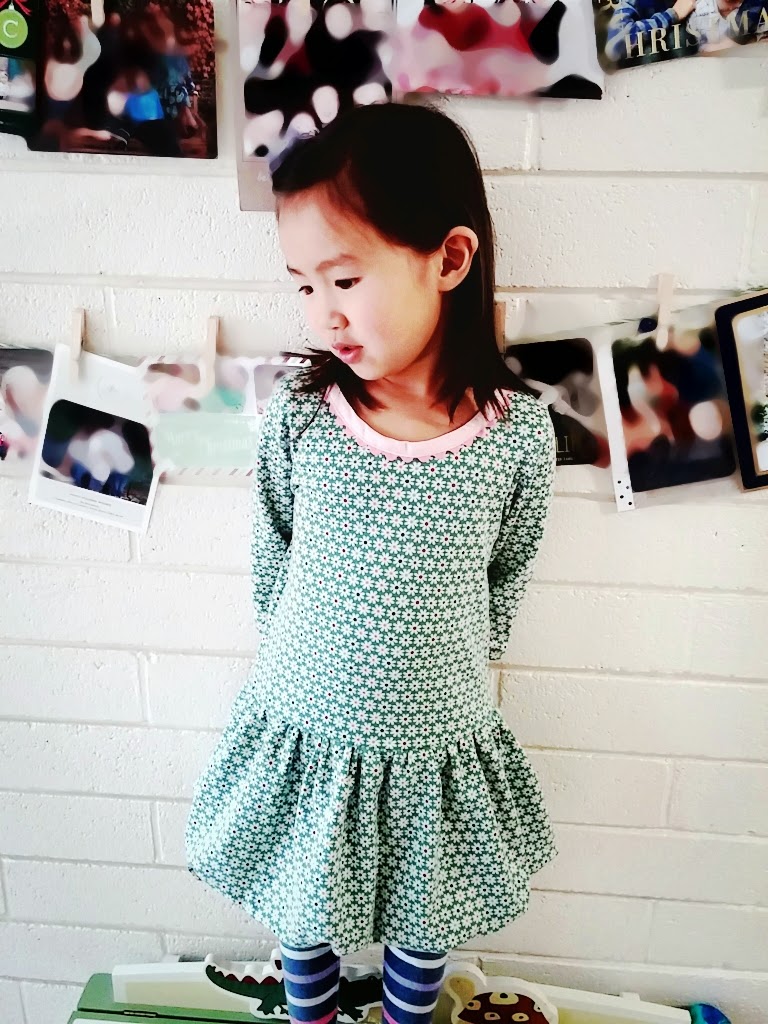
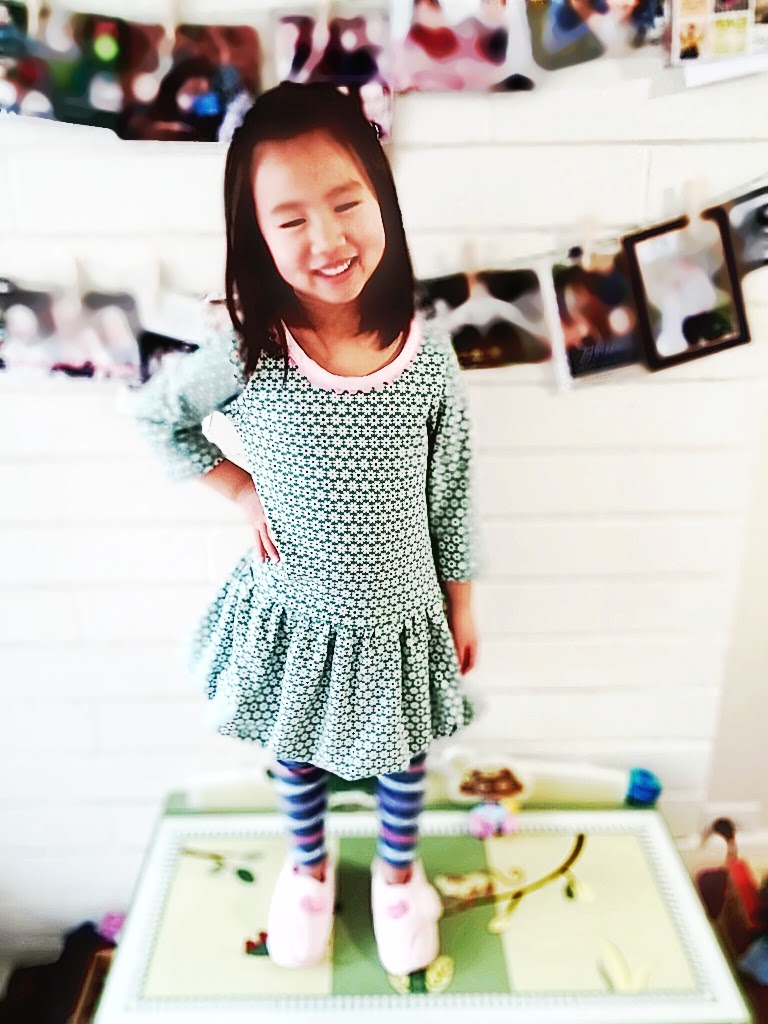
My daughter just turned 4! Where has the time gone?!!?!. So for my little girl’s 4th birthday she wanted a Lalaloopsy theme, which was not too difficult with all the resources out there posted by wonderful bloggers and all the free printables from Nick Jr. I gleaned inspiration from birthday express and from images I searched on Google and I was excited to use some recipes I’d been wanting to try including a 6-layer birthday cake, macarons, and an Oreo cookie pop. I’m usually a procrastinator but this time I made myself prepare early enough so I wouldn’t kill myself, but ha ha… I still ended up procrastinating a lot of decorations so here I am recovering from it.

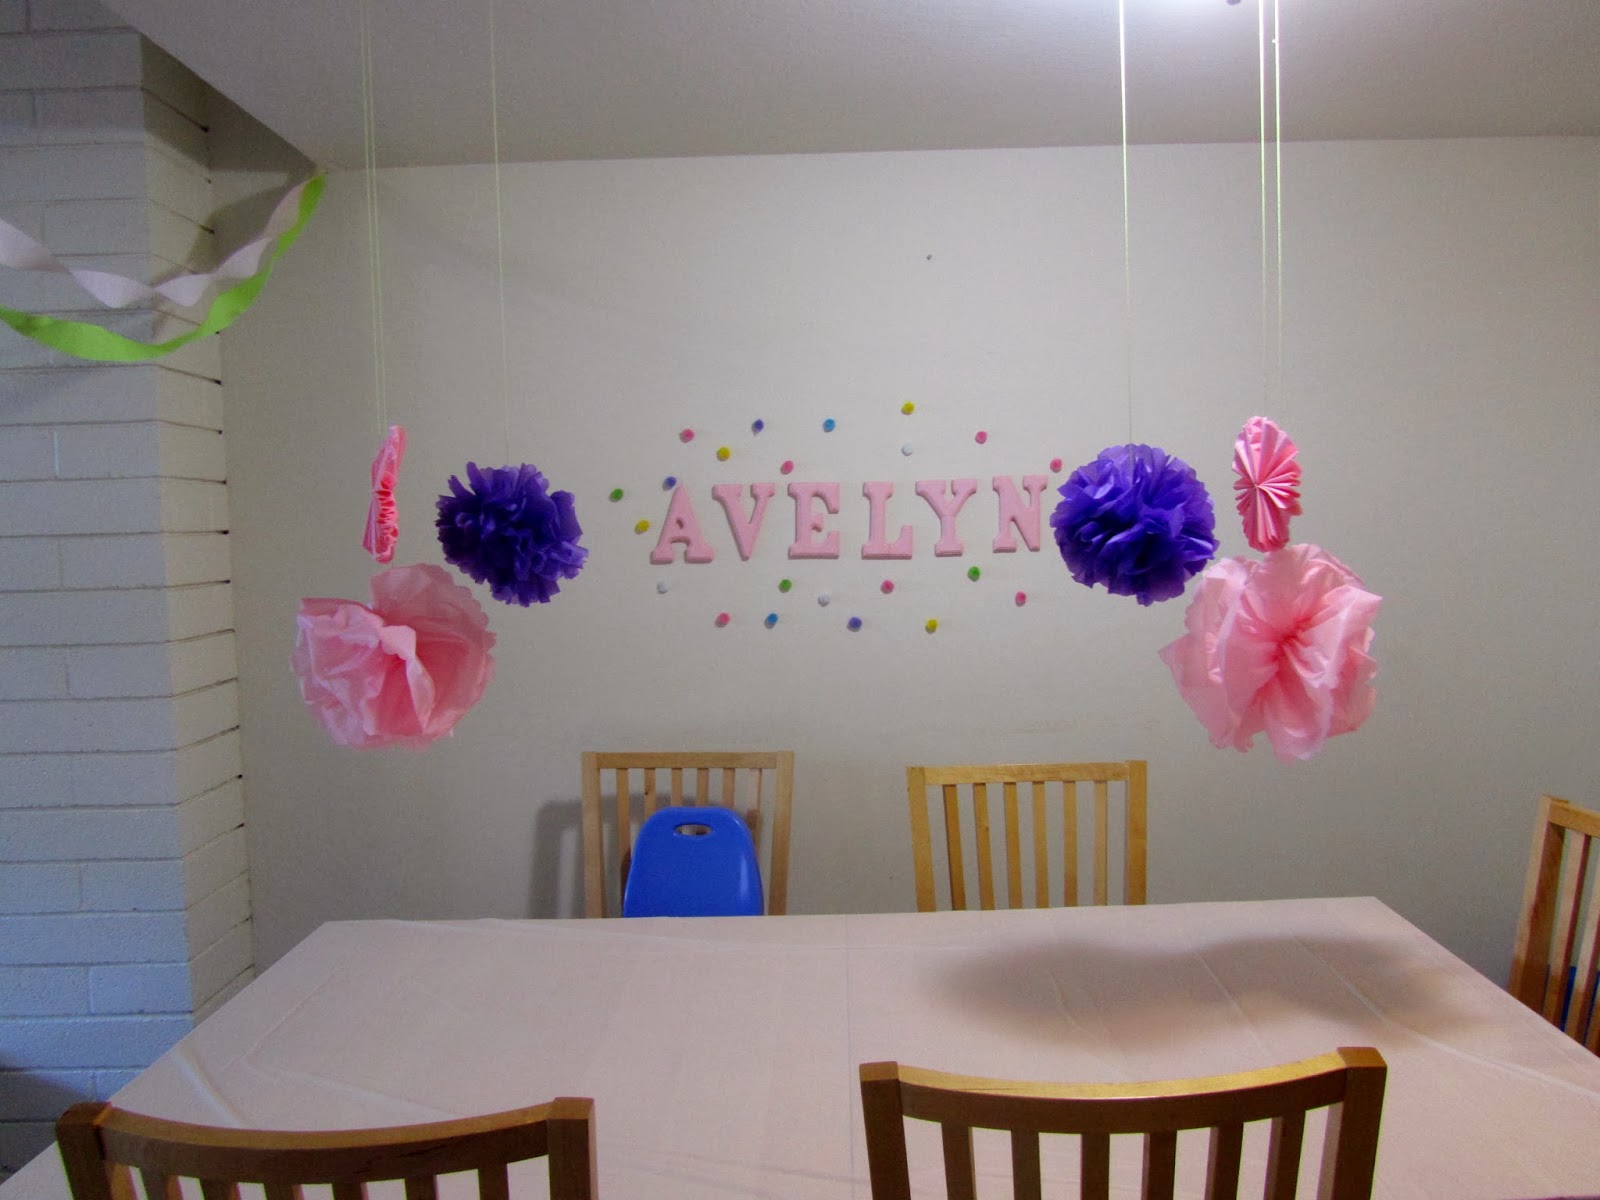
The hanging pompoms are made from $1 plastic table cloths from the dollar store. One of the purple sizes makes 4 or 6 from one tablecloth depending on how full you want the pompoms. Here’s a link to the tutorial I used from
Craft,Interrupted blog.The pink ones that look like flowers are just the same thing, accordion folded, just didn’t open it up, so looks like a flower and adds a nice varying touch.
I already had her name from her room decor so used wall mount 3M brand adhesives to stick it on. The tiny confetti pompoms surrounding her name are from the dollar store and stuck on with double-sided tape.
I stayed mainly with pink, purple, and white with colorful confetti-theme and pink and green streamers.
I tried to keep the party simple and used the craft paper bag lalaloopsy puppets as examples (for the kids’ craft) and decor. You can print them off on
nickjr. We also did a Bingo game which I tried to get the hubby to make, but found one we could just print off for $5 on Etsy, which he was ALL for. 🙂
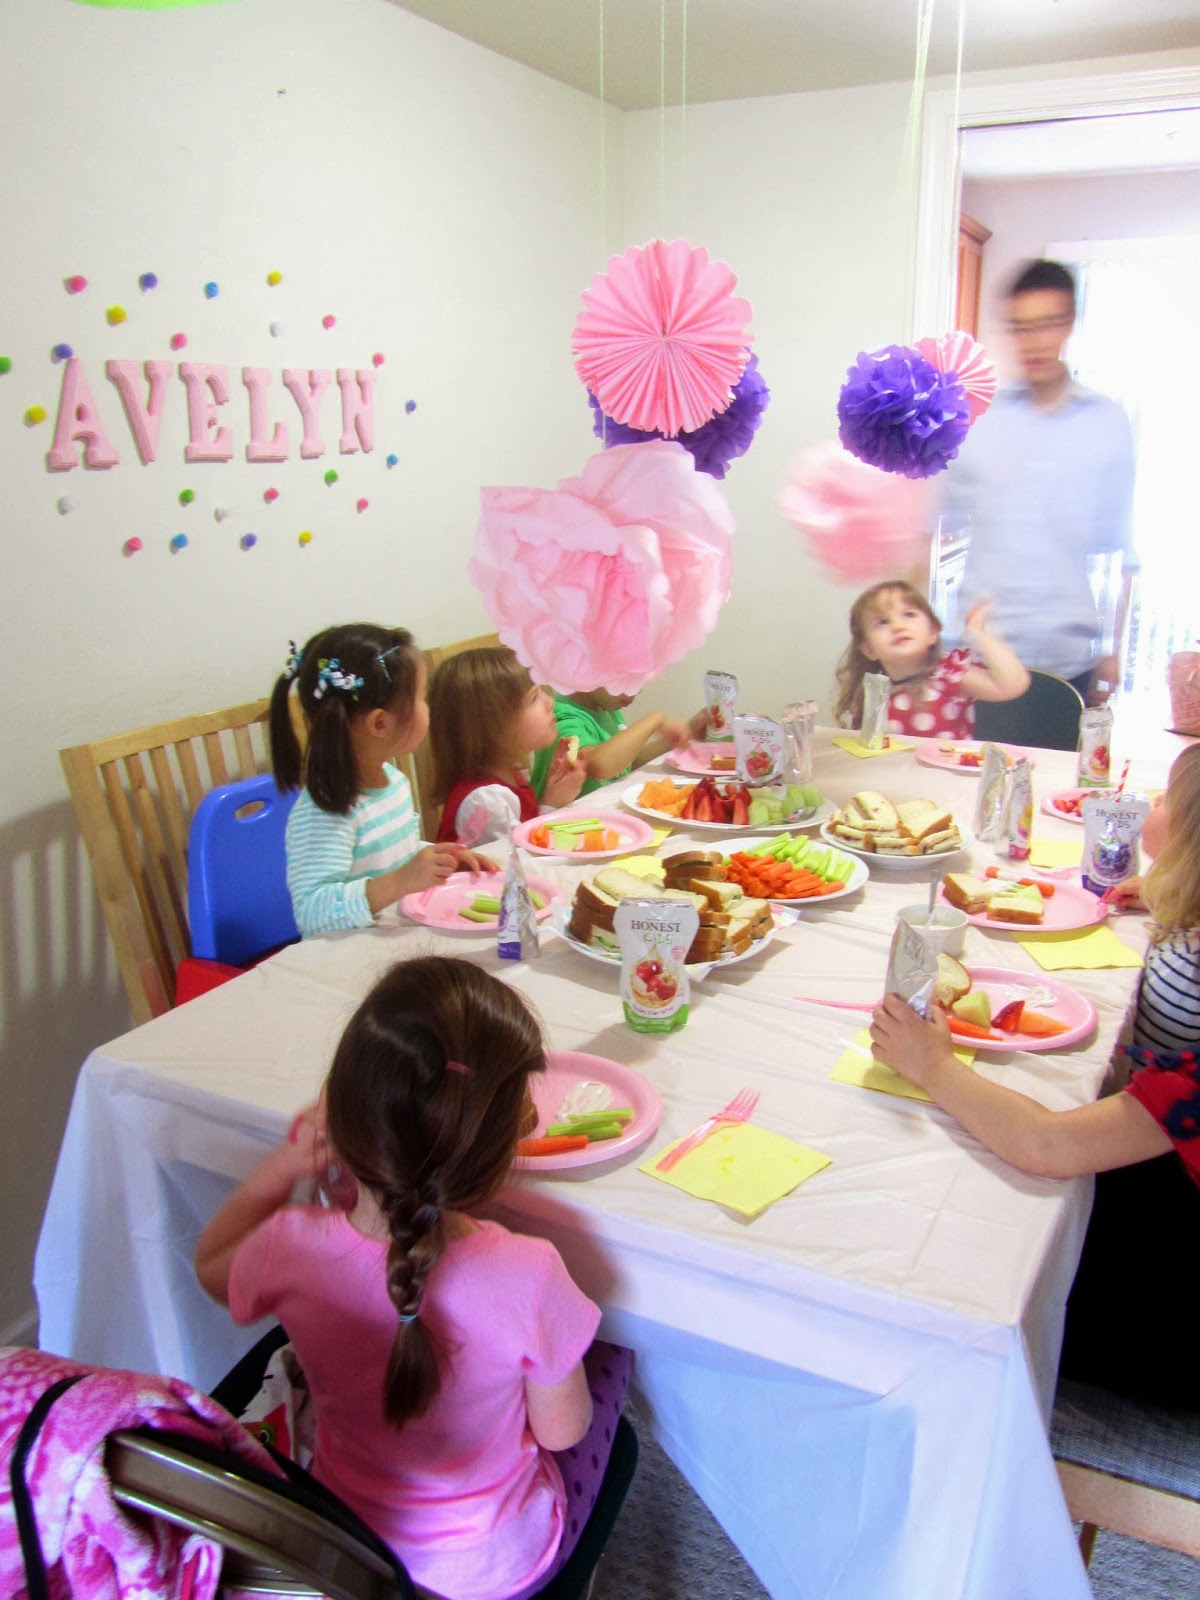
The party feast in action: PB&J sandwiches and cream cheese-cucumber sandwiches, fruit and veggie platters, plenty of sweet treats, and Avie’s favorite salty snack: pirate booty.
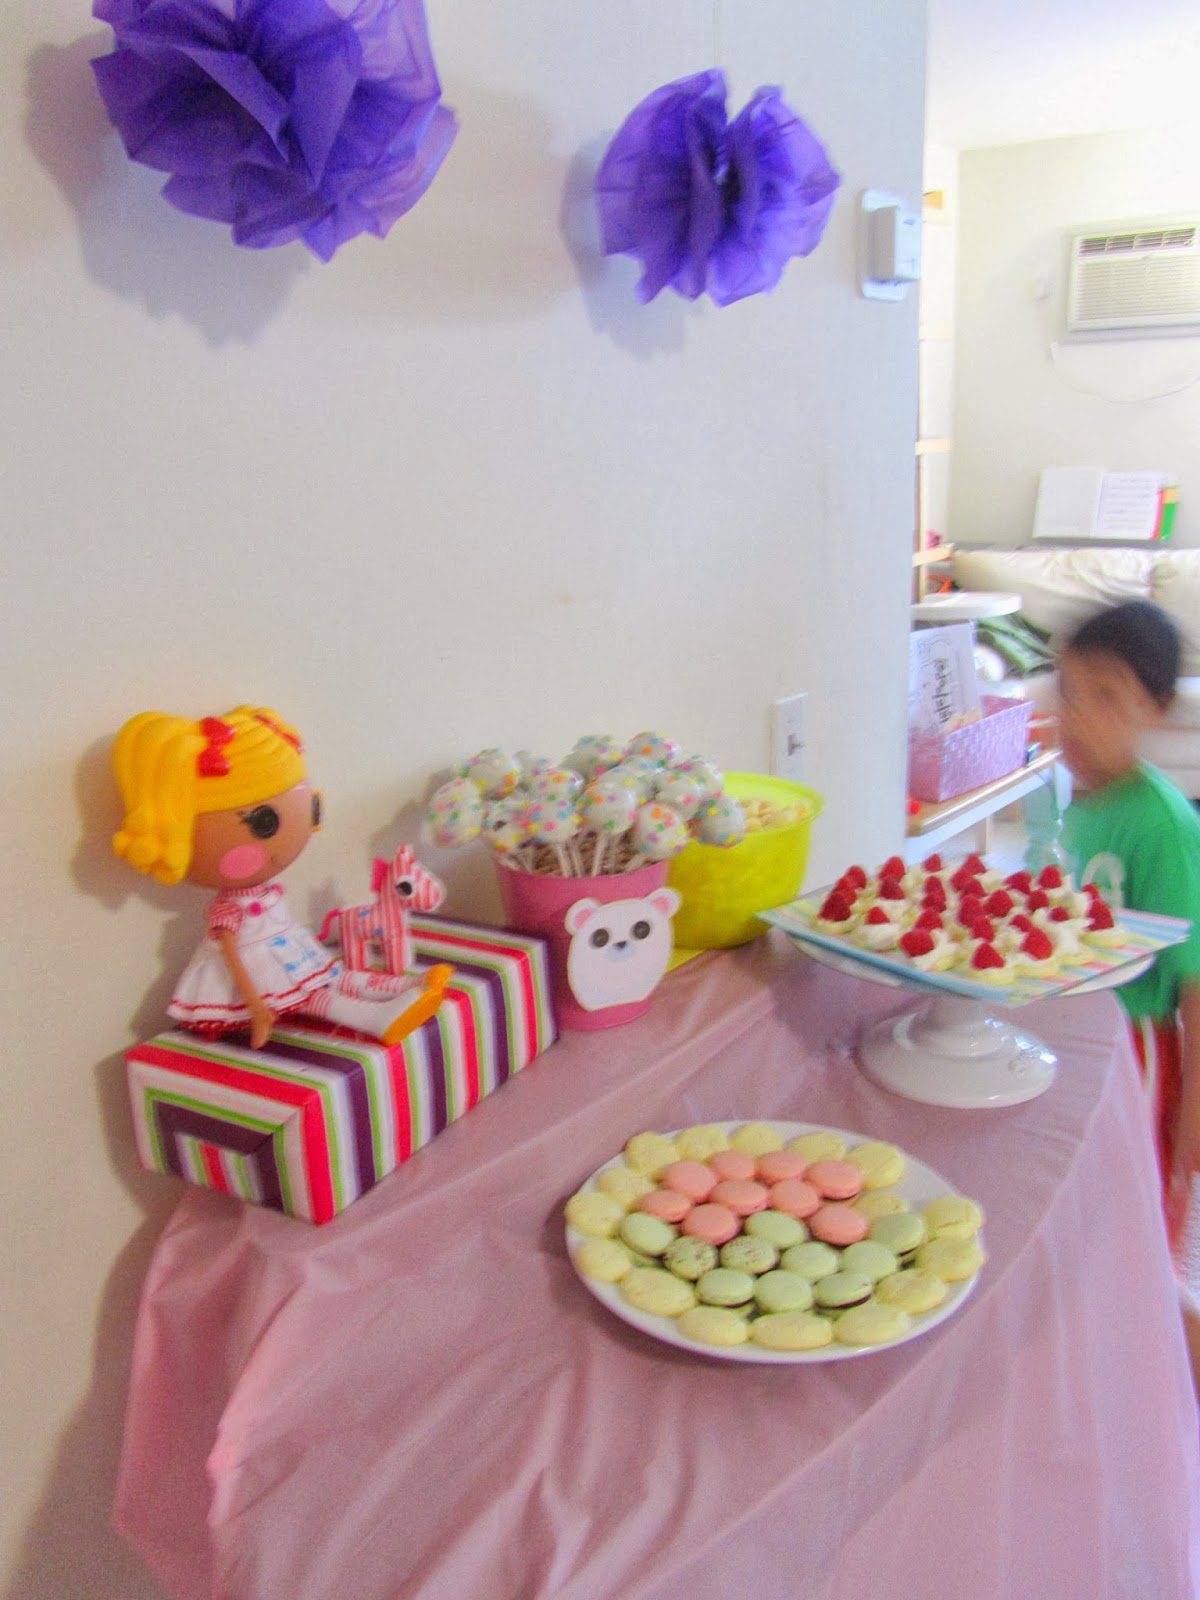
Our little dessert table. macarons. pirate booty. Oreo cookie pops. My reject macaron shells topped with whipped cream and raspberries.
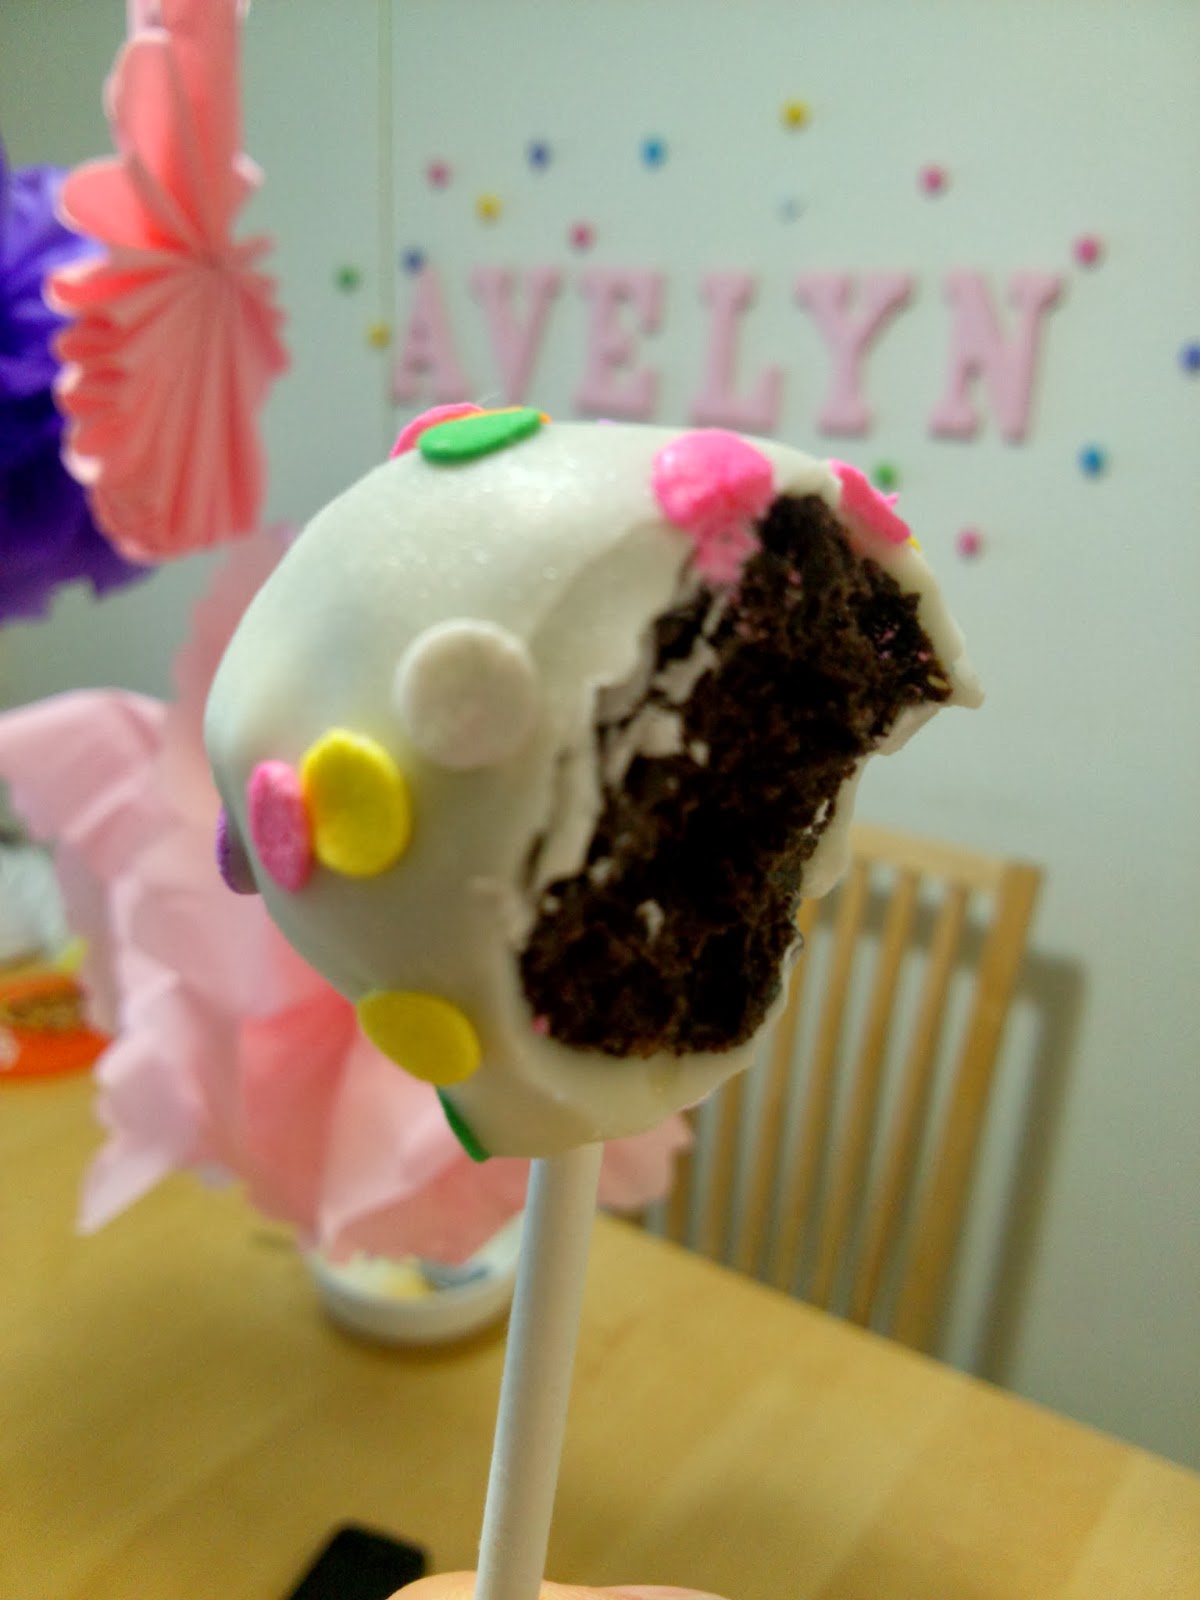
Oreo Cookie pops! They look just like cake pops and tastes way better~ I’ve never been a fan of the mushy/soggy cake pops made from crumbled cake mixed with frosting. These have more texture and not so mushy. And seriously, who doesn’t like Oreos?
I was wondering who was sneaking all the raspberries from the dessert… my son… caught in the act
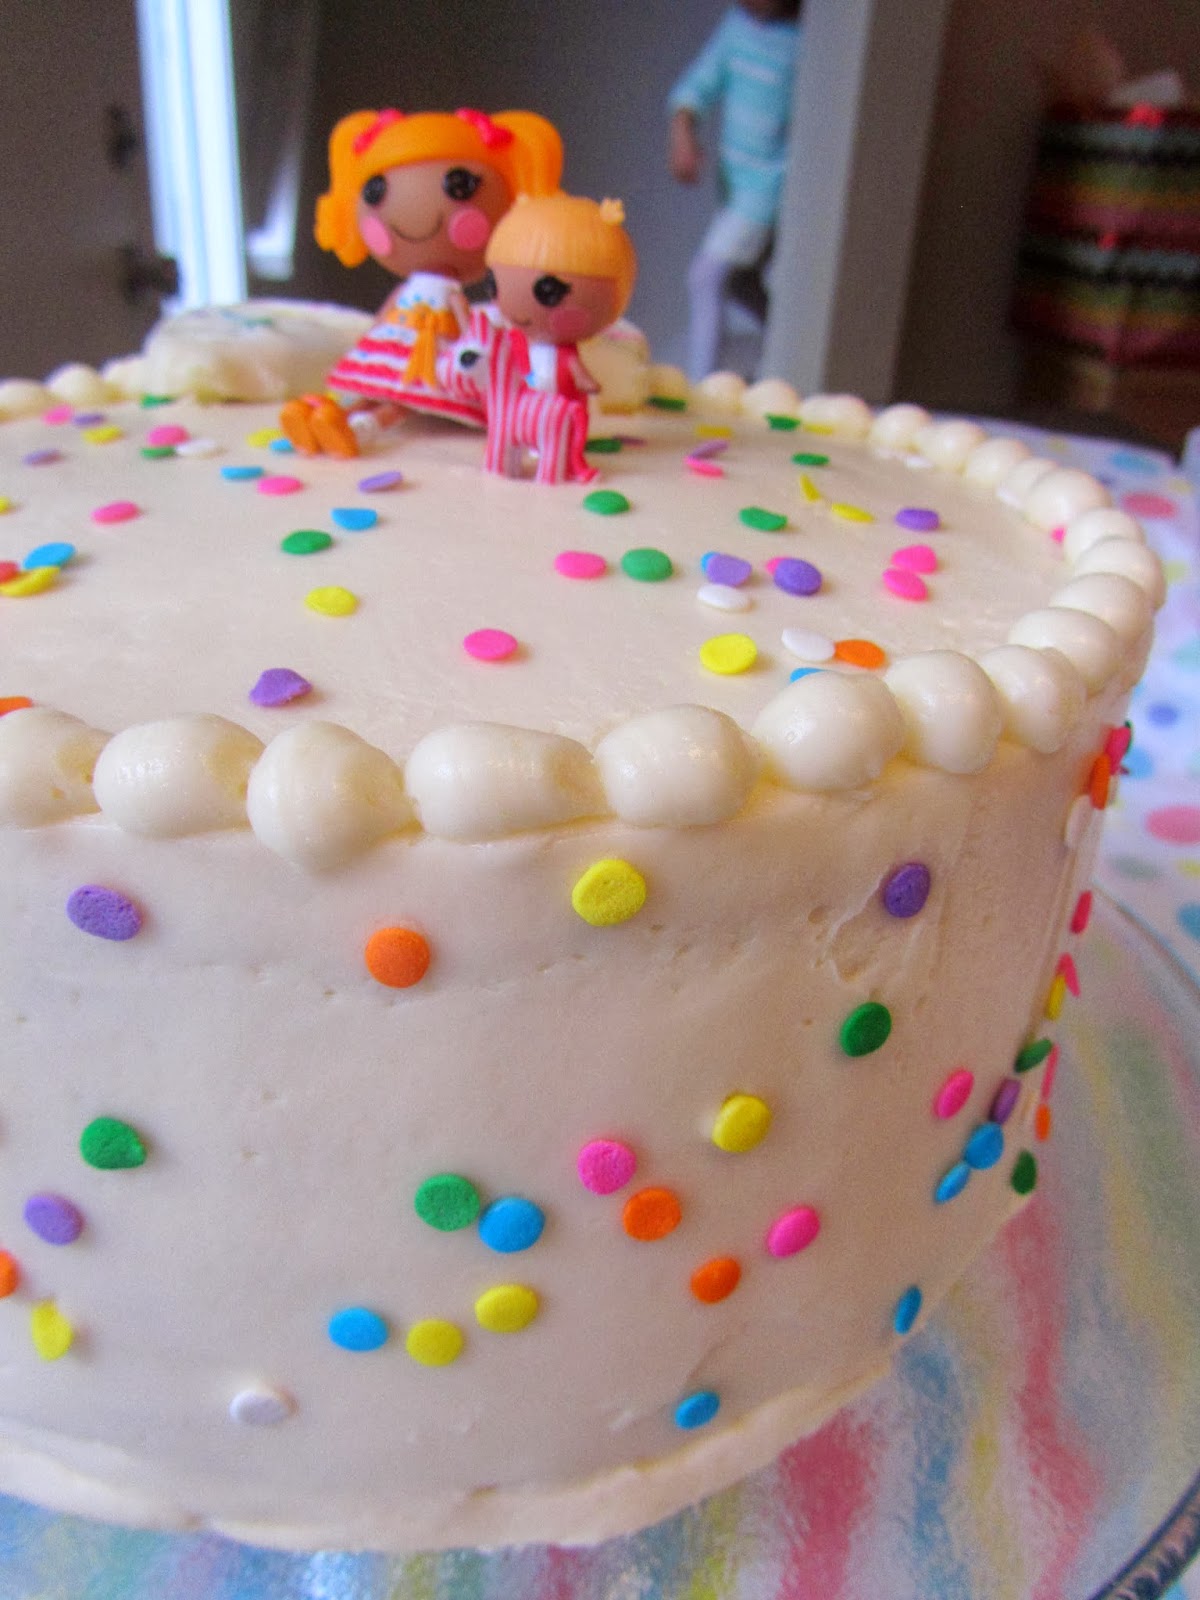
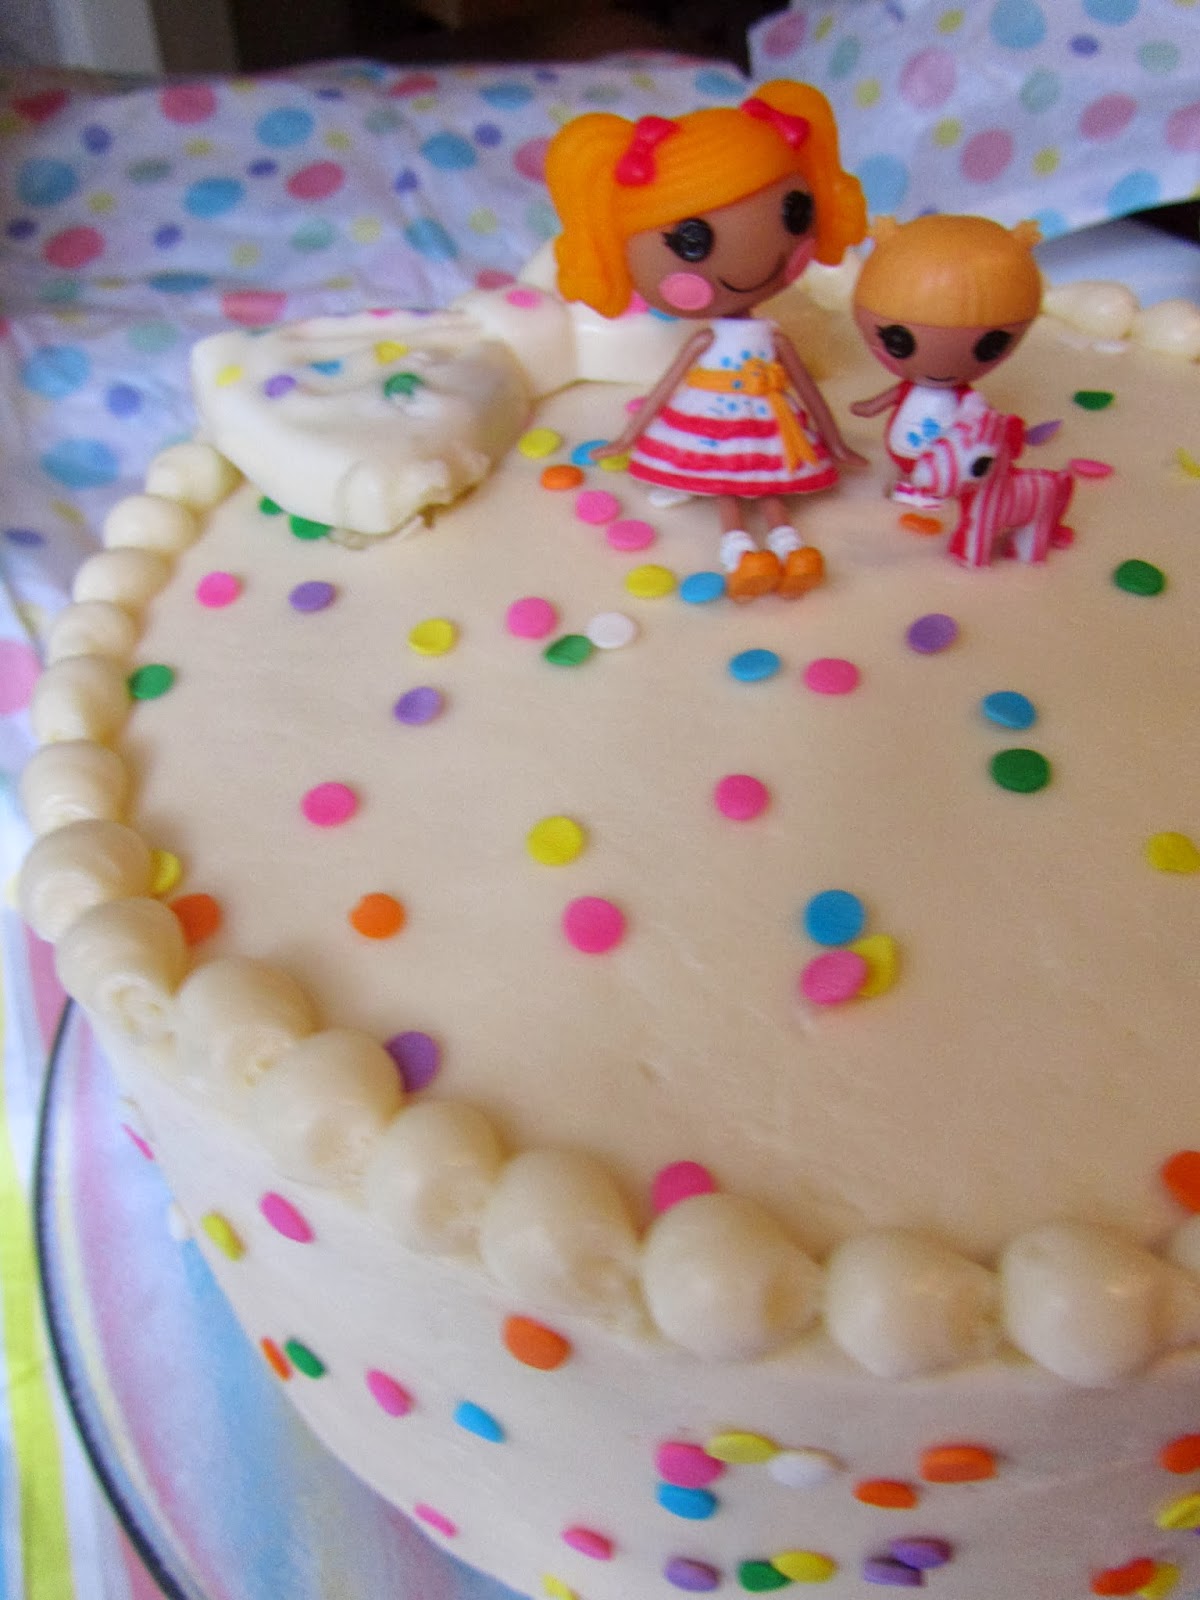
Simple but cute cake with Spot and her crew. She’s the one who paints, so the confetti dot sprinkles look like paint spatters. Perfect!
See how smooth you can get this buttercream frosting? It helps if you have a rotating cake decorating stand and a pastry scraper too.
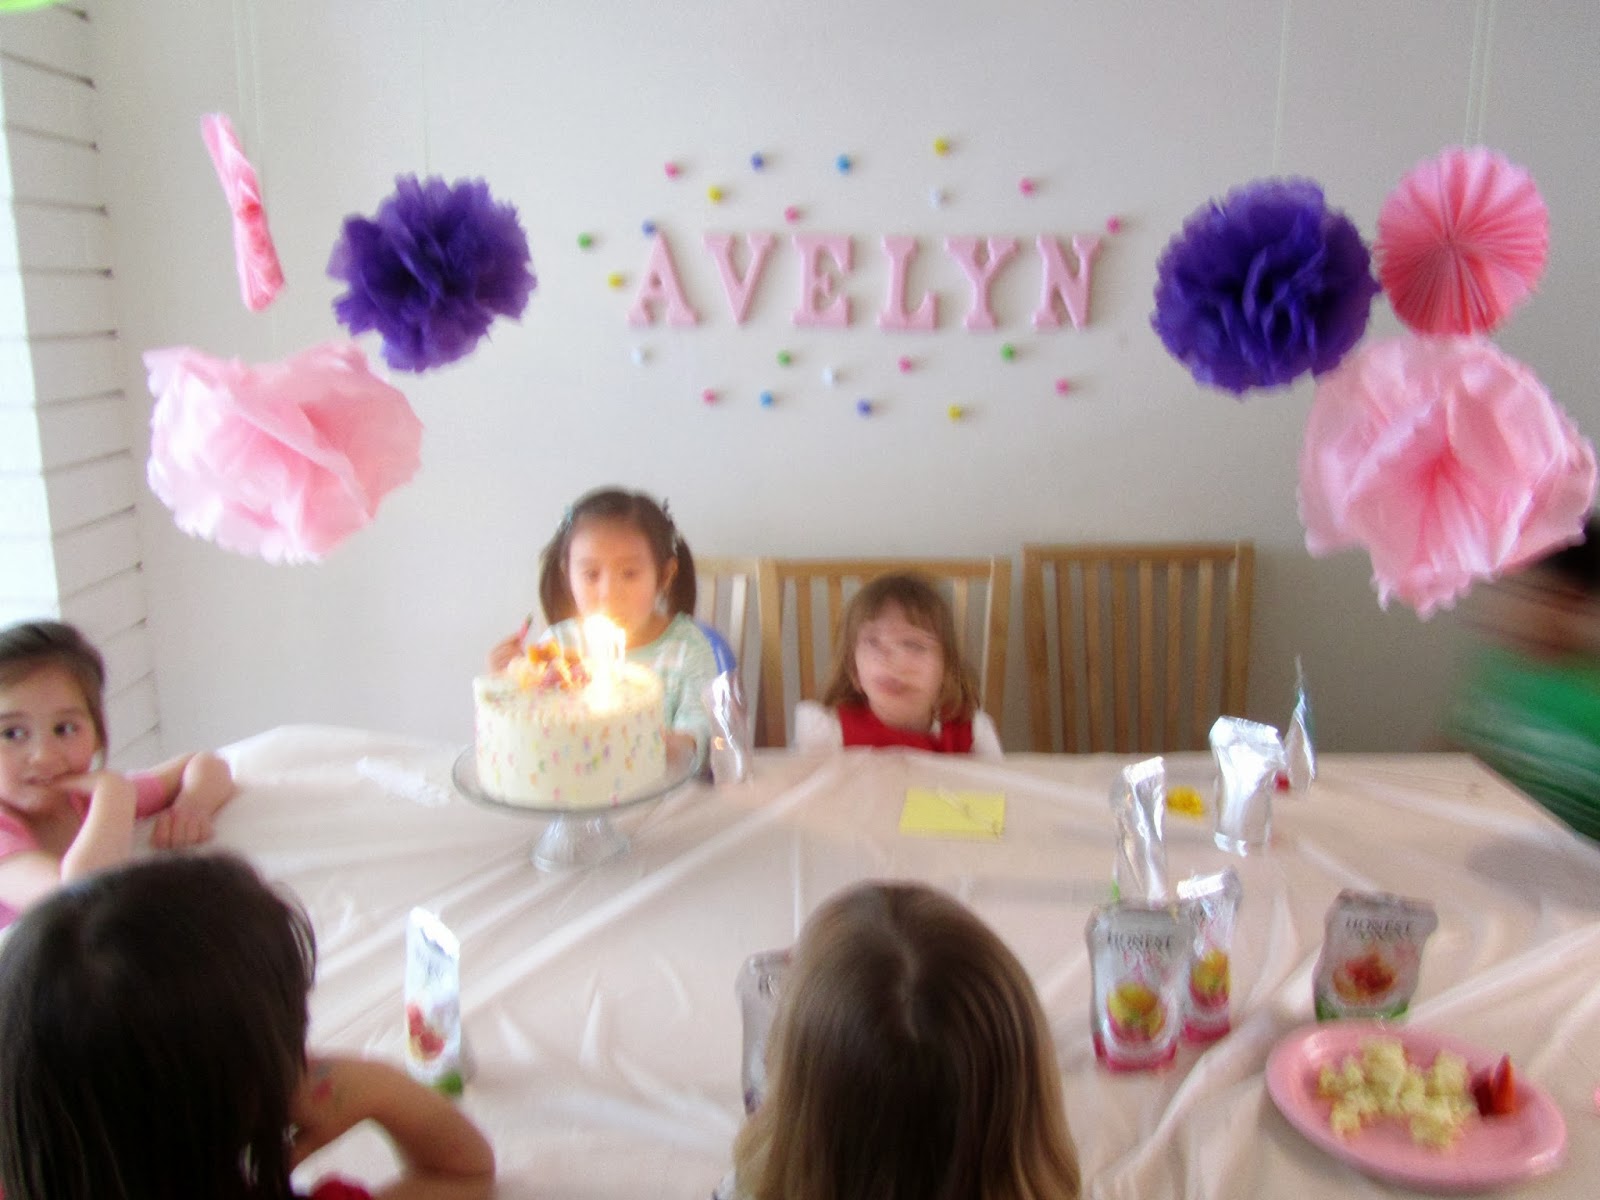
Time to blow out the candles and make a wish!
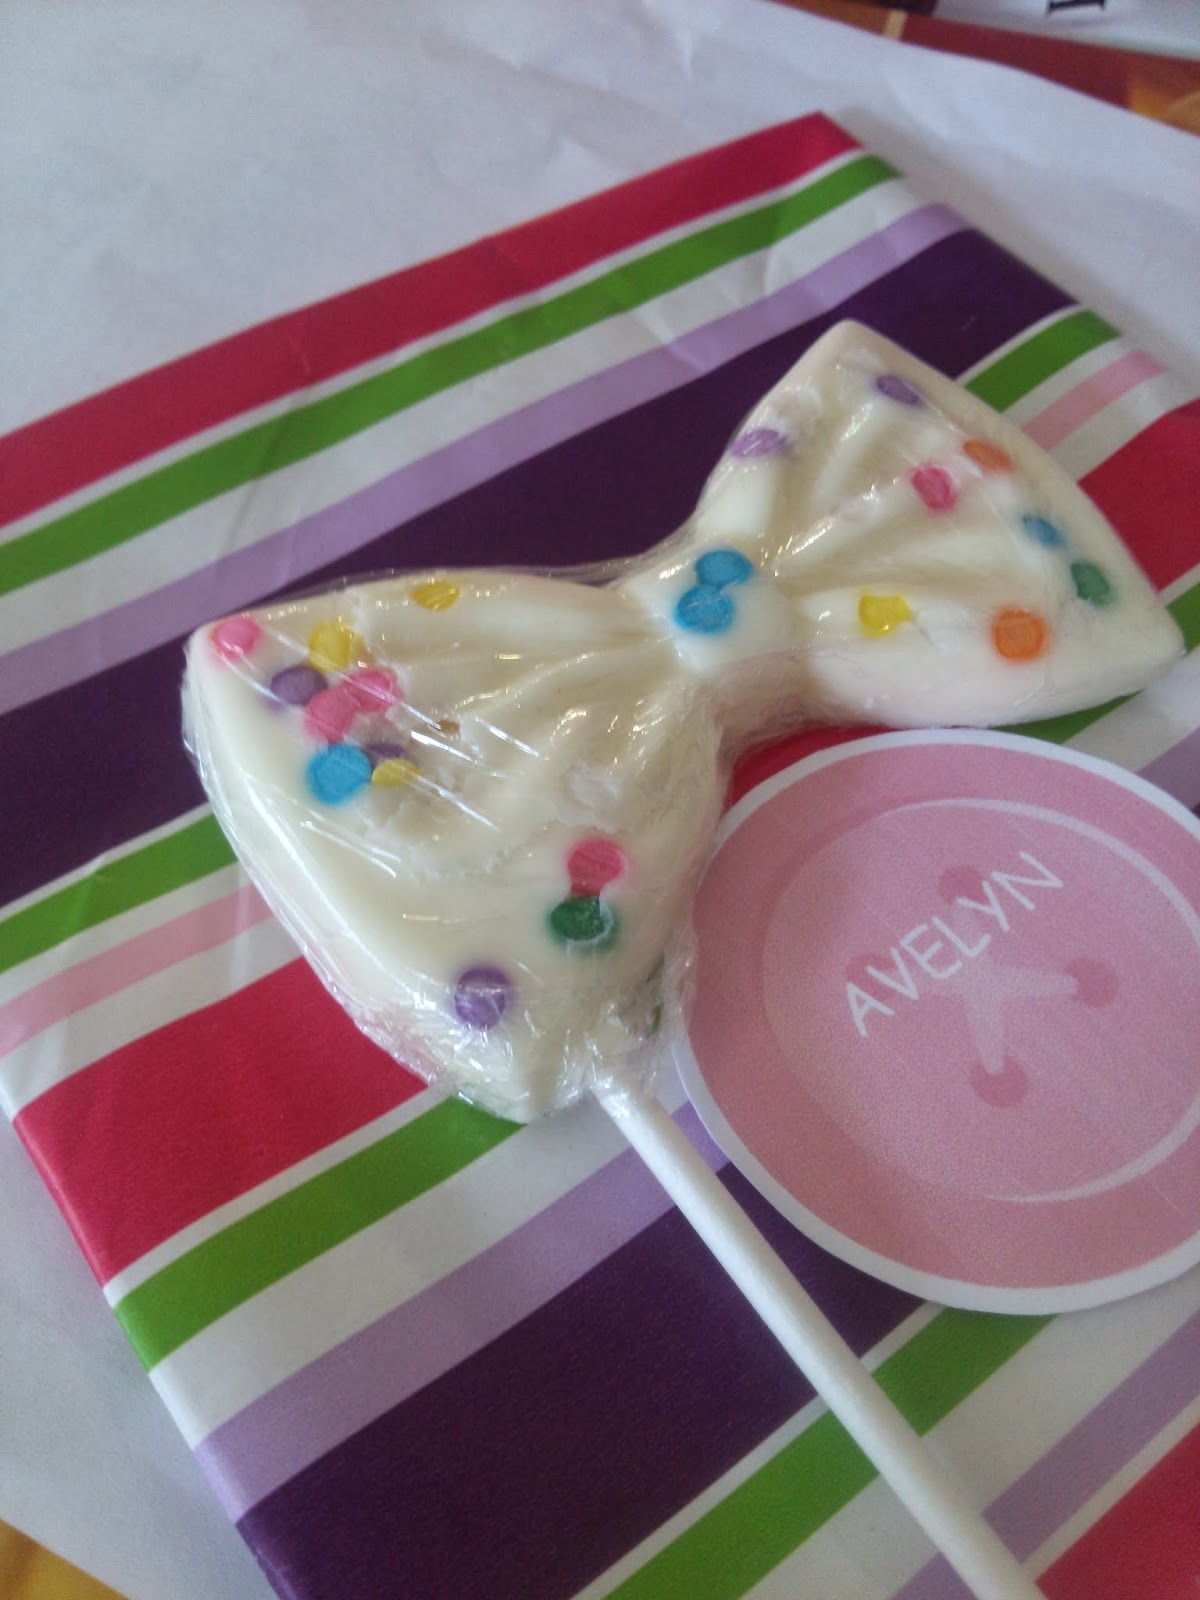
I forgot to take pictures of their party favors, so I took one of an already unwrapped one (please excuse the wrinkles) I saved for my daughter but basically got Lalaloopsy paperback books from Amazon, wrapped them up and added a white-chocolate bowtie lollipop (same as on cake) on the front.
NOW
FOR
THE RECIPES
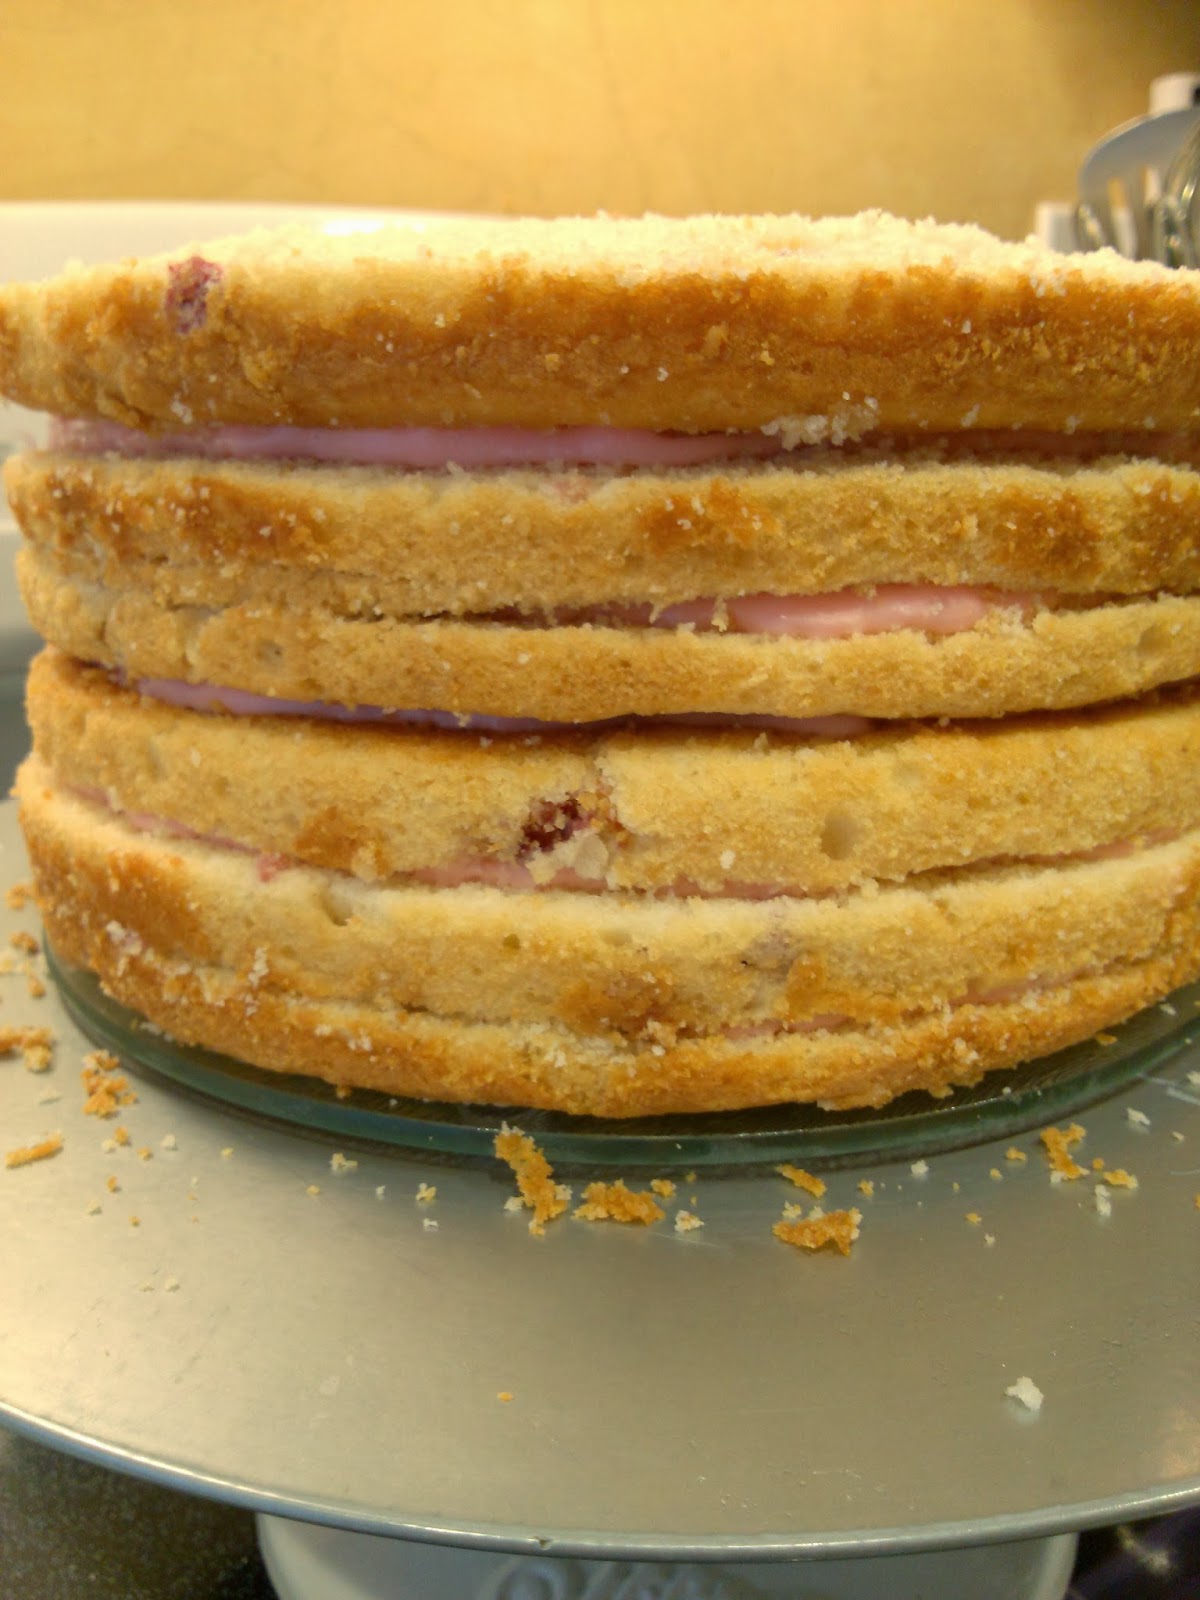
6-layer strawberry cake with strawberry cream-cheese filling, frosted with vanilla buttercream
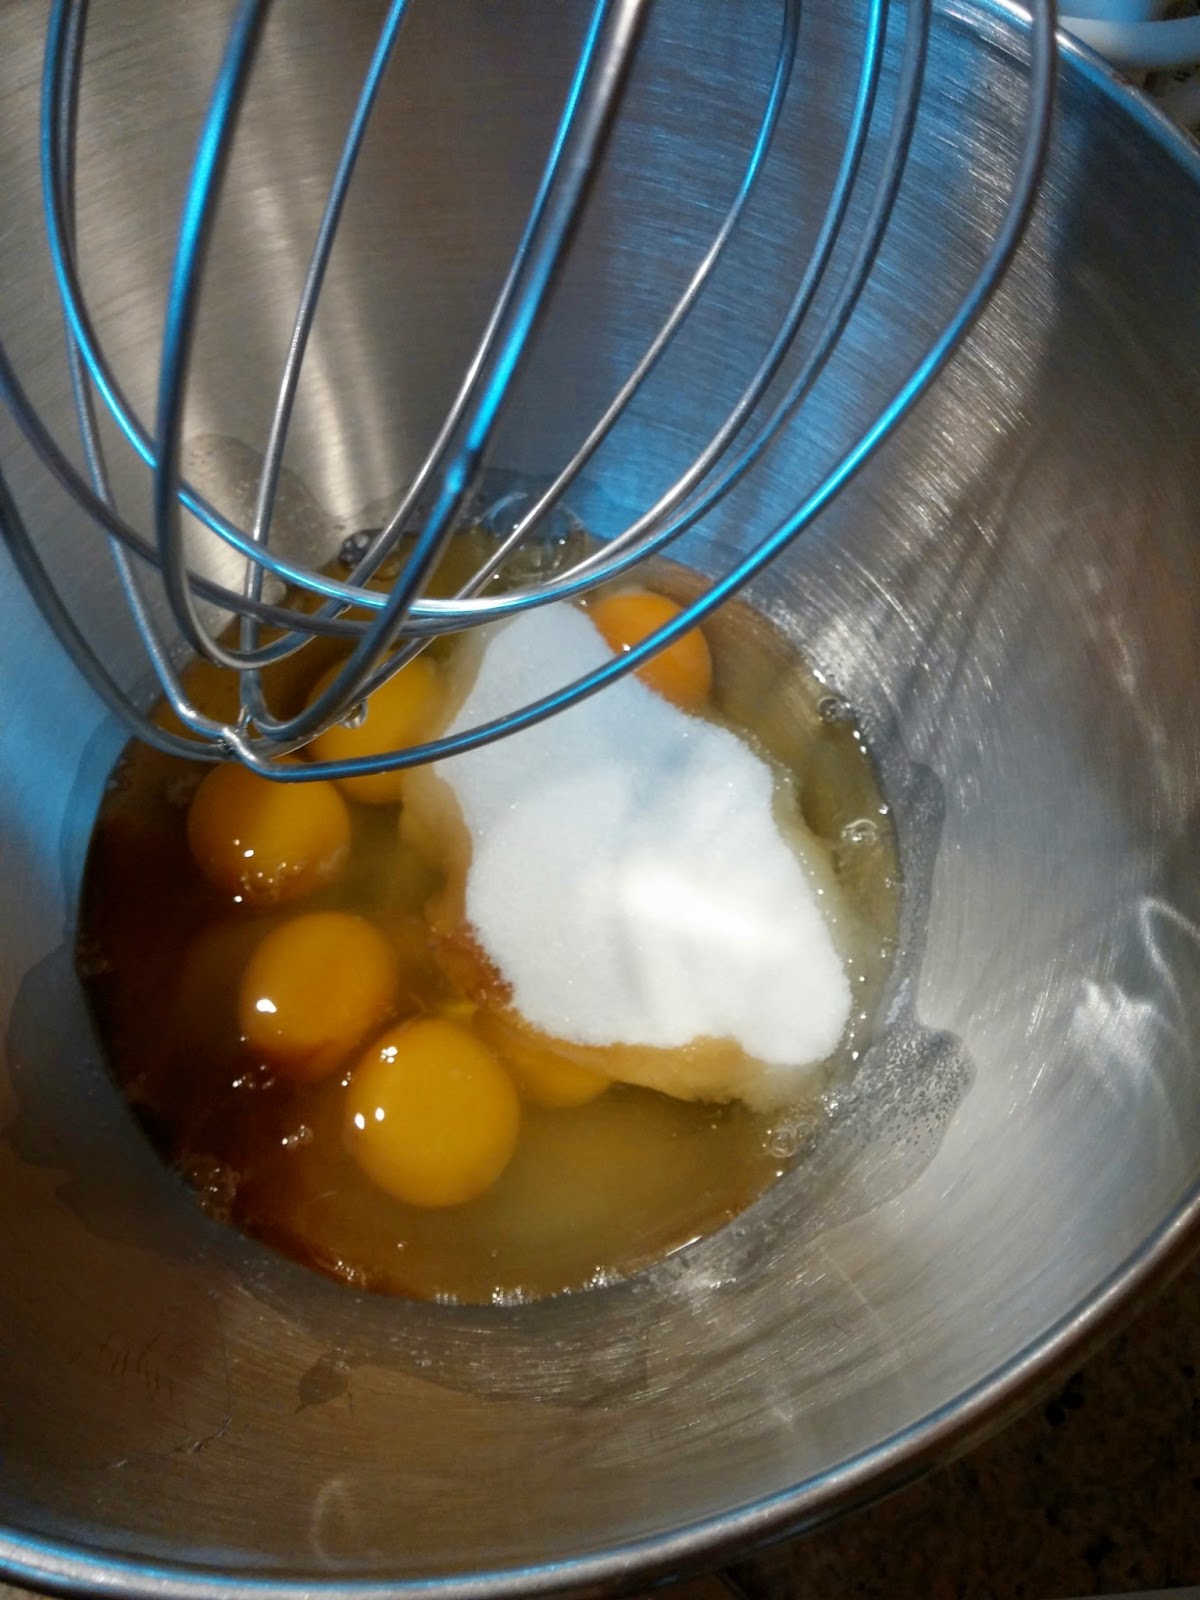
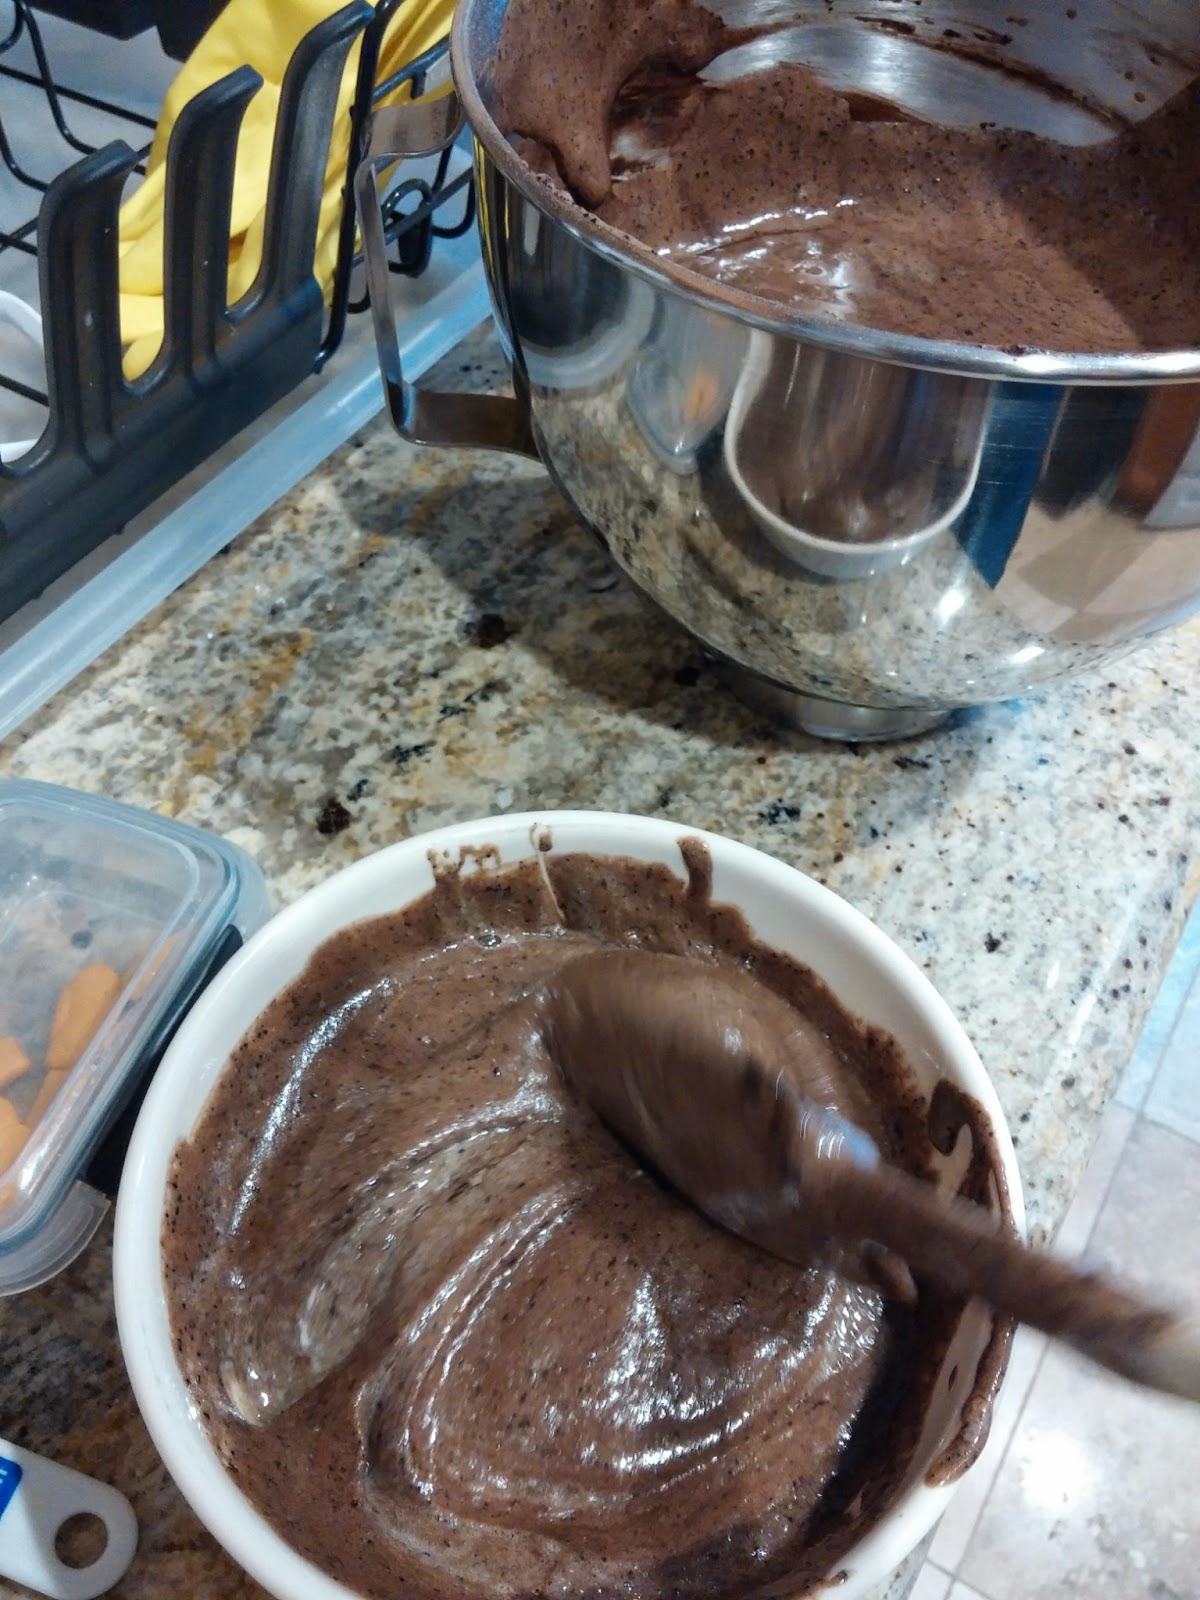
For the cake and the strawberry cream-cheese filling, I used the recipes from Better Homes and
Garden’s Six-layer strawberry cake but I didn’t use their frosting recipe for the outside of the cake, which would also have been a cream cheese recipe, just without the pink tint and the chopped strawberries. Instead I used my favorite French Vanilla recipe from Toba Garrett’s “The Well-Decorated Cake” (see recipe at bottom of post). This buttercream tastes great (“like vanilla ice cream”) and frosts smooth and keeps shape well as long as it’s not too warm. For the bow behind Spot, I added confetti sprinkles to a Bow-Tie candy mold and filled it with melted white candy melts. After frosting the cake, drop and throw the confetti sprinkles on the cake and place your washed lalaloopsy to finish it off.
*Only have two 8-inch cake pans so carefully sliced each into three’s, which wasn’t too bad since this cake is dense (but still tastes moist and not dry) and didn’t break easily.
The cake tastes great… but WAAAAY too sweet for my liking. Two bites was just fine for me. My first attempt at this recipe so I followed it to the T, but next time may add a lot less sugar for the cake.
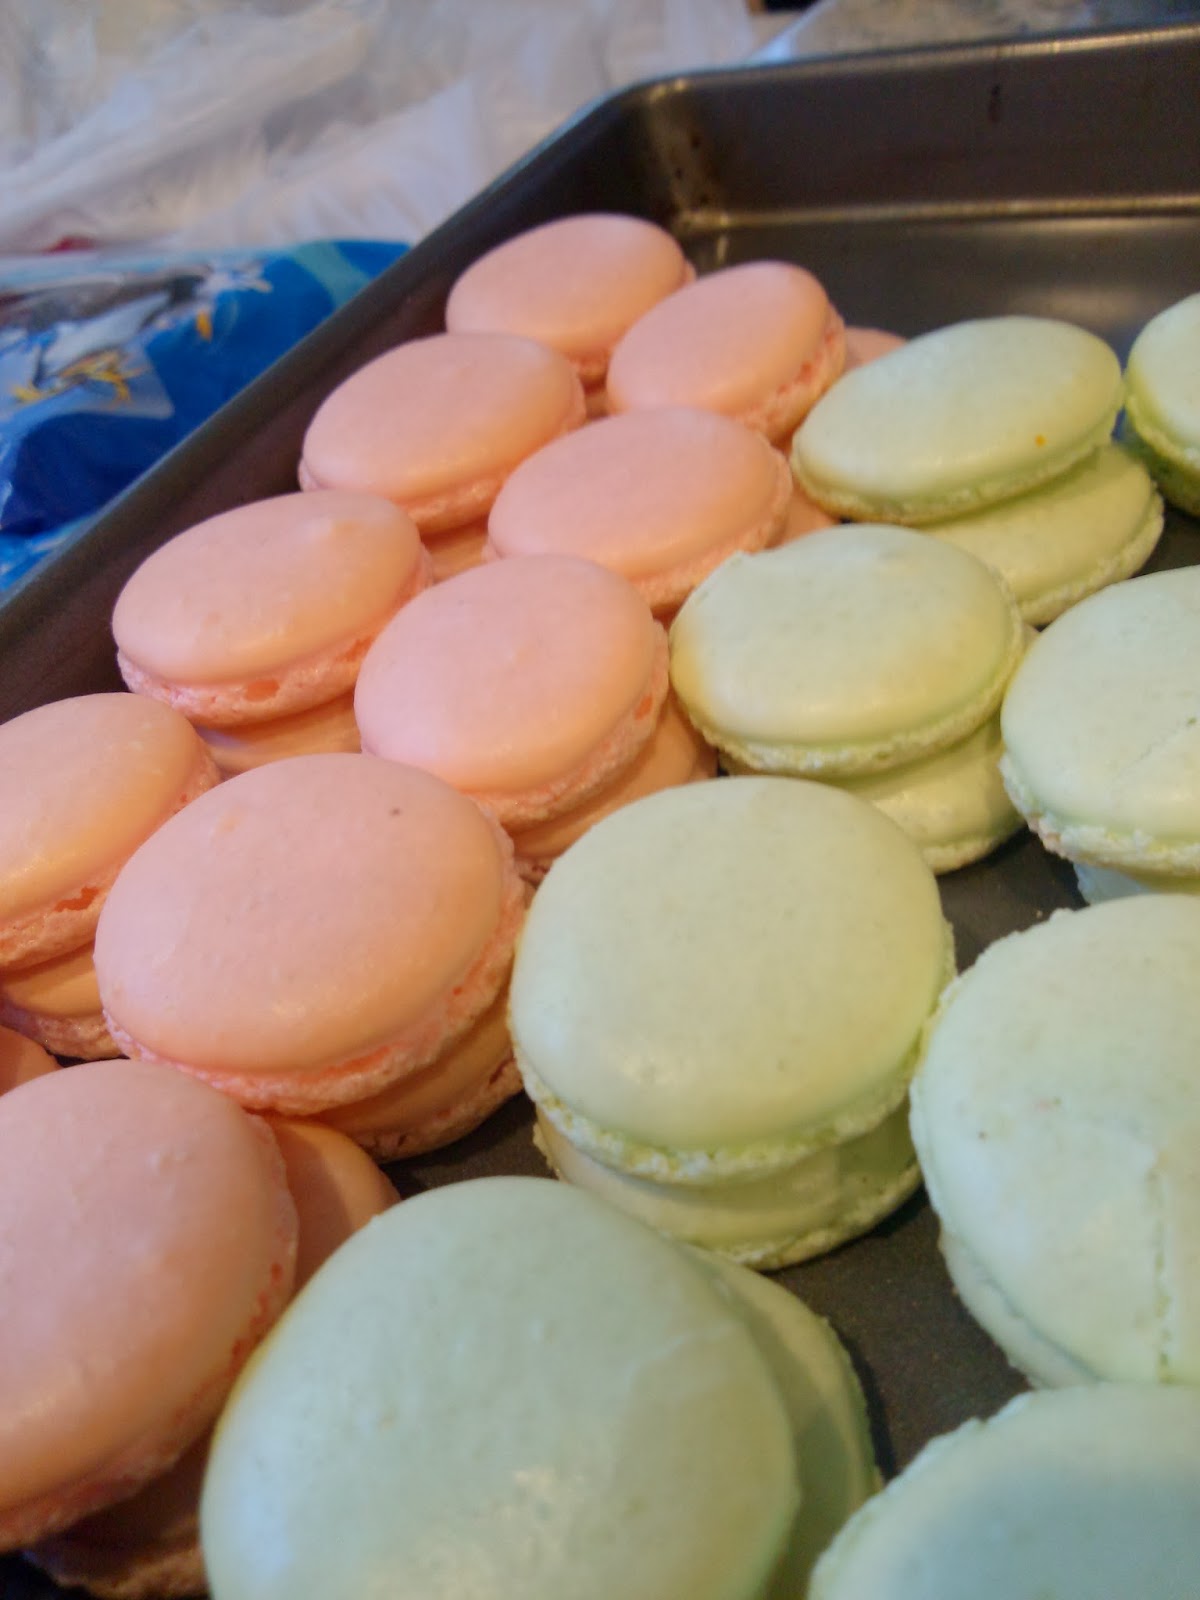
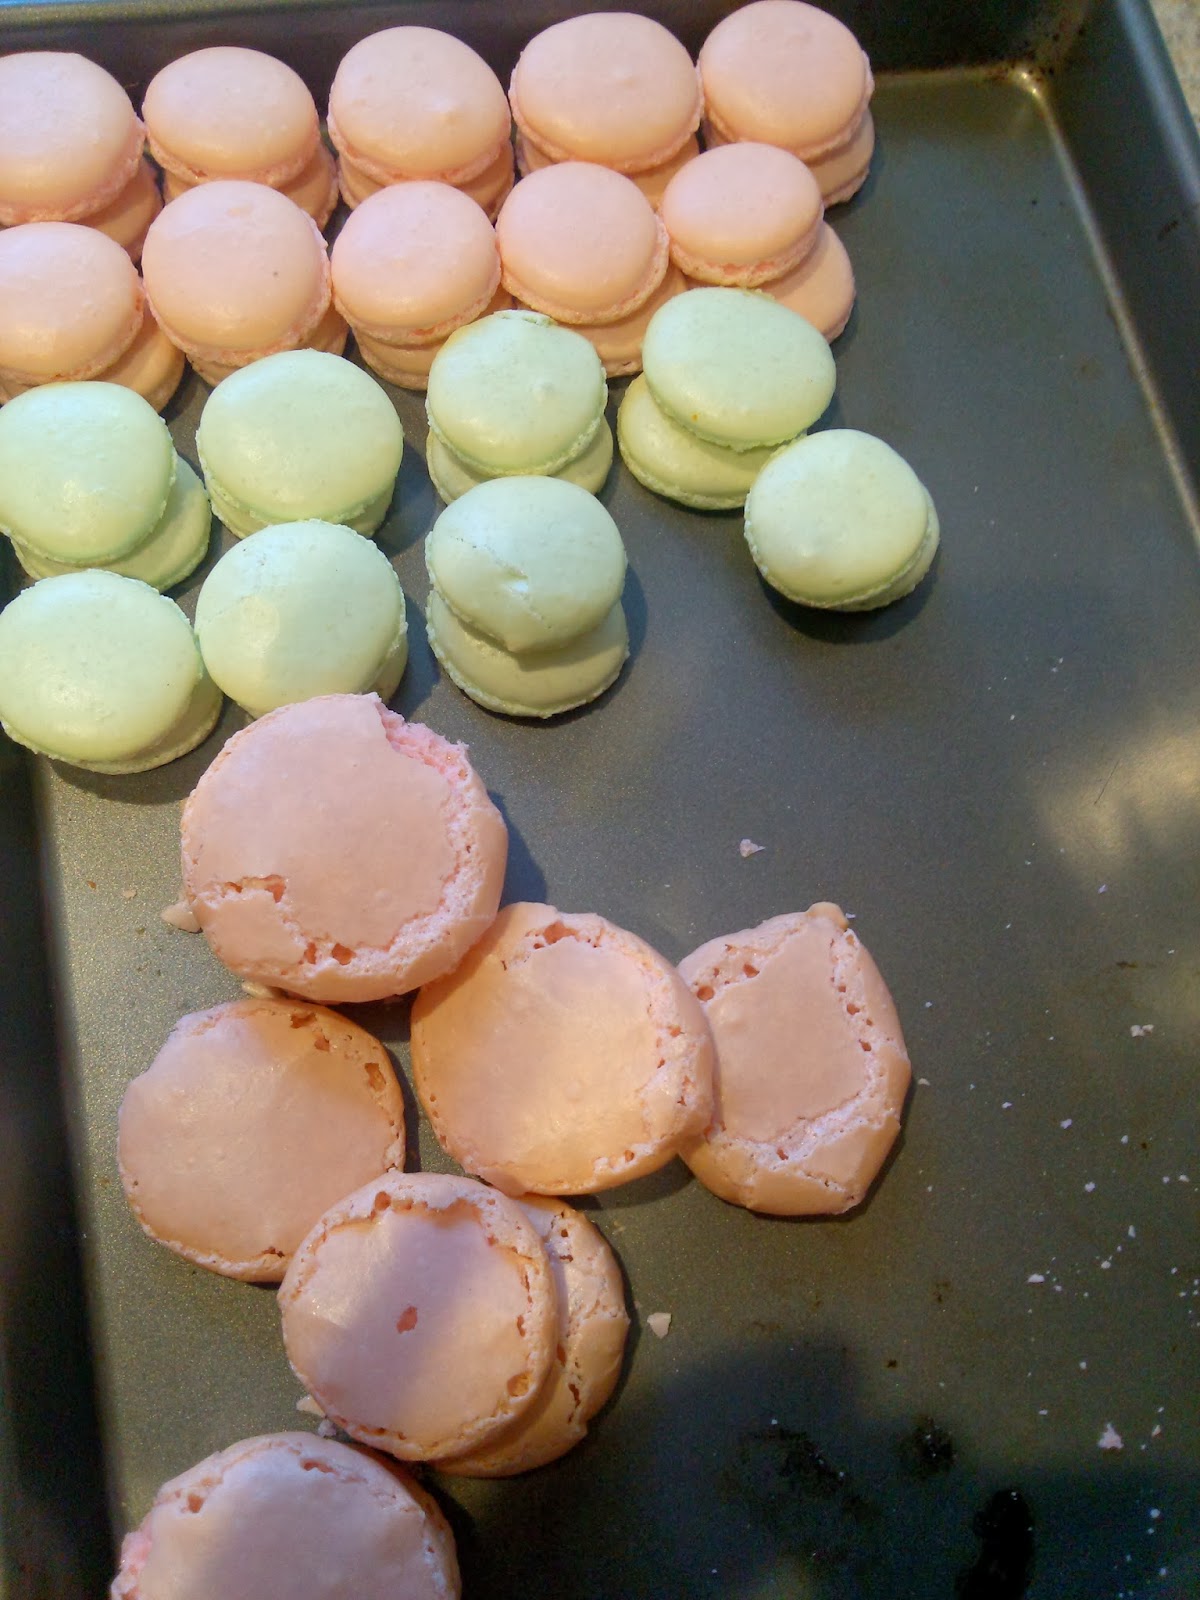
Now for the macarons… my first attempt and half of all my batches failed…
I still have no idea what makes them perfect like above, and what makes them crack and ugly, like below…
but I’ve had a friend refer me to this
site to troubleshoot… Maybe I need to let them sit and dry the top a bit after piping them into circles and before placing them in the oven. It was a rainy day so perhaps it was a humidity problem. Bottom-line… baking macarons are SO Simple! Yet SO tricky! I used the
recipe my friend sent me from the Martha Stewart Living magazine. The only thing I did differently, is I used blanched almond flour instead of grinding my own flour from almonds, and I only had to bake them for about 8 mins. The ones I bakes for the 13 mins it calls for in the recipe, were waaaay too brown and hard on the bottom.
And last but not least:
THE OREO cookie pops!
These are really just so simple. Place an entire pack of Oreos in a large freezer-size ziplock bag, then get your 5yr old son, who’s not napping, give him a wooden spatula and let him go at it, while you go get some zzzz’s. After a broken spatula (pretty strong 5 yr old), and a good nap, make sure the Oreos are all finely crushed and dump them into a stand mixer bowl. Add almost an entire pack of 8oz cream cheese, (I added 3/4) and let it mix well until you don’t see any streaks of cream cheese. Form them into balls and refrigerate until firm. Melt your candy melts, dip a little onto a lollipop stick and poke halfway into the Oreo ball. Then dip and tap off excess, add sprinkles, and place in a pop stand*. You may need to stick the pops into the freezer for a bit if it gets too soft and it falls off when you dip it in the white chocolate.
*I made a pop stand with a Capri-sun size box, wrapped it in gift wrap paper, and poked holes with the help of a pointy tip knife and a metal chopstick.
This vanilla buttercream recipe I used for the cake is adapted from the Institute of Culinary Education
blog and Toba Garrett’s book “The Well Decorated Cake”.
FRENCH VANILLA BUTTERCREAM
Tools: 5 or 6 Quart Mixer
Yields: 2 ½ to 3 lbs (5-6 cups)
Ingredients:
- 1½ cups granulated sugar
- 3/4 cup whole milk
- 1½ Tbsp all-purpose flour
- ¼ tsp salt
- 1 Tbsp pure vanilla extract
- 3/8 cup or 3 fl oz (85 g) heavy cream
- 1¼ lbs (5 sticks) unsalted butter (cut-up)
Or, for a larger quantity:
Tools: 20 Quart Mixer*
Yields: 10 to 10.5 lbs (4.45 to 4.76 kg)
Instructions:
- Make custard by heating milk and sugar over a double boiler until sugar crystals dissolve. Remove from heat and add flour and salt and whisk until flour is incorporated. Place over an ice bath until the custard has slightly cooled or cover with plastic wrap and refrigerate until cool (about 30 mins)
- Pour custard mixture in mixer bowl with paddle attachment. Add cut-up butter and heavy cream. Mix on LOW speed to fully incorporate ingredients or until mixture starts to thicken.
- Mix on NEXT highest speed until mixtures starts to look light and fluffy. This can take 7 to 10 minutes or longer if making larger batches. DON’T panic if it looks like cottage cheese! Keep mixing!
- Store and refrigerate buttercream in an air-tight container. Freeze for up to 2 months.
Note: If the buttercream curdles, it will just take a longer time for the butter to warm-up. Continue beating until the butter softens and the mixture looks light and fluffy.
Thank you for reading~ and please subscribe and follow my blog if you like what you see! 🙂

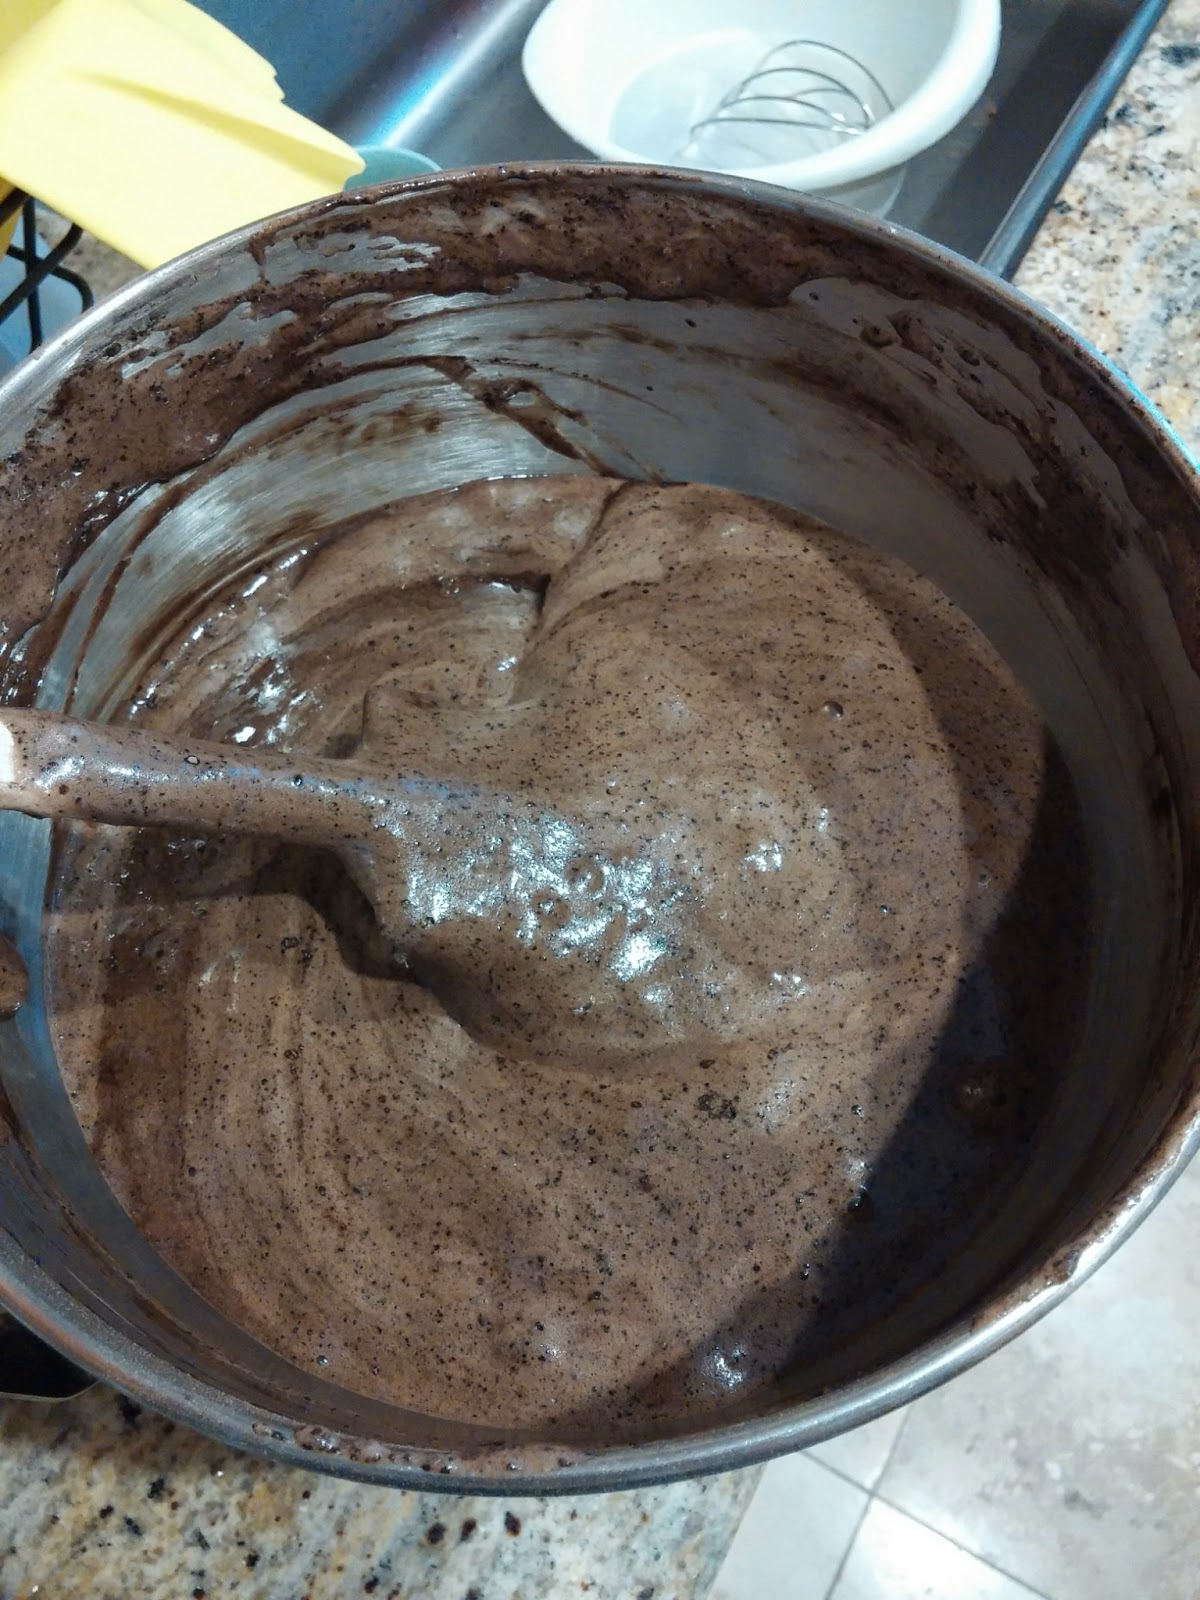
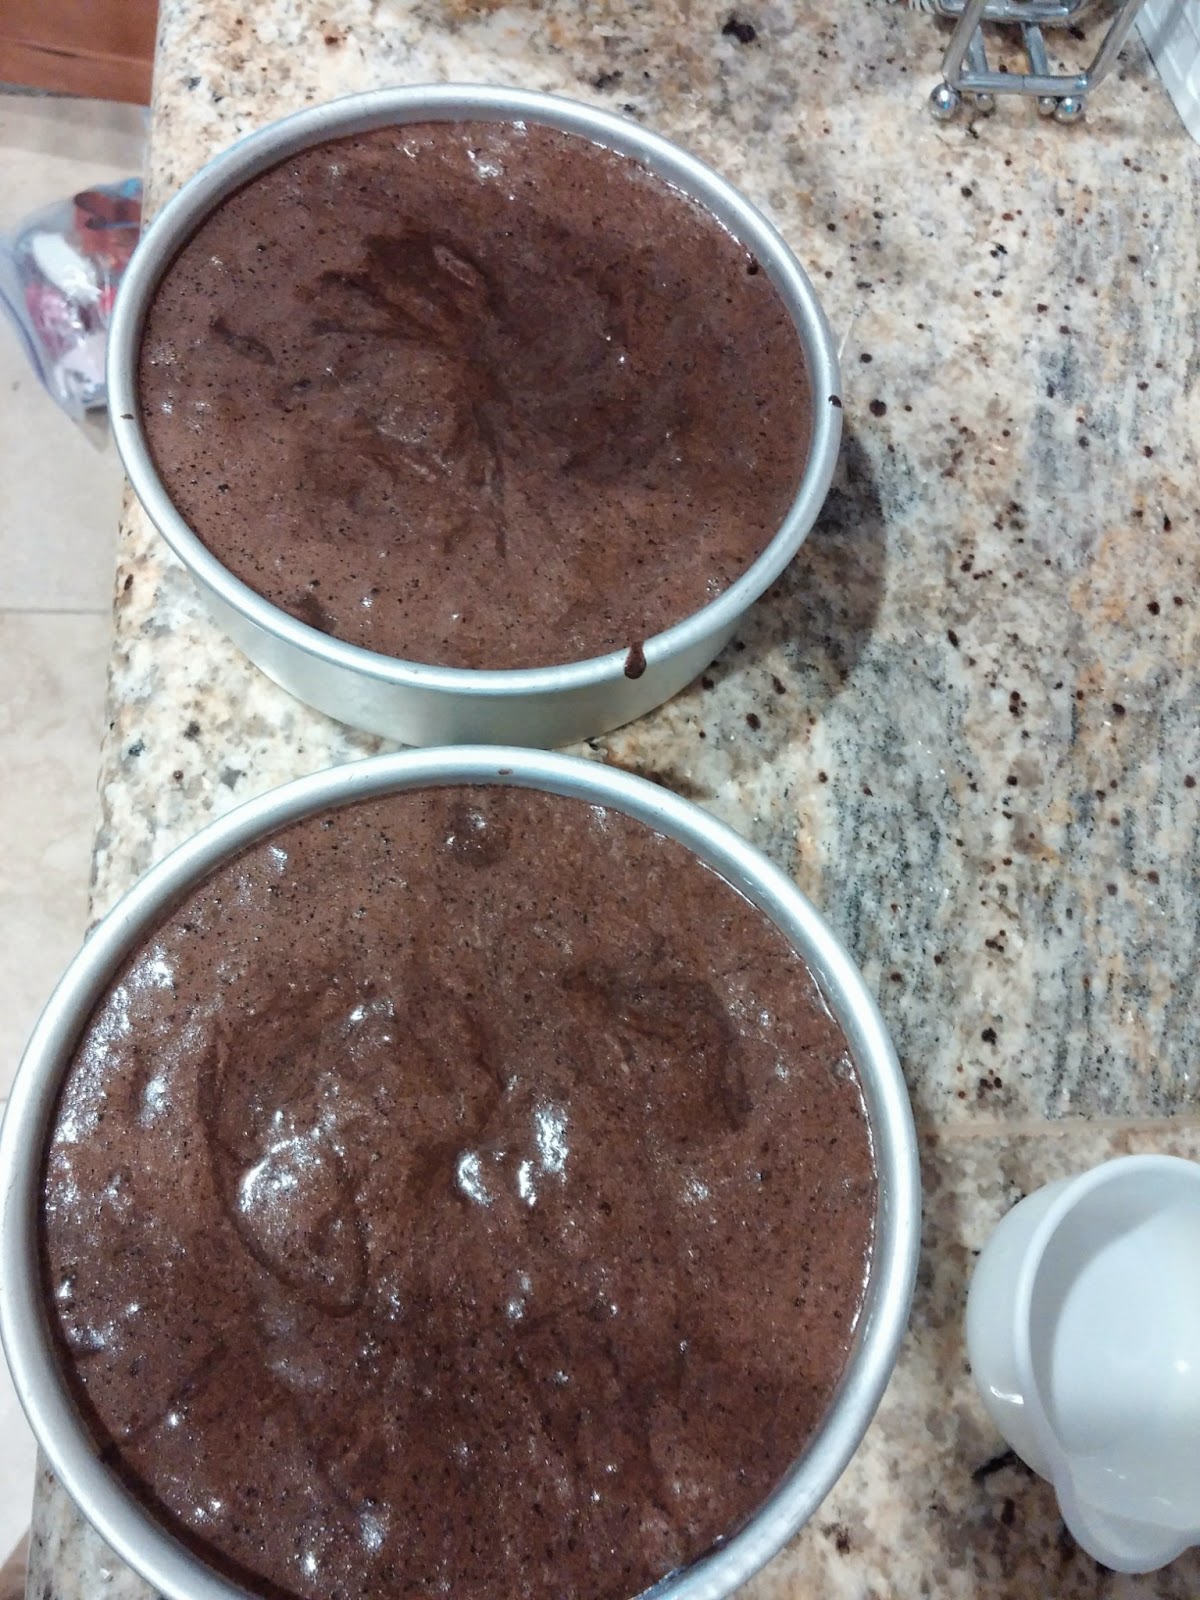
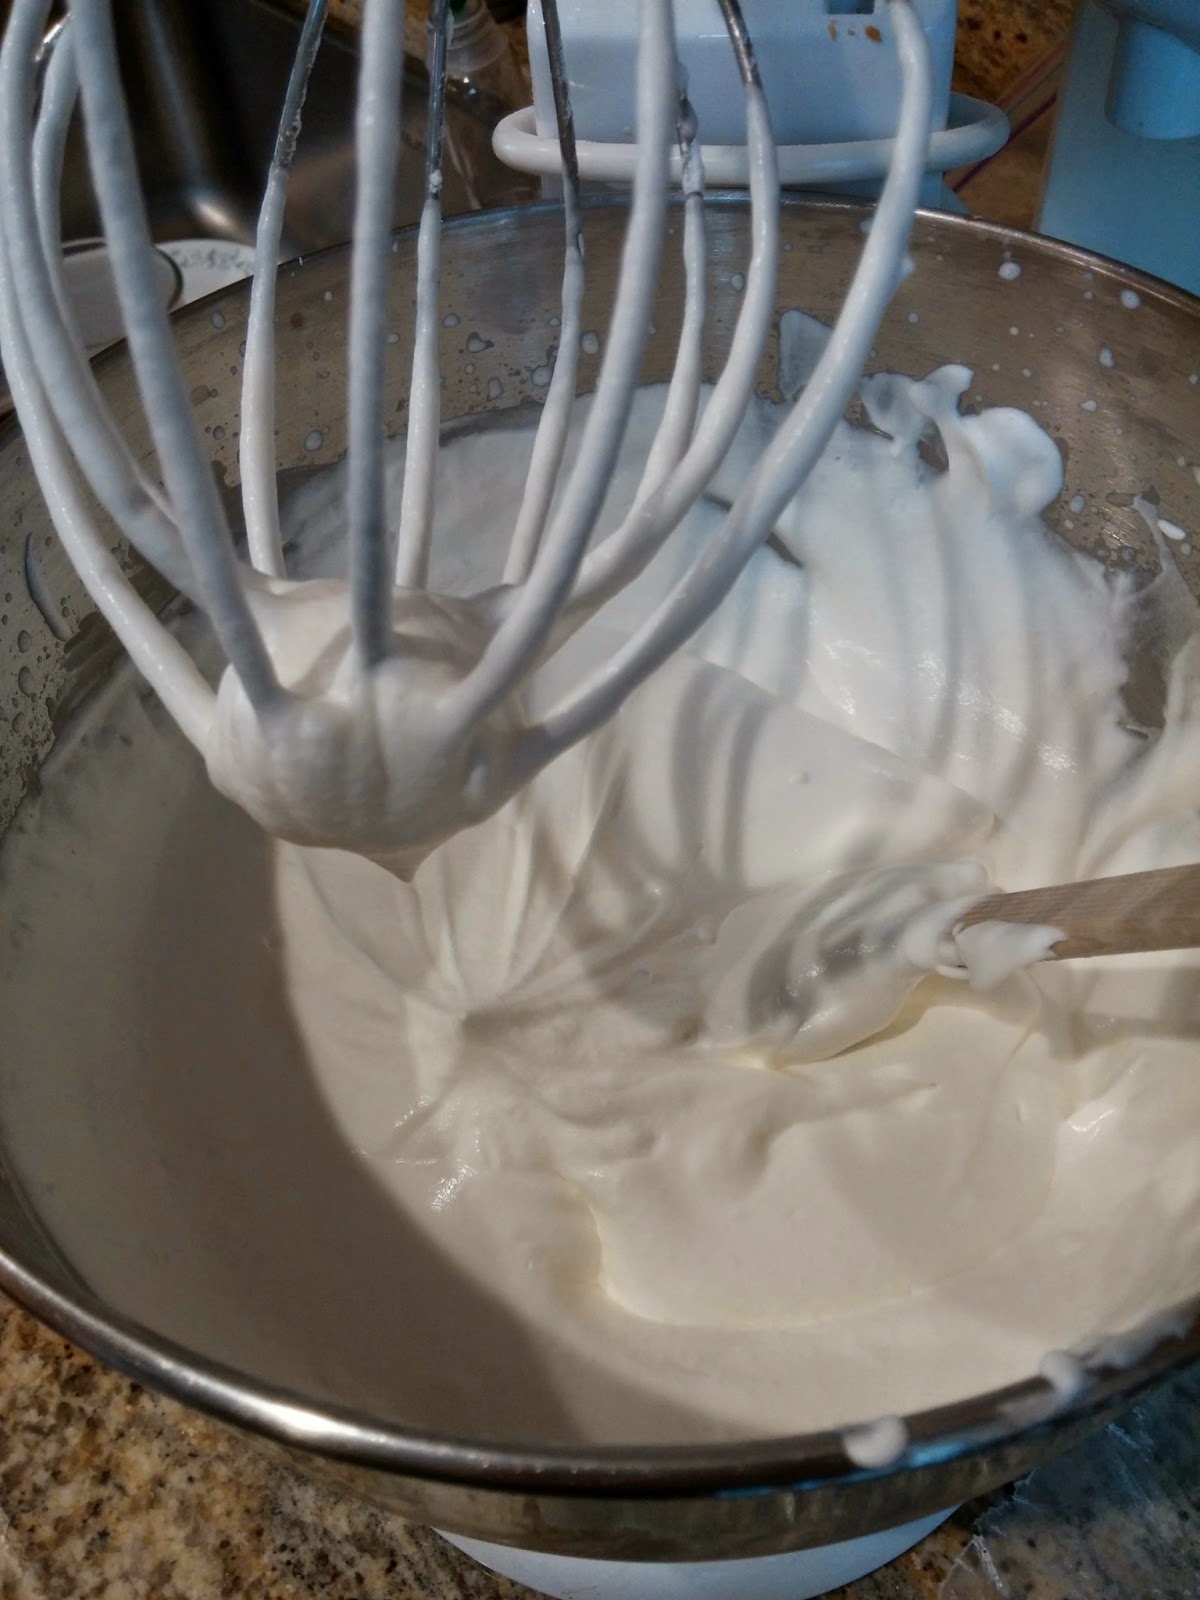
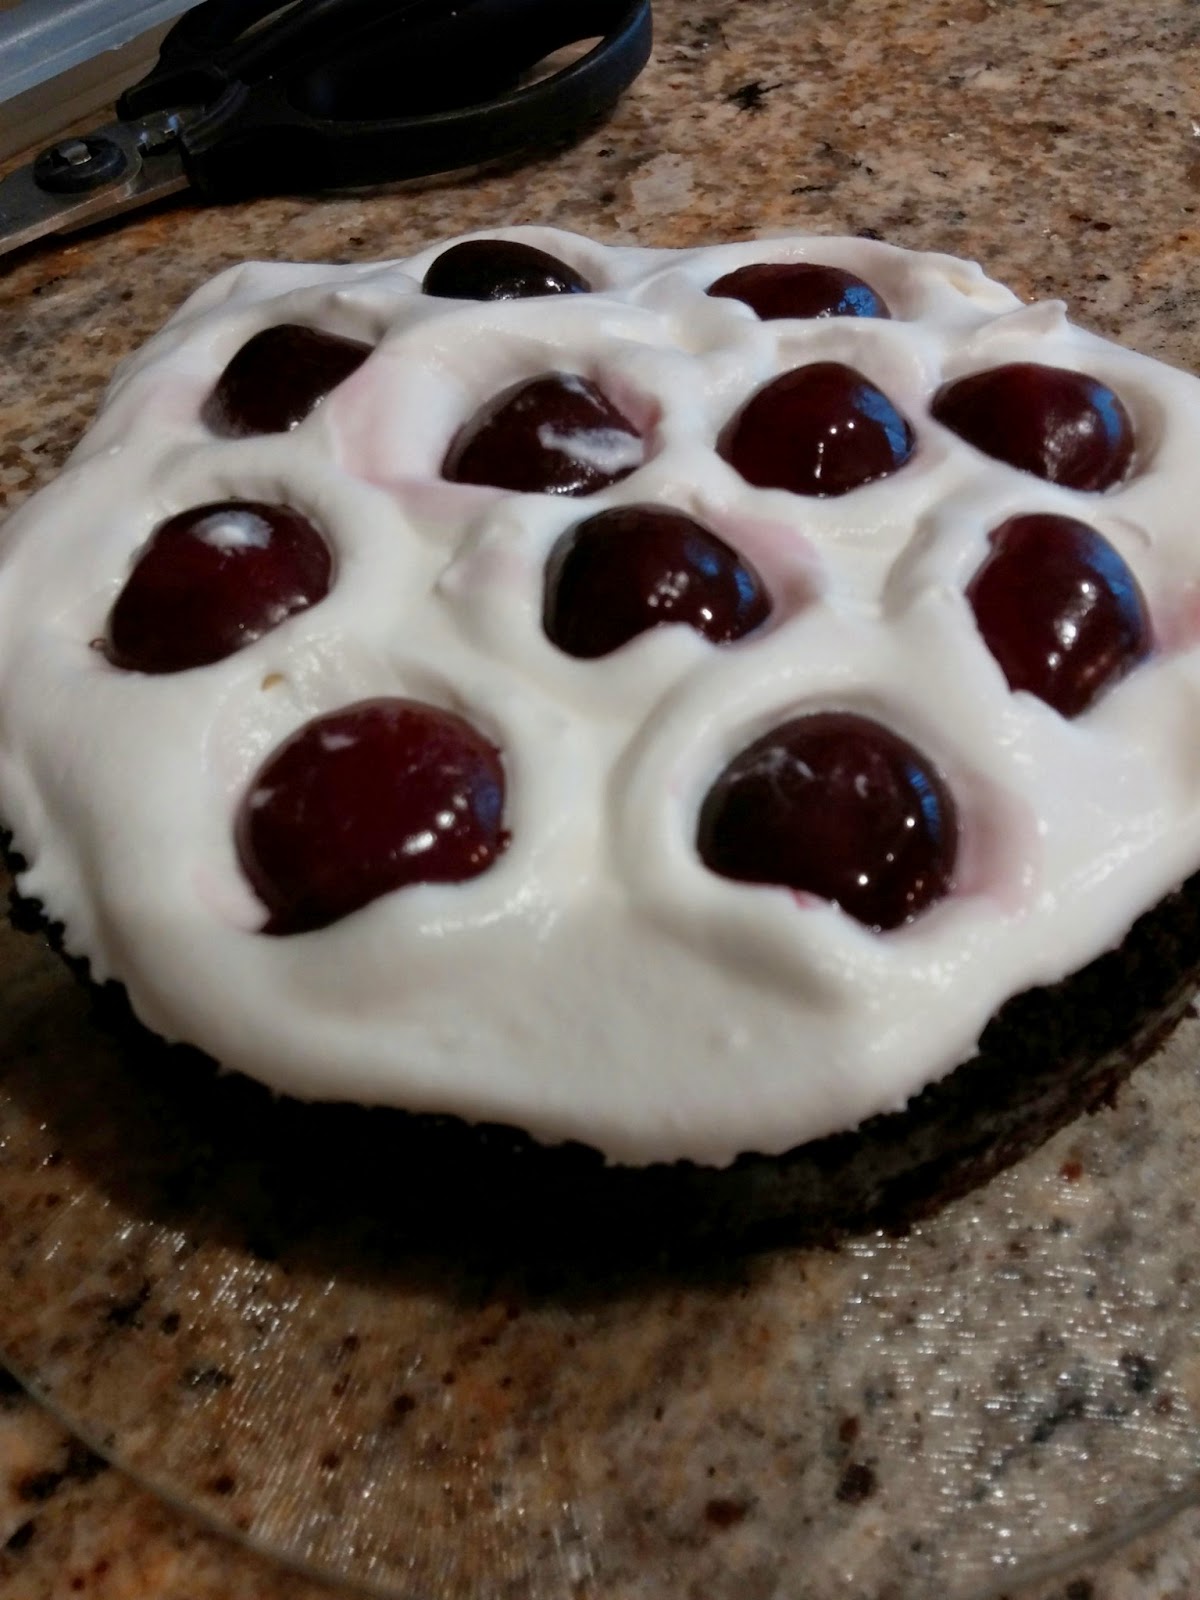
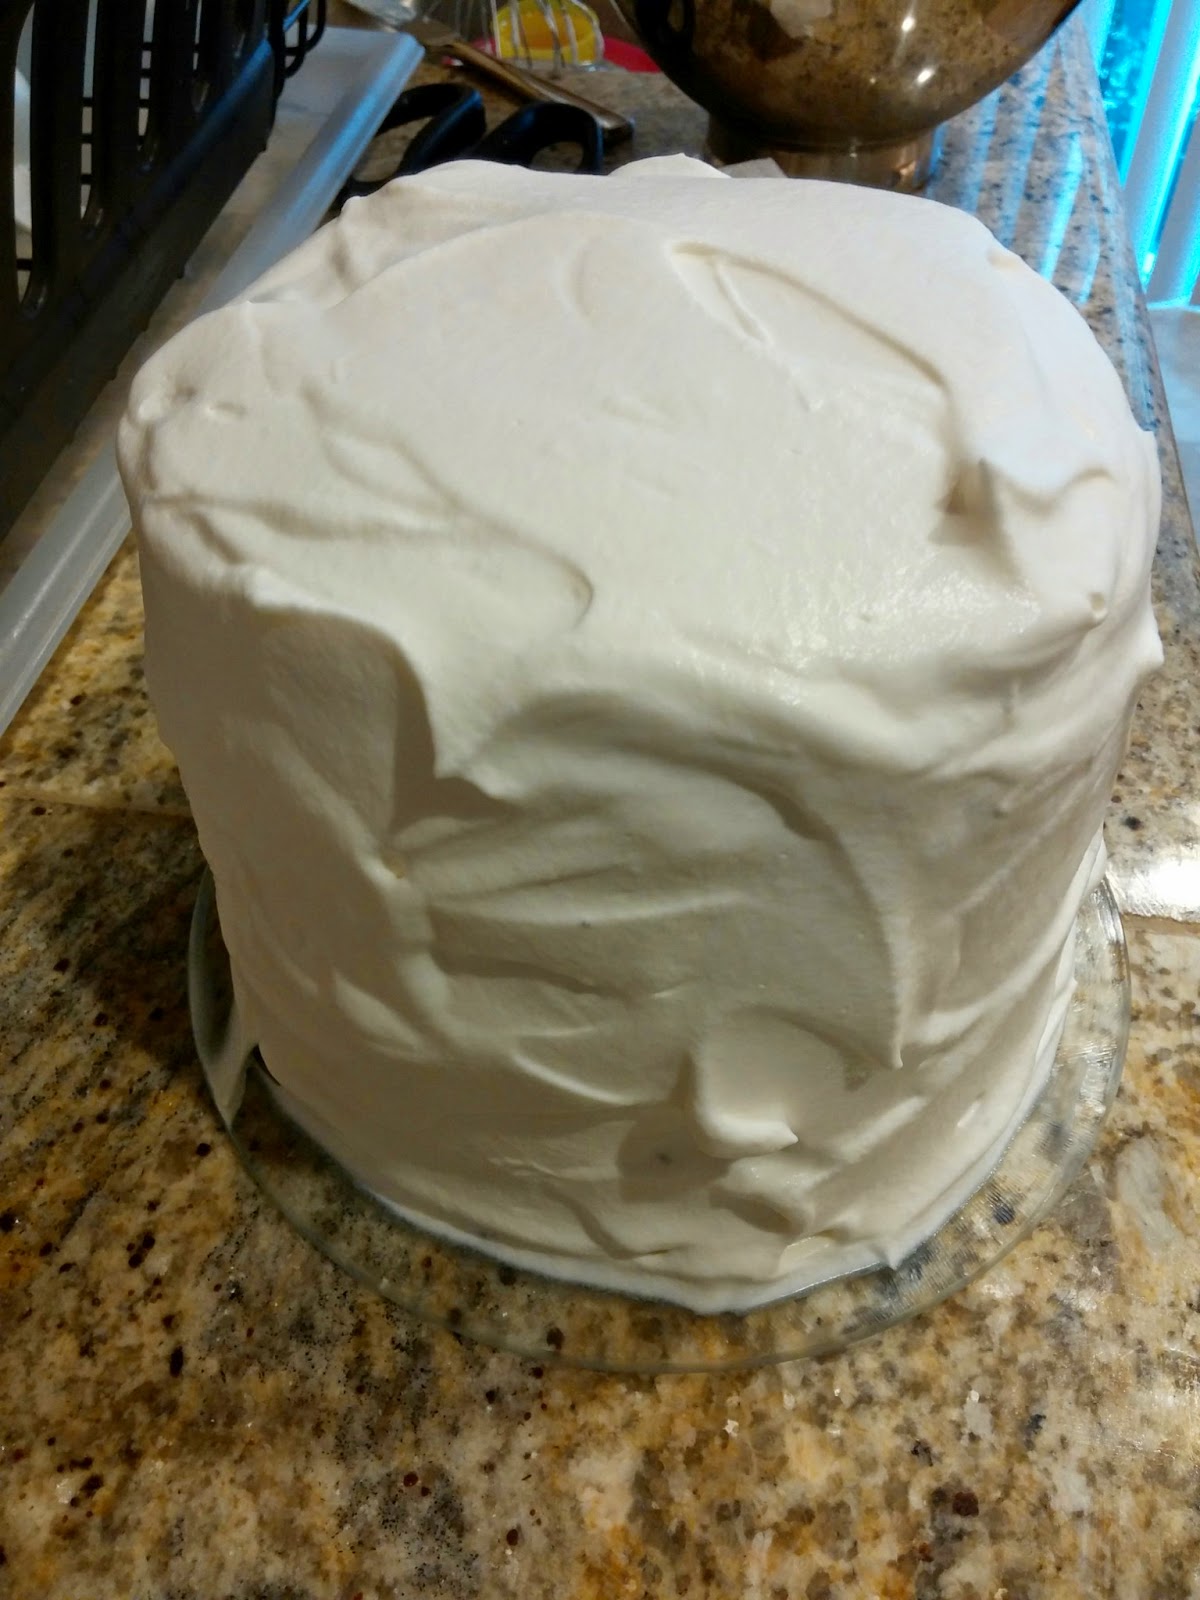
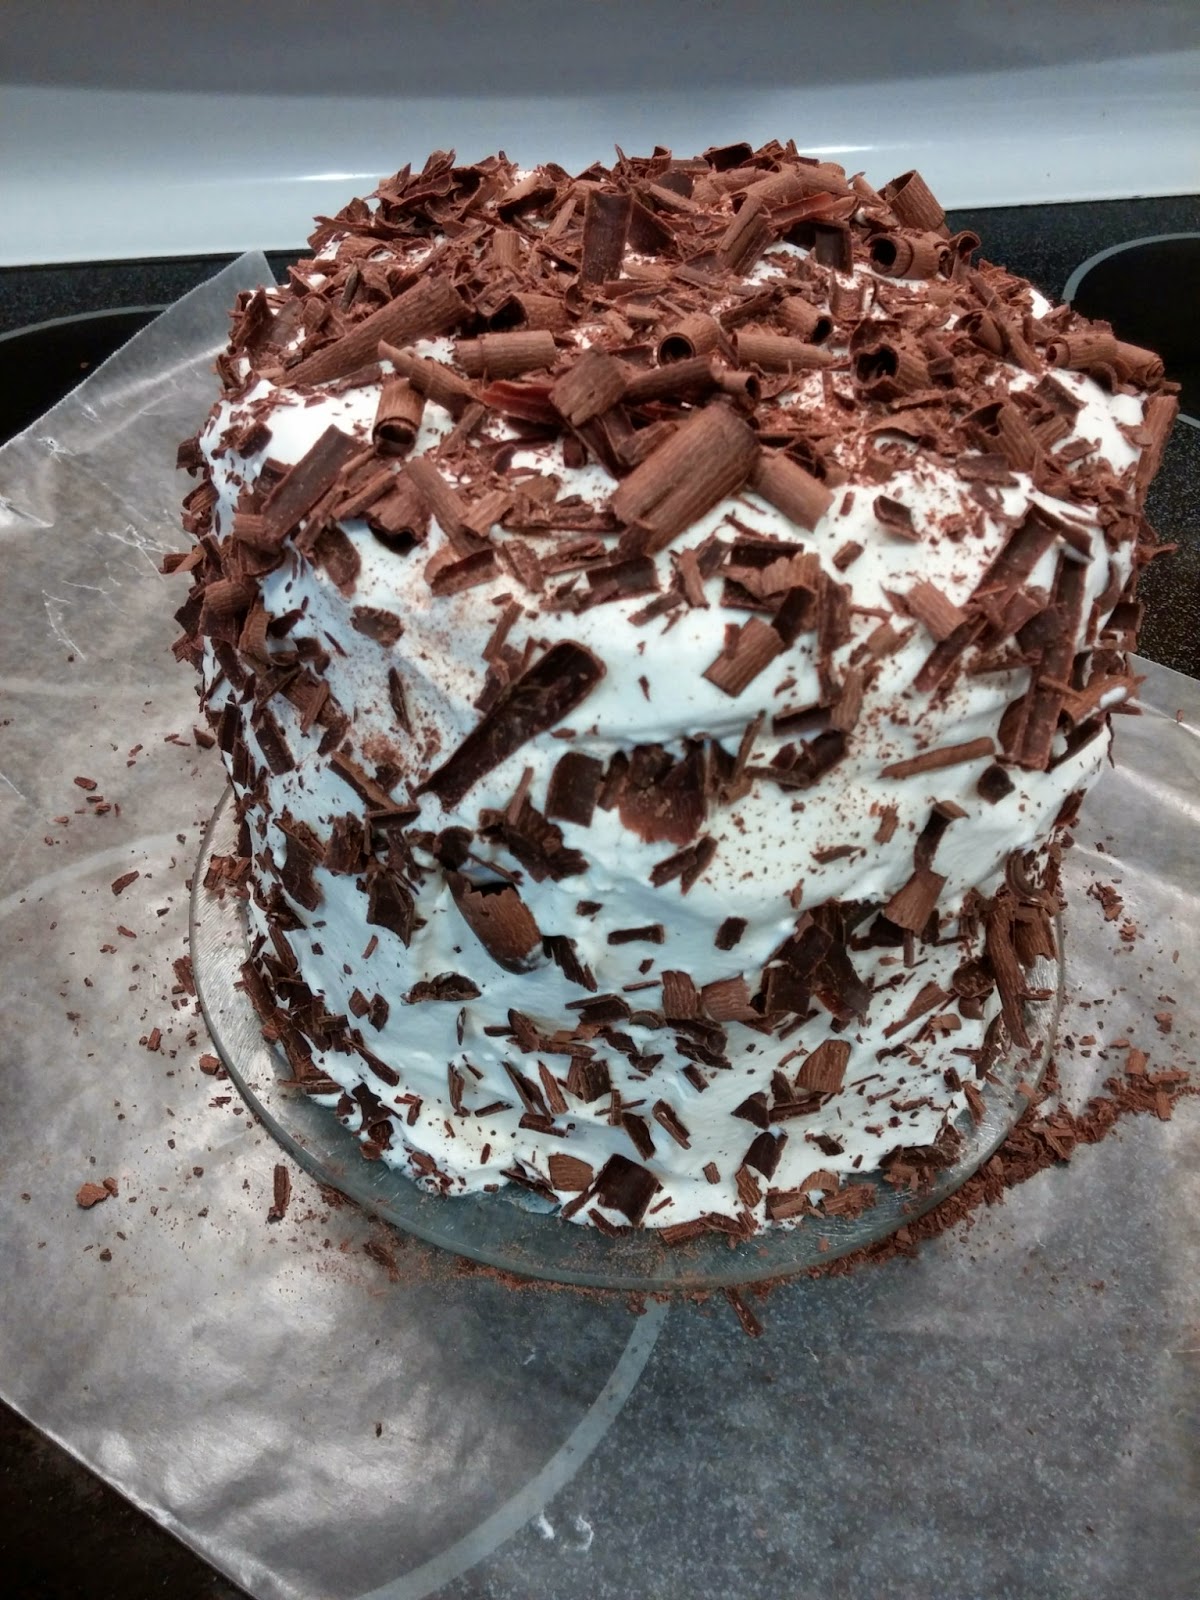
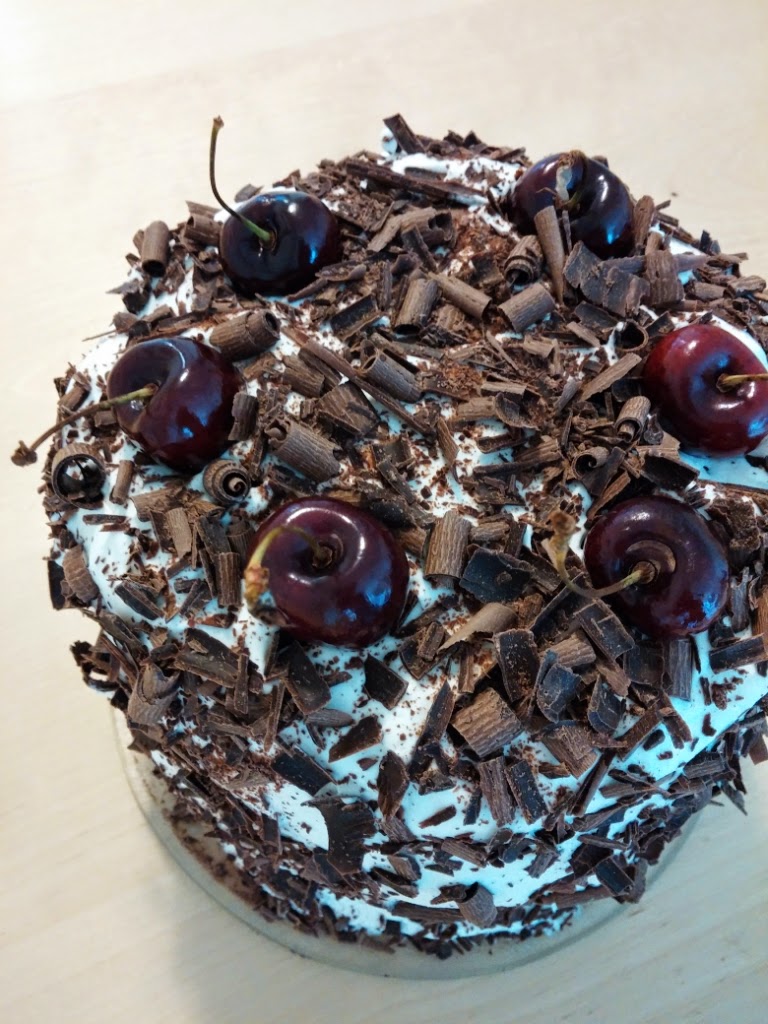
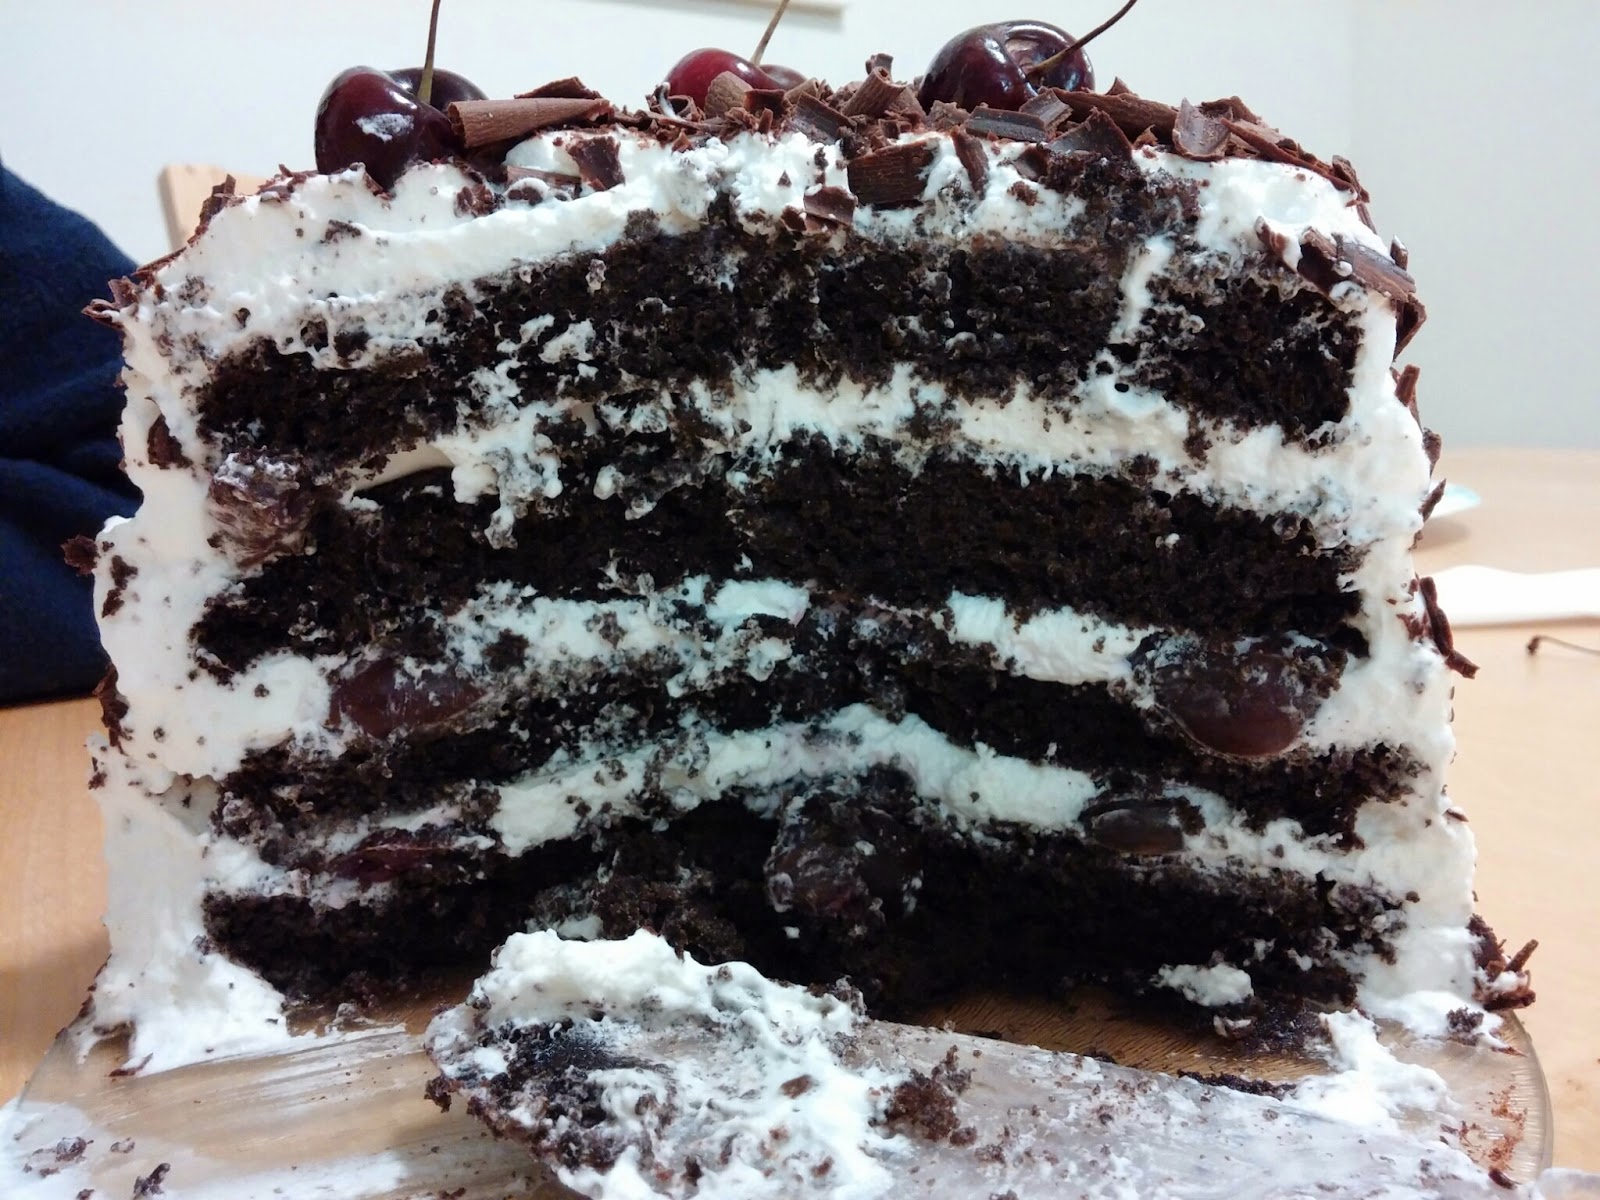 Now about the cake…I love to poach the cherries myself instead of using jarred cherries; they taste so much better! And we love the combination of chocolate cake with light freshly whipped cream studded with chocolate curls (crumbled curls). Just blogging about it makes me want to eat the leftover slice of cake right now! I’ve used this Black Forest Cake recipe from “The Williams Sonoma Baking Book” for a few years now and it never fails and is requested every year by this man. And I must confess, I just got myself a slice and ate every last crumb and cream… don’t worry, there’s more, hubby.
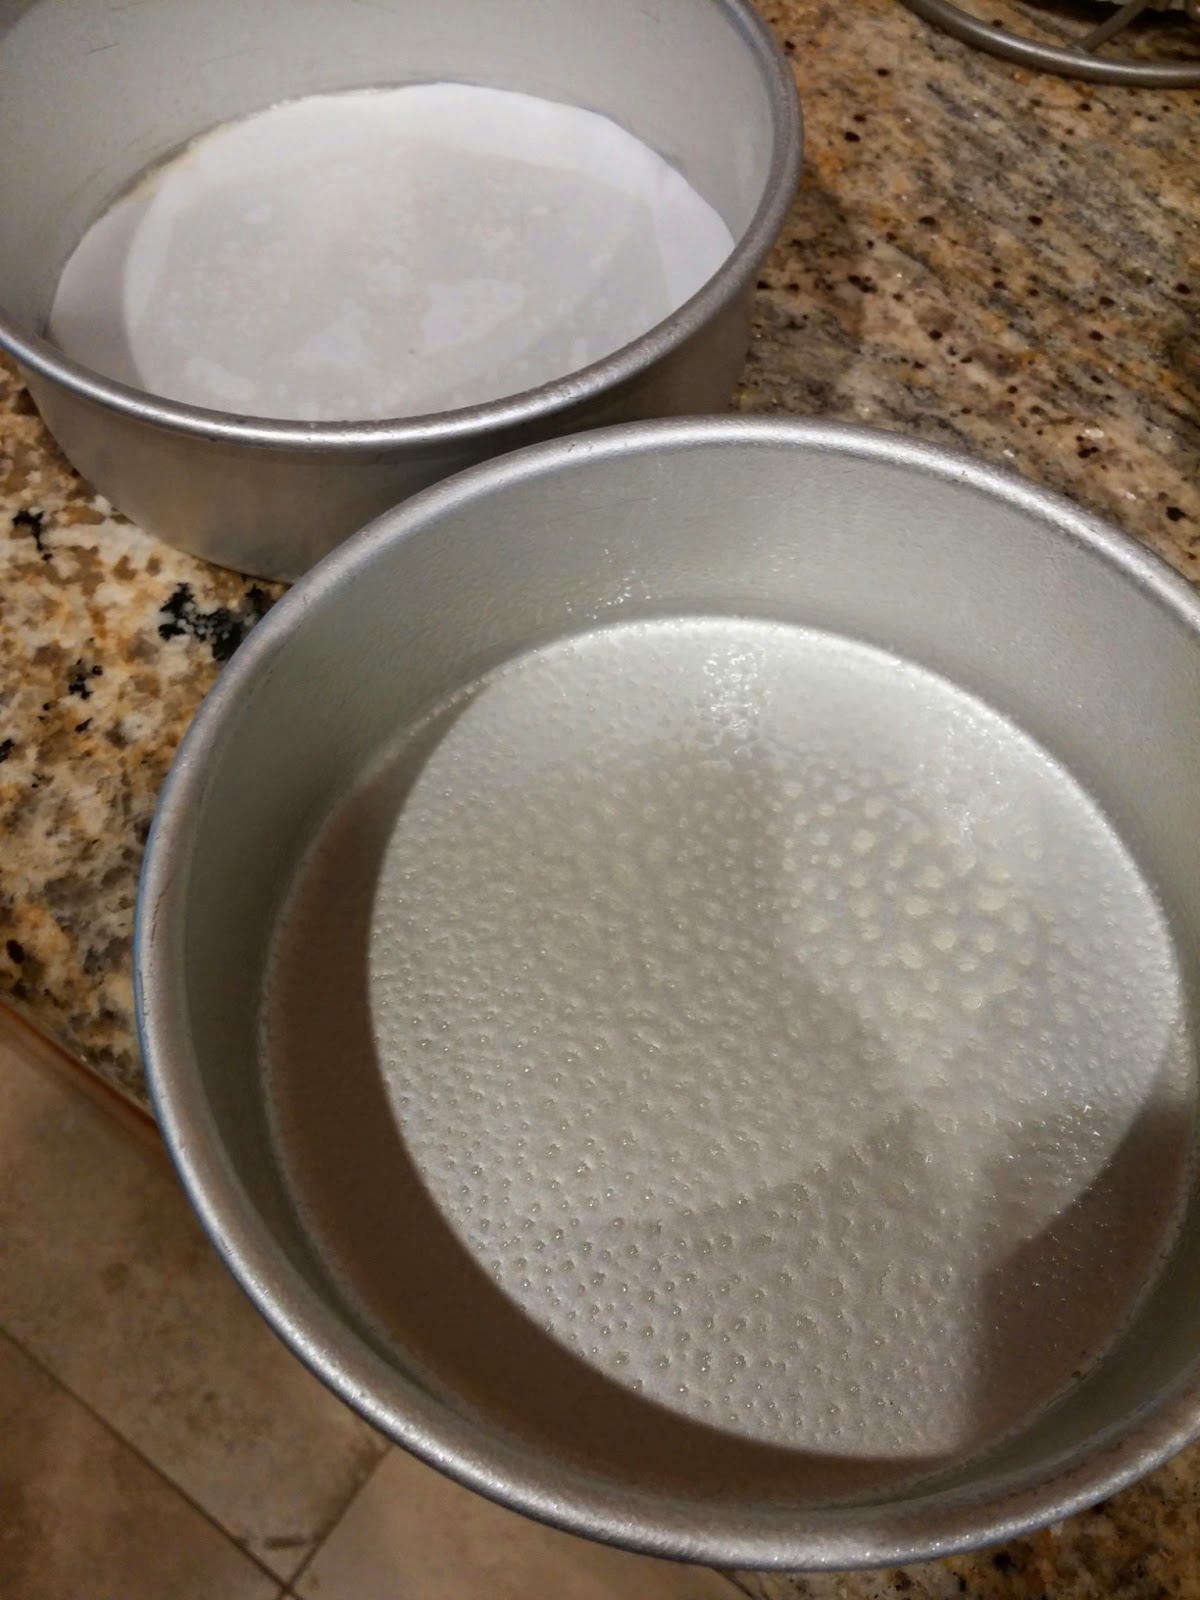


